之前活动的时候搞了一台aliyun ecs centos7 1核1G的,闲着也是闲着 搭建一下云盘下面开始操作:
1、下载压缩包cloudreve_3.4.2_linux_amd64.tar.gz 地址:https://github.com/cloudreve/Cloudreve/releases
2、扔到ecs上 /usr/local
3、敲命令如下
# 解压程序包
tar -zxvf cloudreve_VERSION_OS_ARCH.tar.gz

# 赋予执行权限
chmod +x ./cloudreve

# 启动 Cloudreve
./cloudreve
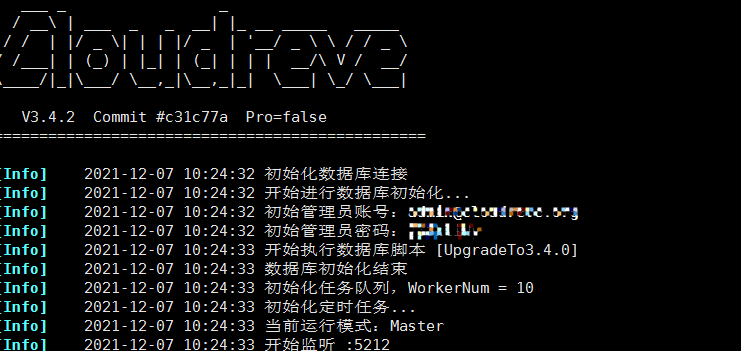
3、把初始的系统管理员用户名密码记录下来 只有第一次启动会打印这个 一定要记下来啊

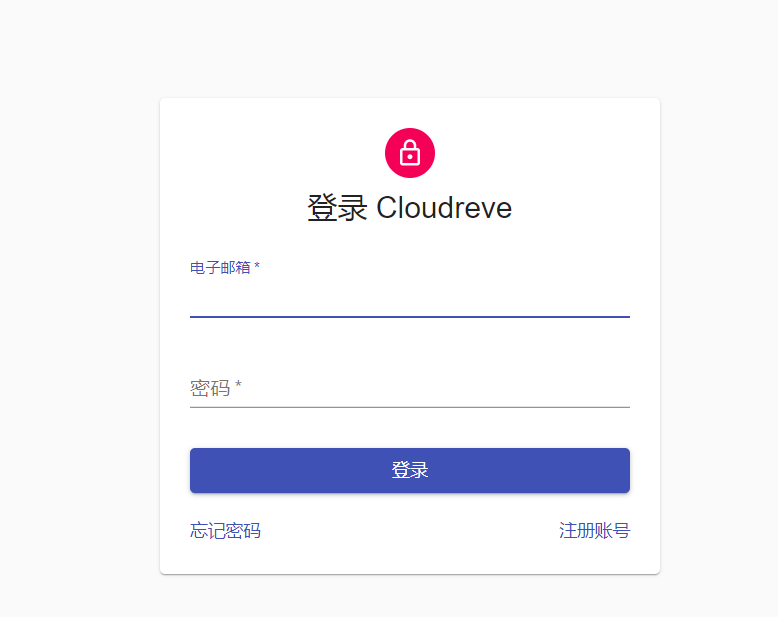
4、访问http://服务器IP:5212 页面长这样 就ok了

5、用系统管理员登录 就可以玩了

6、配置后台运行
在/usr/lib/systemd/system目录下创建一个服务cloudreve.service
通过vi打开服务配置:vi /usr/lib/systemd/system/cloudreve.service
输入如下内容:
[Unit]
Description=Cloudreve
Documentation=https://docs.cloudreve.org
After=network.target
Wants=network.target
[Service]
Type=simple
WorkingDirectory=/usr/local/ #所在目录
ExecStart=/usr/local/cloudreve #真正的执行目录
Restart=on-abnormal
RestartSec=5s
KillMode=mixed
StandardOutput=null
StandardError=syslog
[Install]
WantedBy=multi-user.target
保存退出
然后需要更新重启服务
# 更新配置
systemctl daemon-reload
# 启动服务
systemctl start cloudreve
# 设置开机启动
systemctl enable cloudreve
管理命令 如下:
# 启动服务
systemctl start cloudreve
# 停止服务
systemctl stop cloudreve
# 重启服务
systemctl restart cloudreve
# 查看状态
systemctl status cloudreve
最后:如果忘记初始管理员密码,需要删除同级目录下的cloudreve.db,重新启动主程序以初始化新的管理员账户
默认监听5212端口 记得关闭防火墙 开启5212端口
cloudreve github地址:https://github.com/cloudreve/Cloudreve
参考:https://blog.csdn.net/longzhoufeng/article/details/108958091