Centos7系统安装Zabbix4.4步骤详解
1. 虚拟机中安装Centos7系统
本次实验使用最小系统安装,安装完后可以先进行内核软件更新(yum -y update)时间比较久,快速配置可以忽略此步骤。
2.关闭Centos7的SELinux和防火墙配置
关闭SELinux
[root@zabbix-server ~]# setenforce 0
[root@zabbix-server ~]# vi /etc/selinux/config
# This file controls the state of SELinux on the system.
# SELINUX= can take one of these three values:
#     enforcing - SELinux security policy is enforced.
#     permissive - SELinux prints warnings instead of enforcing.
#     disabled - No SELinux policy is loaded.
SELINUX=disabled
# SELINUXTYPE= can take one of three values:
#     targeted - Targeted processes are protected,
#     minimum - Modification of targeted policy. Only selected processes are protected.
#     mls - Multi Level Security protection.
SELINUXTYPE=targeted
关闭防火墙配置
[root@zabbix-server ~]# systemctl stop firewalld.service
[root@zabbix-server ~]# systemctl disable firewalld.service
3.部署zabbix4.4服务器、zabbix4.4官网教程链接
1.安装 数据库
[root@zabbix-server ~]# rpm -Uvh https://repo.zabbix.com/zabbix/4.4/rhel/7/x86_64/zabbix-release-4.4-1.el7.noarch.rpm
[root@zabbix-server ~]# yum clean all
[root@zabbix-server ~]# yum makecache
2.安装Zabbix服务器,前端,代理(如果没有安装成功,需多次执行下载才能完全安装)
[root@zabbix-server ~]# yum -y install zabbix-server-mysql zabbix-web-mysql zabbix-agent
把三个服务全部安装完成
3. 安装mariadb数据库(设置开机启动)
//更新MARIABD数据库
[root@zabbix-server ~]# yum install -y mariadb-server
//启动服务
[root@zabbix-server ~]# systemctl start mariadb.service
//设置开机启动
[root@zabbix-server ~]# systemctl enable mariadb.service
4.导入Zabbix数据到Mysql数据库
[root@zabbix-server ~]# mysql -uroot -p
Enter password:     //空密码直接按回车键
Welcome to the MariaDB monitor.  Commands end with ; or g.
Your MariaDB connection id is 2
Server version: 5.5.64-MariaDB MariaDB Server

Copyright (c) 2000, 2018, Oracle, MariaDB Corporation Ab and others.

Type 'help;' or 'h' for help. Type 'c' to clear the current input statement.

MariaDB [(none)]> create database zabbix character set utf8 collate utf8_bin;
Query OK, 1 row affected (0.00 sec)

MariaDB [(none)]> grant all privileges on zabbix.* to zabbix@localhost identified by 'zn123456';
Query OK, 0 rows affected (0.00 sec)

MariaDB [(none)]> flush privileges;
Query OK, 0 rows affected (0.00 sec)

MariaDB [(none)]> quit;
Bye
5.导入初始架构和数据,系统将提示您输入新创建的密码。
[root@zabbix-server ~]# zcat /usr/share/doc/zabbix-server-mysql*/create.sql.gz | mysql -uzabbix -p zabbix
Enter password:      ###密码:zn123456
6.为Zabbix server配置数据库
[root@zabbix-server ~]# vi /etc/zabbix/zabbix_server.conf
DBHost=localhost
DBName=zabbix
DBUser=zabbix
DBPassword=zn123456
7.修改时区
[root@zabbix-server ~]# vi /etc/httpd/conf.d/zabbix.conf
#
# Zabbix monitoring system php web frontend
#

Alias /zabbix /usr/share/zabbix

<Directory "/usr/share/zabbix">
    Options FollowSymLinks
    AllowOverride None
    Require all granted

    <IfModule mod_php5.c>
        php_value max_execution_time 300
        php_value memory_limit 128M
        php_value post_max_size 16M
        php_value upload_max_filesize 2M
        php_value max_input_time 300
        php_value max_input_vars 10000
        php_value always_populate_raw_post_data -1
        # php_value date.timezone Europe/Riga
        php_value date.timezone Asia/Shanghai
    </IfModule>
</Directory>

<Directory "/usr/share/zabbix/conf">
    Require all denied
</Directory>

<Directory "/usr/share/zabbix/app">
    Require all denied
</Directory>

<Directory "/usr/share/zabbix/include">
    Require all denied
</Directory>

<Directory "/usr/share/zabbix/local">
    Require all denied
</Directory>
8.启动Zabbix server和agent进程
[root@zabbix-server ~]# systemctl restart zabbix-server zabbix-agent httpd
[root@zabbix-server ~]# systemctl enable zabbix-server zabbix-agent httpd
9.为Centos7配置IP地址。
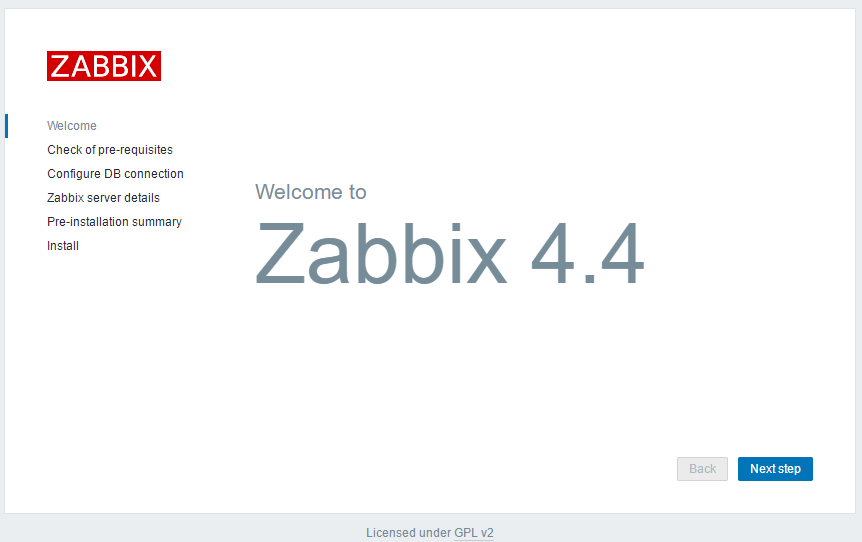
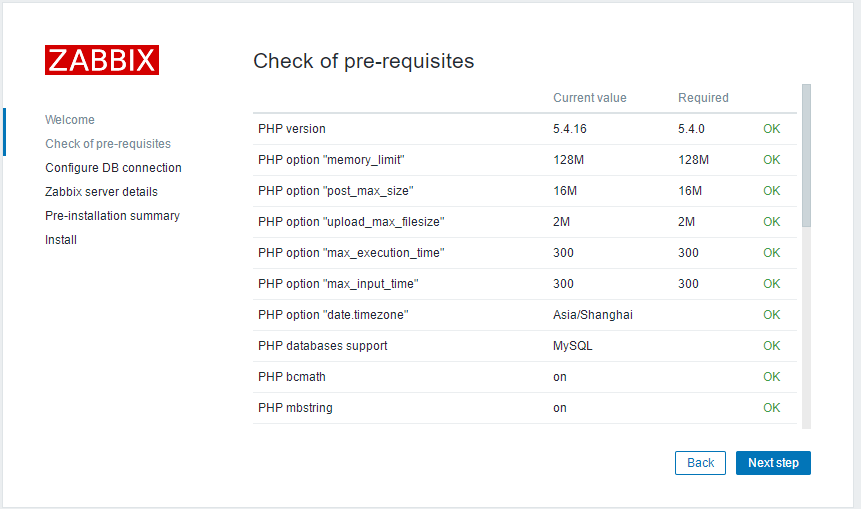
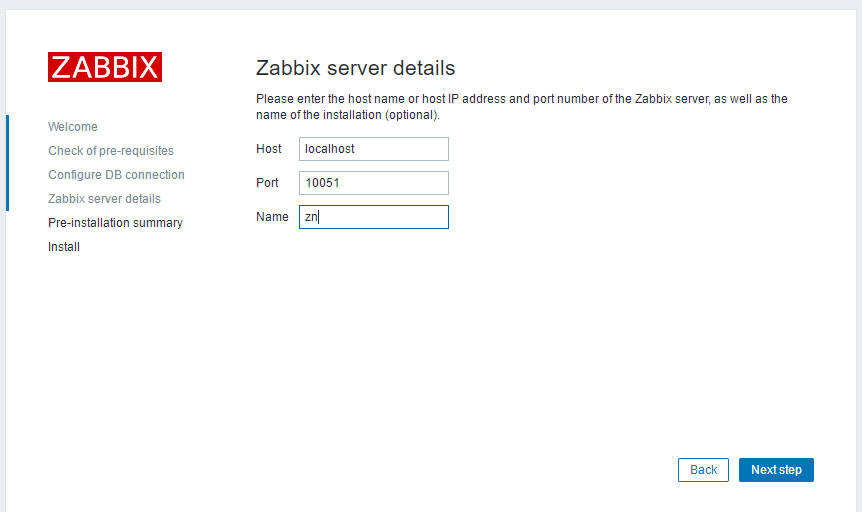
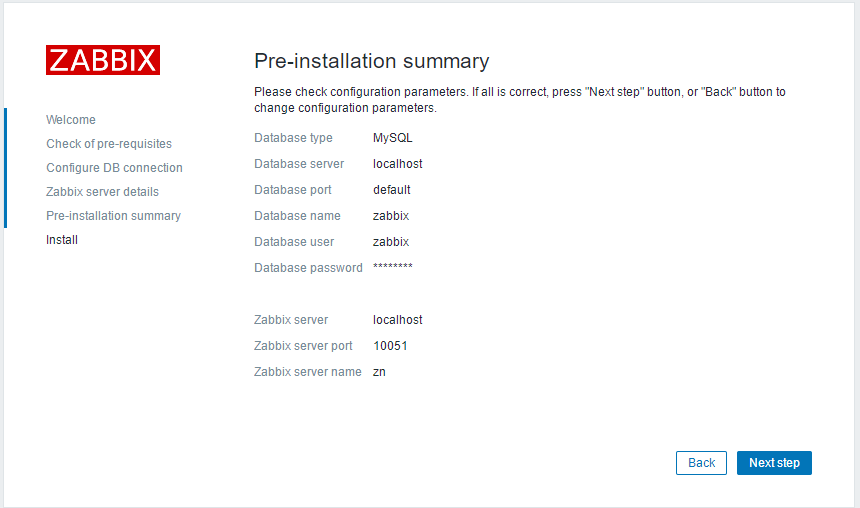
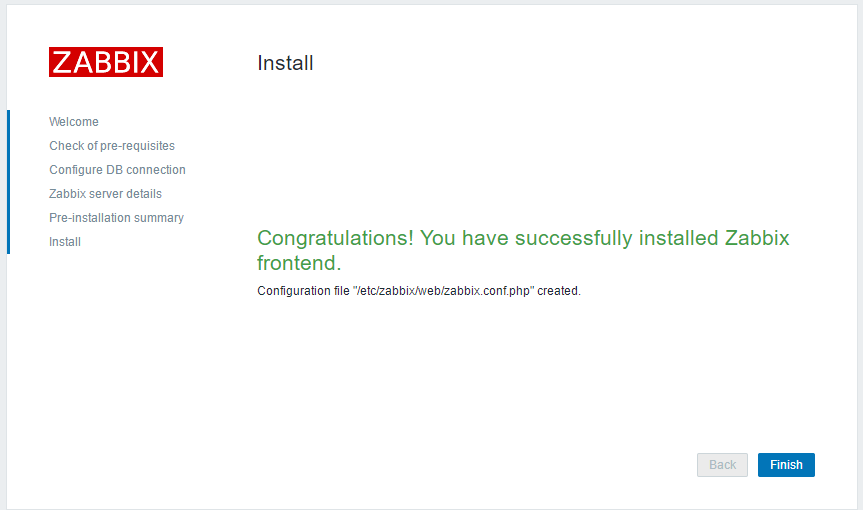
10.配置Zabbix前端
连接到新安装的Zabbix前端:http://10.10.1.88/zabbix

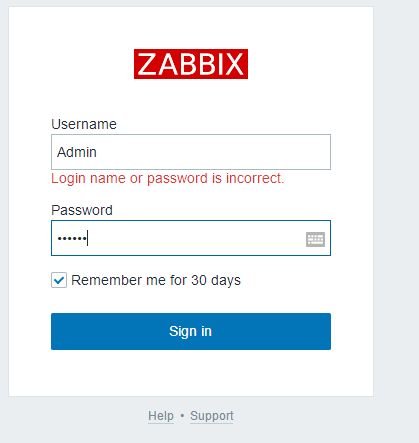
zabbix网页登录
如果浏览器进不去,一直报错,尝试换个浏览器。
在浏览器输入http://zabbix服务器ip/zabbix/index.php,输入管理员用户名Admin(区分大小写),默认密码zabbix,点击登入即可。

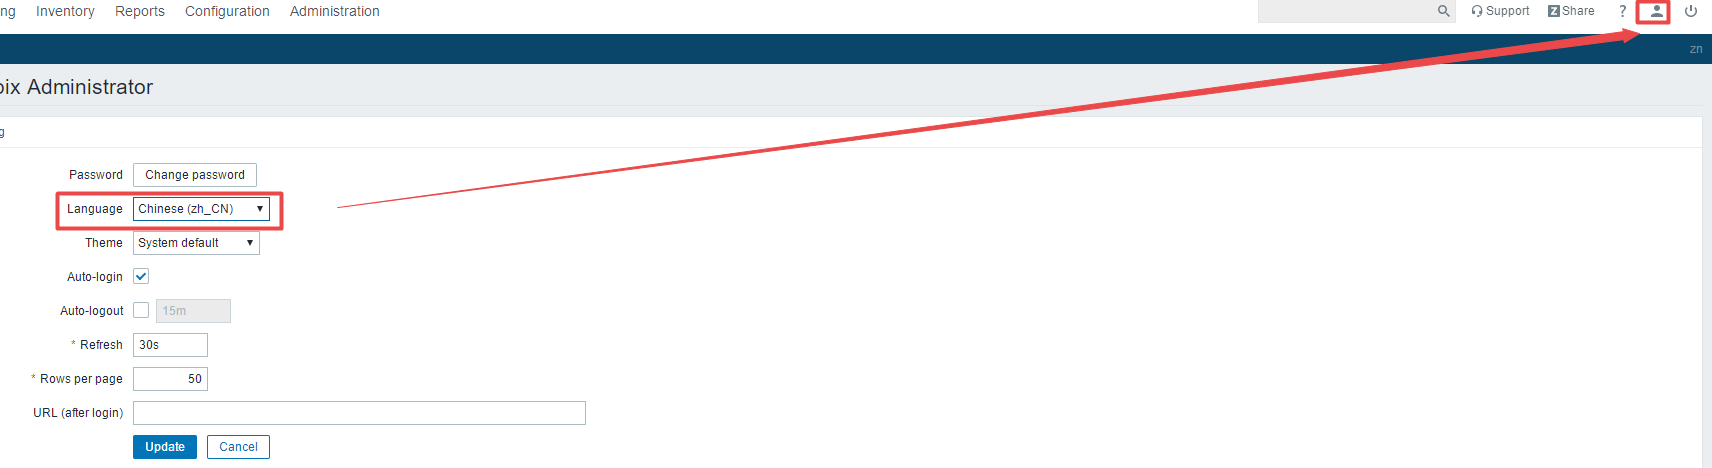
11.设置成中文页面