首先需要安装依赖:

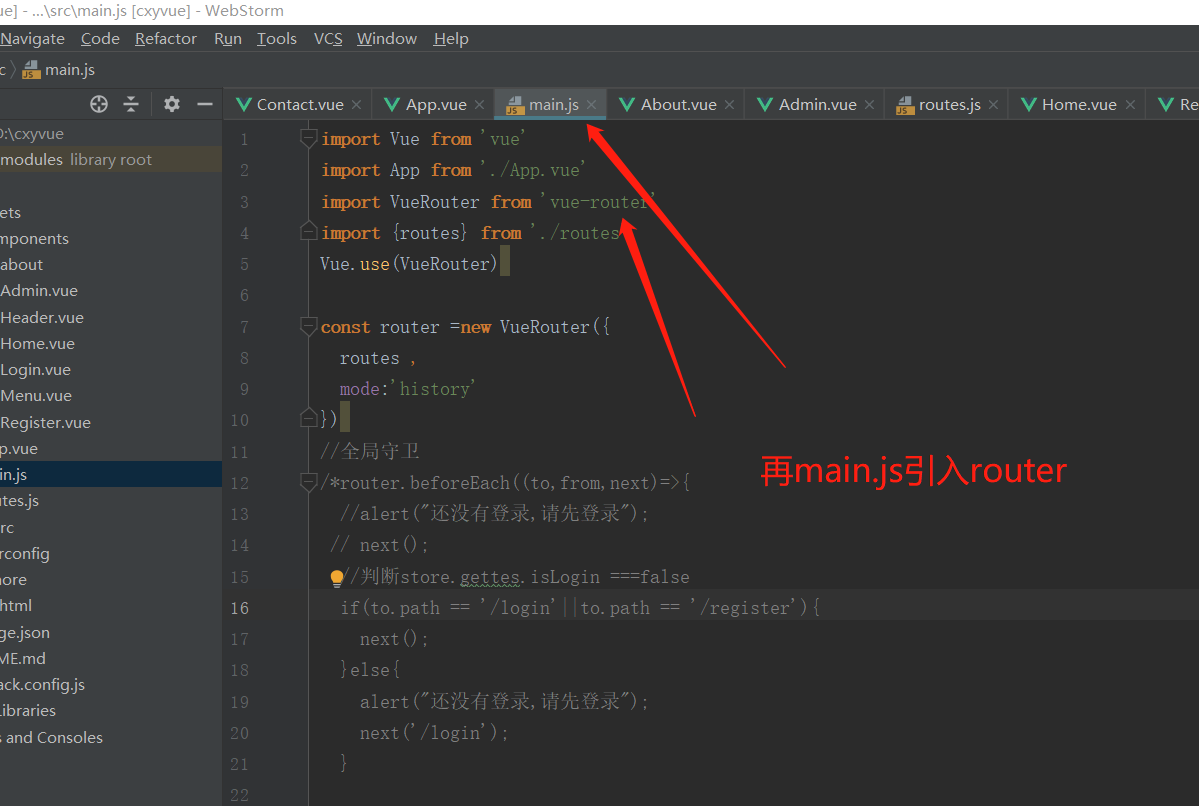
再定义:
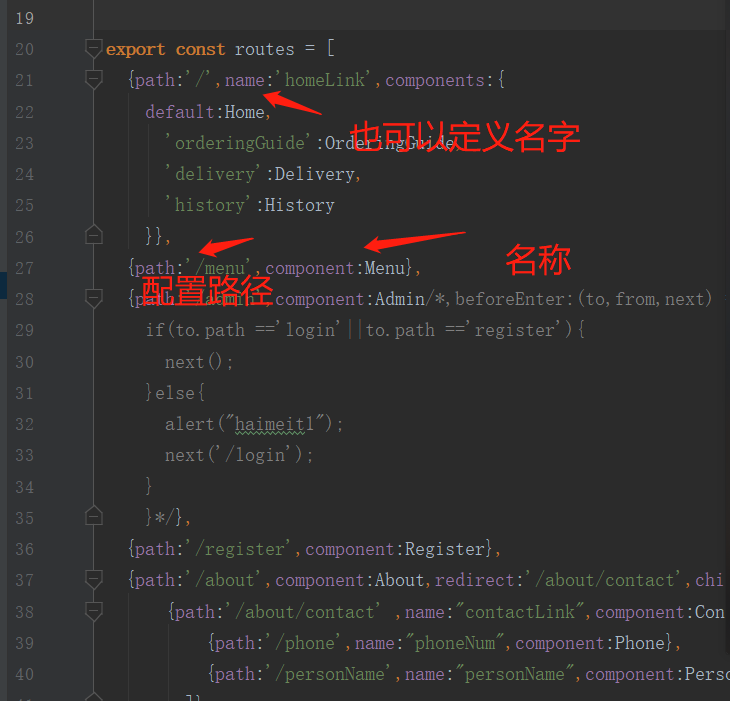
routes.js,配置路由规则:
import  Home from './components/Home'
import Menu from './components/Menu'
import  Login from './components/Login'
import  Register from './components/Register'
import  Admin from './components/Admin'
import About from './components/about/About'

//二级路由
import Contact from './components/about/Contact'
import History from './components/about/History'
import Delivery from './components/about/Delivery'
import OrderingGuide from './components/about/OrderingGuide'
//三级路由
import Phone from  './components/about/contact/Phone'
import PersonName  from './components/about/contact/PersonName'


export const routes = [
  {path:'/',name:'homeLink',components:{
    default:Home,
      'orderingGuide':OrderingGuide,
      'delivery':Delivery,
      'history':History
    }},
  {path:'/menu',component:Menu},
  {path:'/admin',component:Admin/*,beforeEnter:(to,from,next) =>{
    if(to.path =='login'||to.path =='register'){
      next();
    }else{
      alert("haimeit1");
      next('/login');
    }
    }*/},
  {path:'/register',component:Register},
  {path:'/about',component:About,redirect:'/about/contact',children:[
      {path:'/about/contact' ,name:"contactLink",component:Contact ,redirect:'/phone',children: [
          {path:'/phone',name:"phoneNum",component:Phone},
          {path:'/personName',name:"personName",component:PersonName}
        ]},
      {path:'/history' ,name:"historyLink",component:History},
      {path:'/about/delivery' ,name:"deliveryLink",component:Delivery},
      {path:'/about/orderingGuide' ,name:"orderingGuideLink",component:OrderingGuide}
    ]},
  {path:'/login',component:Login},
  {path:'*',redirect:Home},

]
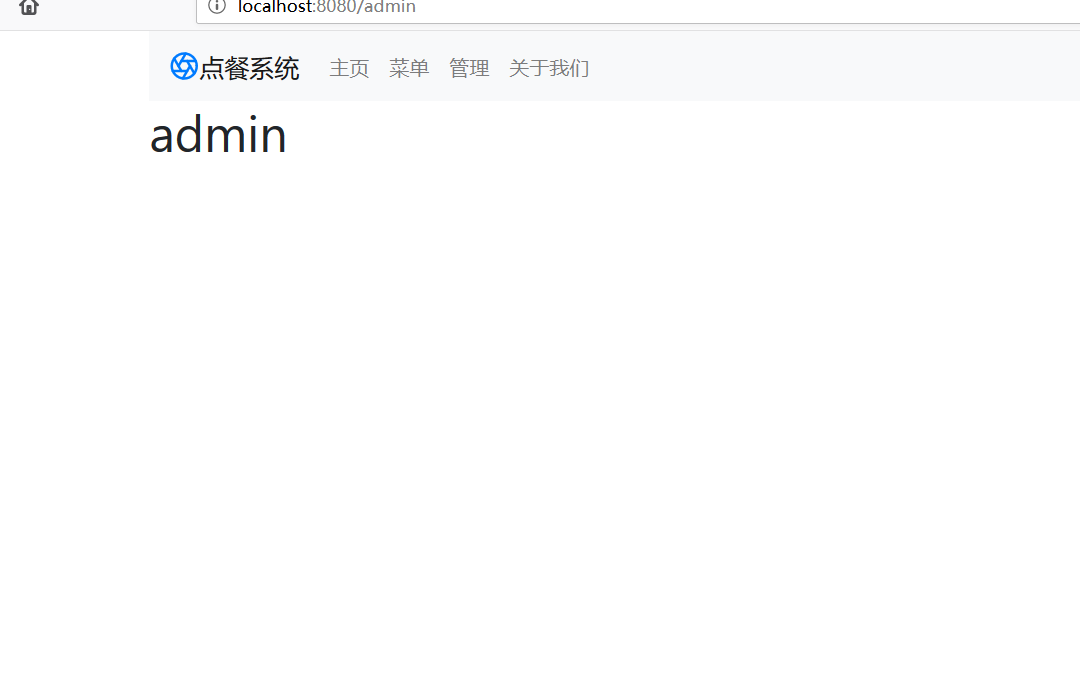
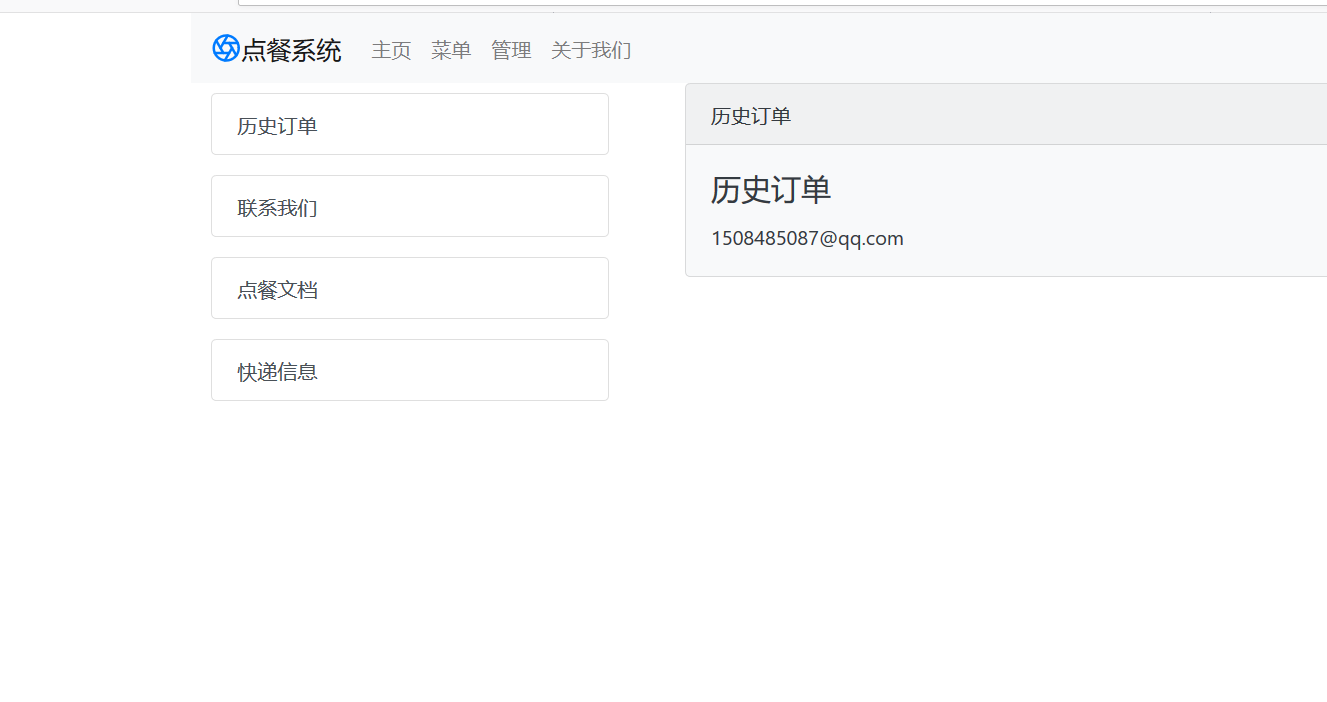
页面展示:
<template>
  <div id="app">
    <!--<app-header></app-header>-->
   <div class="container">
     <app-header></app-header>
   </div>
    <div class="container">
      <router-view></router-view>
    </div>
    <br>
    <div class="container">
      <div class="row">
        <div class="col-sm-12 col-md-4">
          <router-view name ="orderingGuide"></router-view>
        </div> <div class="col-sm-12 col-md-4">
          <router-view name ="delivery"></router-view>
        </div> <div class="col-sm-12 col-md-4">
          <router-view name ="history"></router-view>
        </div>
      </div>
    </div>
  </div>
</template>

<script>
import Header from './components/Header';
export default {
  components:{
   appHeader:Header
  }
}
</script>

<style>

</style>
全部代码:
后期再补上,里面包含了三级路由的使用:
展示效果: