项目地址
https://github.com/XingGuoZM/egg-proj
开发环境
- node v12.10.0
第一步:确保项目能跑起来
-
mkdir egg-proj && cd egg-proj
- npm init egg --type=simple
- npm install
- npm run dev
遇到需要选择的地方回车即可
第二步:安装依赖包
- 安装插件
- npm install --save egg-cors egg-jwt
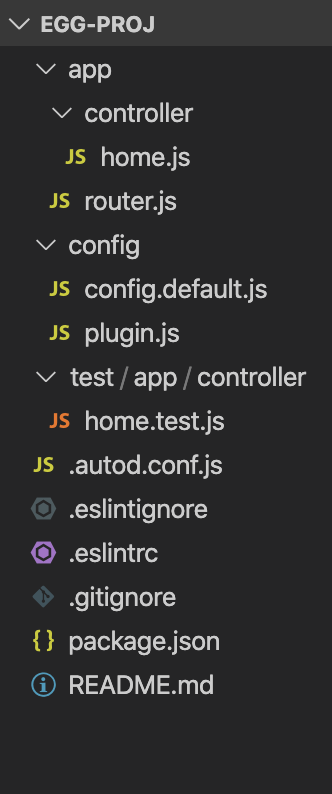
- 目录如下
第三步:完成功能,生成token
- config/config.default.js
/* eslint valid-jsdoc: "off" */

'use strict';

/**
 * @param {Egg.EggAppInfo} appInfo app info
 */
module.exports = appInfo => {
  /**
   * built-in config
   * @type {Egg.EggAppConfig}
   **/
  const config = exports = {};

  // use for cookie sign key, should change to your own and keep security
  config.keys = appInfo.name + '_1576461360545_5788';

  // add your middleware config here
  config.middleware = [];
  config.jwt = {
    secret: '123456',
  };
  // 安全配置 (https://eggjs.org/zh-cn/core/security.html)
  config.security = {
    csrf: {
      enable: false,
      ignoreJSON: true,
    },
    // 允许访问接口的白名单
    domainWhiteList: [ 'http://localhost:8080' ],
  };
  // 跨域配置
  config.cors = {
    origin: '*',
    allowMethods: 'GET,HEAD,PUT,POST,DELETE,PATCH',
  };
  // add your user config here
  const userConfig = {
    // myAppName: 'egg',
  };

  return {
    ...config,
    ...userConfig,
  };
};
- config/plugin.js
'use strict';

/** @type Egg.EggPlugin */
module.exports = {
  jwt: {
    enable: true,
    package: 'egg-jwt',
  },
  cors: {
    enable: true,
    package: 'egg-cors',
  },
};
- app/controller/user.js
'use strict';

const Controller = require('egg').Controller;


class UserController extends Controller {
  // 登录
  async login() {
    const { ctx, app } = this;
    const data = ctx.request.body;
    const token = app.jwt.sign({
      nickname: data.nickname,
    }, app.config.jwt.secret);
    ctx.body = token;
  }
  // 验证token,请求时在header配置 Authorization=`Bearer ${token}`
  // 特别注意:token不能直接发送,要在前面加上Bearer字符串和一个空格
  async index() {
    const { ctx } = this;
    console.log(ctx.state.user);
    ctx.body = { code: 201, msg: '验证成功' };
  }
}

module.exports = UserController;
- app/router.js
'use strict';

/**
 * @param {Egg.Application} app - egg application
 */
module.exports = app => {
  const { router, controller, jwt } = app;
  router.get('/', controller.home.index);

  router.post('/user/login', controller.user.login);
  router.post('/user', jwt, controller.user.index);
};
- package.json
{
  "name": "jwt",
  "version": "1.0.0",
  "description": "",
  "private": true,
  "egg": {
    "declarations": true
  },
  "dependencies": {
    "egg": "^2.15.1",
    "egg-cors": "^2.2.3",
    "egg-jwt": "^3.1.7",
    "egg-scripts": "^2.11.0",
    "egg-sequelize": "^5.2.0",
    "mysql2": "^2.0.2"
  },
  "devDependencies": {
    "autod": "^3.0.1",
    "autod-egg": "^1.1.0",
    "egg-bin": "^4.11.0",
    "egg-ci": "^1.11.0",
    "egg-mock": "^3.21.0",
    "eslint": "^5.13.0",
    "eslint-config-egg": "^7.1.0"
  },
  "engines": {
    "node": ">=10.0.0"
  },
  "scripts": {
    "start": "egg-scripts start --daemon --title=egg-server-jwt",
    "stop": "egg-scripts stop --title=egg-server-jwt",
    "dev": "egg-bin dev",
    "debug": "egg-bin debug",
    "test": "npm run lint -- --fix && npm run test-local",
    "test-local": "egg-bin test",
    "cov": "egg-bin cov",
    "lint": "eslint .",
    "ci": "npm run lint && npm run cov",
    "autod": "autod"
  },
  "ci": {
    "version": "10"
  },
  "repository": {
    "type": "git",
    "url": ""
  },
  "author": "",
  "license": "MIT"
}

