一、ES的安装
1、系统参数配置
修改vi /etc/security/limits.conf ,追加内容
soft nofile 65536
hard nofile 65536
修改vi /etc/sysctl.conf,追加内容
vm.max_map_count=655360
保存后执行命令
sysctl -p
2、容器安装
docker run -di --name=es -p 9200:9200 -p 9300:9300 elasticsearch:6.8.12
3、进行跨域配置,先进入容器
docker exec -it es /bin/bash
修改容器中/usr/share/elasticsearch/config/elasticsearch.yml文件,添加配置如下
cluster.name: "elasticsearch"
http.cors.enabled: true
http.cors.allow-origin: "*"
network.host: 0.0.0.0
discovery.zen.minimum_master_nodes: 1
参数说明:
cluster.name:集群服务名字
http.cors.enabled:开启跨域
http.cors.allow-origin: 允许跨域域名,*代表所有域名
network.host: 外部访问的IP
discovery.zen.minimum_master_nodes: 最小主节点个数
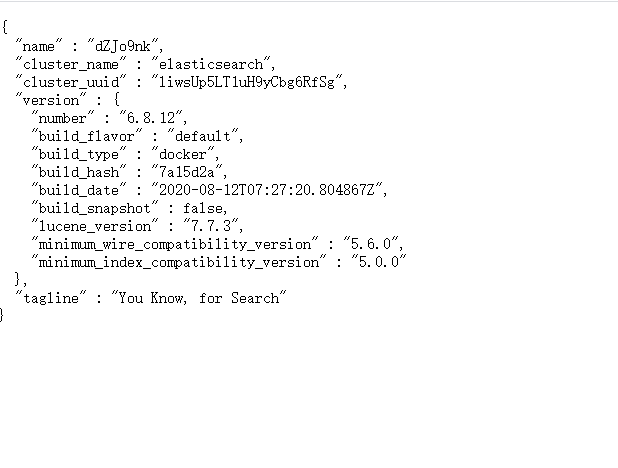
4、安装完成后,重启容器`docker restart es`,再访问`http://192.168.32.130:9200/`效果如下:
{
    "name": "Ke8Ljah",
    "cluster_name": "elasticsearch",
    "cluster_uuid": "QLeYJtTITxmRP29fbFpgbA",
    "version": {
        "number": "6.8.12",
        "build_flavor": "default",
        "build_type": "docker",
        "build_hash": "7a15d2a",
        "build_date": "2020-08-12T07:27:20.804867Z",
        "build_snapshot": false,
        "lucene_version": "7.7.3",
        "minimum_wire_compatibility_version": "5.6.0",
        "minimum_index_compatibility_version": "5.0.0"
    },
    "tagline": "You Know, for Search"
}
5、IK分词器安装
分词器下载地址:https://github.com/medcl/elasticsearch-analysis-ik/releases/tag/v6.8.12下载后,将压缩包解压并将加压的文件放到ik目录下,并拷贝到elasticsearch的plugins目录下即可,用如下命令拷贝:
docker cp ik es:/usr/share/elasticsearch/plugins/
重启es:
docker restart es
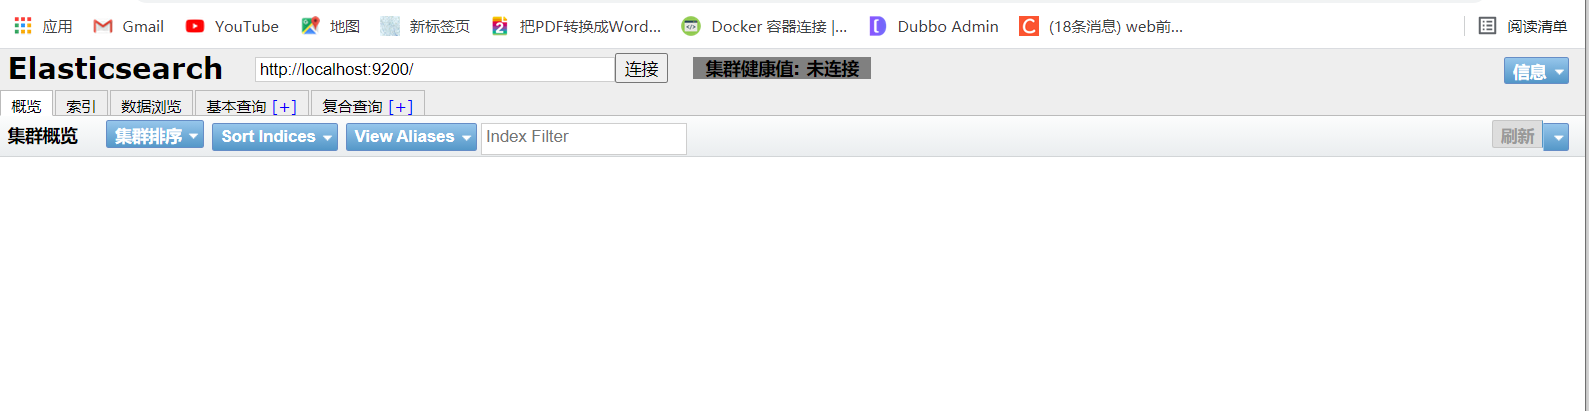
6、es-head安装
docker run -d -p 9100:9100 docker.io/mobz/elasticsearch-head:5
安装完成后访问`http://192.168.32.130:9100/就可以,并且最后要完成下面三个步骤
1、进入`head`安装目录;
2、`cd _site/`
3、编辑`vendor.js` 共有两处
①、6886行 `"application/x-www-form-urlencoded`,改成:` "application/json;charset=UTF-8"`
②、7574行 `"application/x-www-form-urlencoded"`改成:` "application/json;charset=UTF-8"`
最后附上es官方地址:https://spring.io/projects/spring-data-elasticsearch