基本思路:先安装好nginx和mysql和php,上传禅道的源码。把禅道的源码包扔到 nginx/apache 的工程路径内或者nginx/apache内的配置文件指向nginx的路径,然后将nginx/apache做集成,然后再配数据库,然后再浏览器内安装禅道,过程中会执行建表的过程,然后再改禅道内的数据包内的配置文件,ip,端口号,数据库名,用户,密码等,起服务的时候,才能ok
部署java项目也是一样,把工程包扔到tomcat下而已,改工程包里面的数据库属性配置文件等。
一、部署安装好Nginx
二、可以在apache内也可以做该配置,也就是在apache内配置禅道:
apache其实也是一样,但是要改配置文件:
vi etc/httpd/conf/httpd.conf
改里面的禅道路径
# DocumentRoot: The directory out of which you will serve your
# documents. By default, all requests are taken from this directory, but
# symbolic links and aliases may be used to point to other locations.
#
DocumentRoot "/usr/local/zentaopms/www"

#
重启apache:
service httpd restart
然后输入apache的ip:port/index.php,就可以开始安装禅道
安装禅道的问题:可能会遇见session.save_path不存在不可用的问题
1、先修改这三个文件的执行权限
chmod o=rwx -R /opt/zentaopms/tmp/
chmod o=rwx -R /opt/zentaopms/www/data
chmod o=rwx -R /var/lib/php/session
2、改php.ini配置文件(改一个地方就ok,不要瞎改)
vi /etc/php.ini
; Argument passed to save_handler.  In the case of files, this is the path
; where data files are stored. Note: Windows users have to change this
; variable in order to use PHP's session functions.
;
; The path can be defined as:
;
;     session.save_path = "N;/path"

session.save_path= "/var/lib/php/session"

; where N is an integer.  Instead of storing all the session files in
; /path, what this will do is use subdirectories N-levels deep, and
; store the session data in those directories.  This is useful if
; your OS has problems with many files in one directory, and is
; a more efficient layout for servers that handle many sessions.
可以看到:server是apache
图,不小心删了,假装是吧
三、Nginx转发php设置:
在配置文件内更改:
vi /usr/local/nginx/conf/nginx.conf
server {
        listen       82;
        server_name  localhost;
        location / {
            root    /usr/local/zentaopms/www/;
            index  index.php index.html index.htm;
            }
        location ~ .php$ {
                root           /usr/local/zentaopms/www/;
                fastcgi_pass   127.0.0.1:9000;
                fastcgi_index  index.php;
                fastcgi_param  SCRIPT_FILENAME  /usr/local/zentaopms/www/$fastcgi_script_name;
                include        fastcgi_params;
                        }
        error_page   500 502 503 504  /50x.html;
        }
我的禅道源码放在哪里?
在
/usr/local/zentaopms
将Nginx,reload一下
/usr/local/nginx/sbin/nginx -s reload
然后输入Nginx的ip:port/index.php,就可以开始安装禅道。
安装过程顺利,遇见这问题:
禅道专业版本的核心代码都是加密的(前端的html, css, js, 配置,语言项是开源的。),使用的加密软件是 ioncube,因此要能运行禅道专业版本的软件,先要安装ioncube扩展。OS:我为啥要作死安装专业版的
禅道的介绍:https://www.zentao.net/book/zentaoprohelp/194.html

根据文档说明
一、下载loader-wizard.php( 支持php5.3、php5.4、php5.5、php5.6、php7.0、php7.1版本)
ioncube提供了一个安装的向导程序,可以非常方便的帮助检测php的运行环境,自动给出提示。
1.1 通过下面的地址下载loader-wizard: http://www.ioncube.com/loader-wizard/loader-wizard.zip
1.2 下载之后,将其解压缩,到apache的www或者htdoc目录。(我们是部署在 nginx上,而且,我们也改了 81 的路径 ,所以放到禅道 的路径 www 下面就可以了)
二、运行loader-wizard.php程序
2.1 使用浏览器访问loader-wizard.php 比如 http://localhost/loader-wizard.php 实际的访问路径根据情况修改。
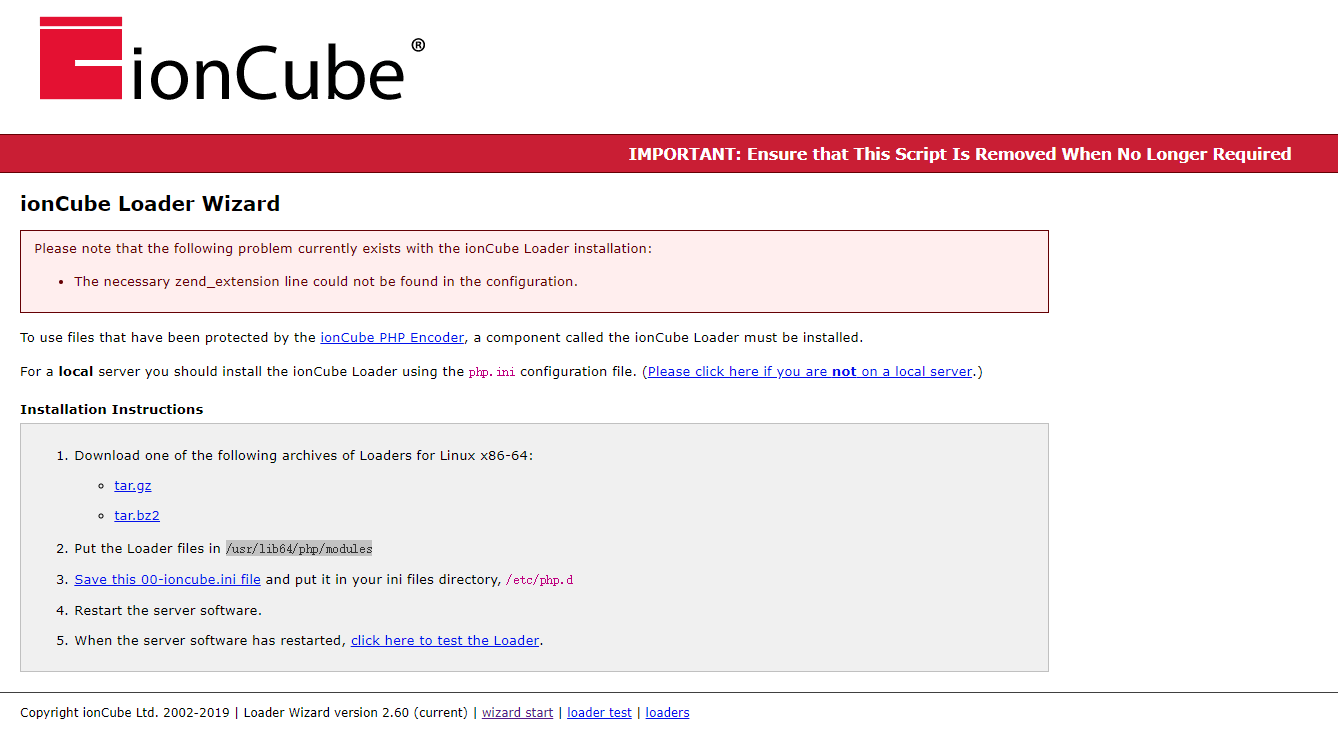
2.2 这个loader程序经过计算之后,会自动给出提示( 下图只是一个例子,具体操作需要根据贵公司网页访问 loader-wizard.php后显示的界面操作):

根据提示,将 tar.gz 解压放进 /usr/lib64/php/modules ,那些 .so 文件要赋予 x 权限
把 00……啥的放进 /etc/php.d 内
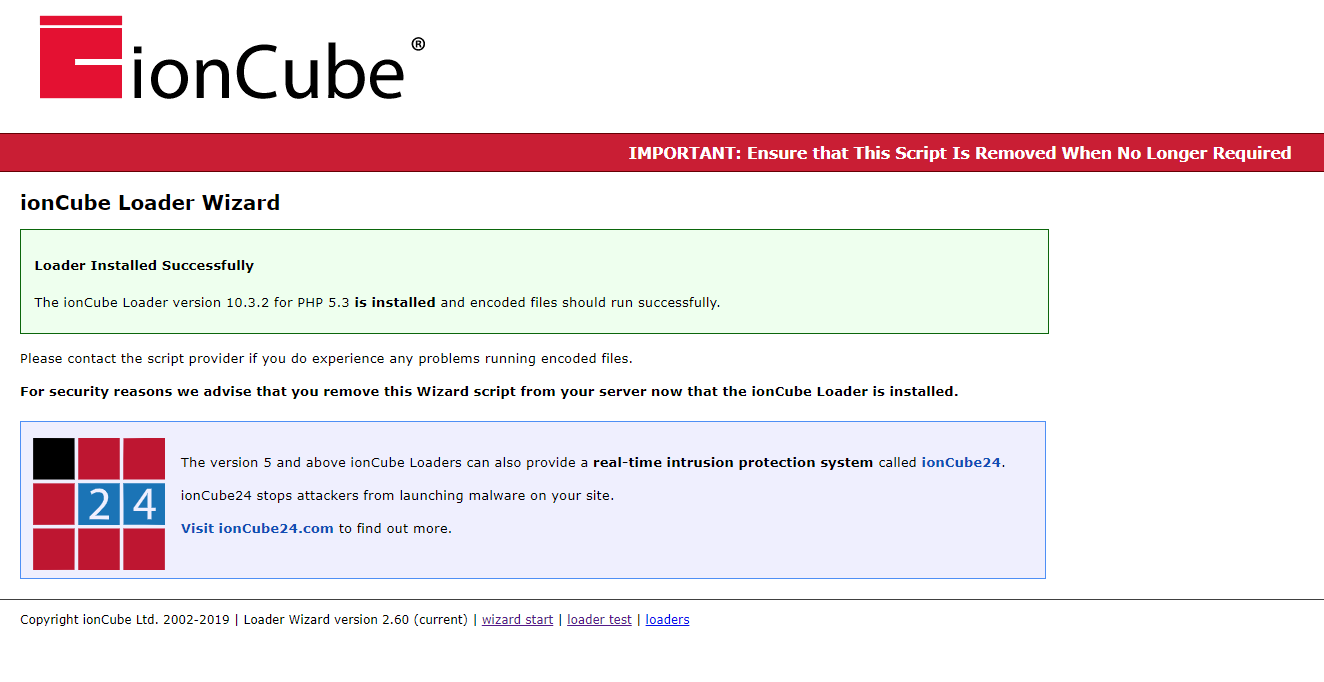
然后重启 nginx和 php

就说明,这个解密软件咱就ok了
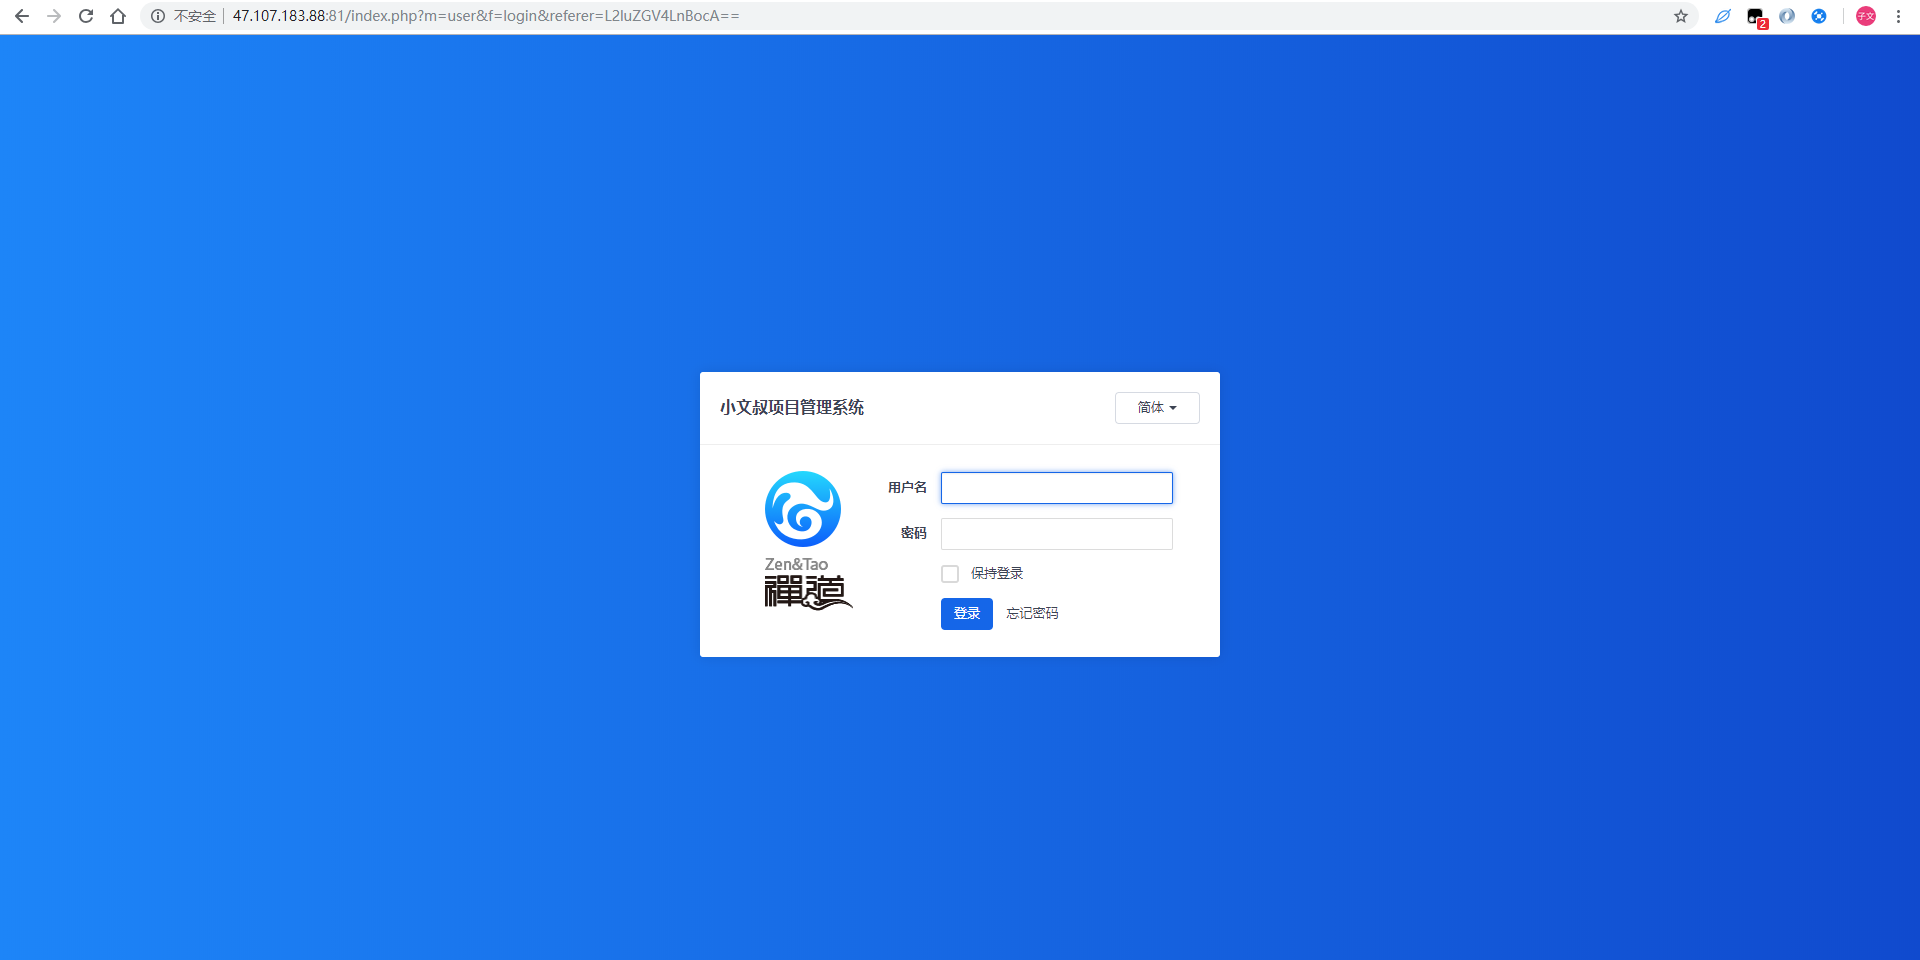
再去看看,我们的 禅道首页,感动到眼泪掉下来
