1.准备三台虚拟机hadoop102,hadoop103,hadoop104
2.配置网络
查看网关
[root@localhost ~]# traceroute www.baidu.com
traceroute to www.baidu.com (180.101.49.12), 30 hops max, 60 byte packets
1 gateway (192.168.28.1) 0.803 ms 0.633 ms 0.471 ms
2 XiaoQiang (192.168.31.1) 3.476 ms 3.377 ms 4.789 ms
3 192.168.0.1 (192.168.0.1) 4.566 ms 4.412 ms 4.306 ms
4 192.168.1.1 (192.168.1.1) 4.201 ms 4.096 ms 3.991 ms
5 183.128.104.1 (183.128.104.1) 168.930 ms 168.857 ms 168.752 ms
6 220.191.158.29 (220.191.158.29) 6.403 ms 6.722 ms *
7 61.164.24.97 (61.164.24.97) 11.342 ms 115.233.20.9 (115.233.20.9) 11.686 ms 220.191.132.25 (220.191.132.25) 6.395 ms
8 202.97.76.6 (202.97.76.6) 15.836 ms 202.97.33.137 (202.97.33.137) 15.285 ms 202.97.76.2 (202.97.76.2) 13.686 ms
9 58.213.94.102 (58.213.94.102) 13.476 ms 58.213.94.82 (58.213.94.82) 11.673 ms 58.213.94.110 (58.213.94.110) 13.888 ms
10 * * *
11 58.213.96.70 (58.213.96.70) 17.452 ms 58.213.96.98 (58.213.96.98) 17.188 ms 58.213.96.86 (58.213.96.86) 16.585 ms
12 * * *
13 * * *
……
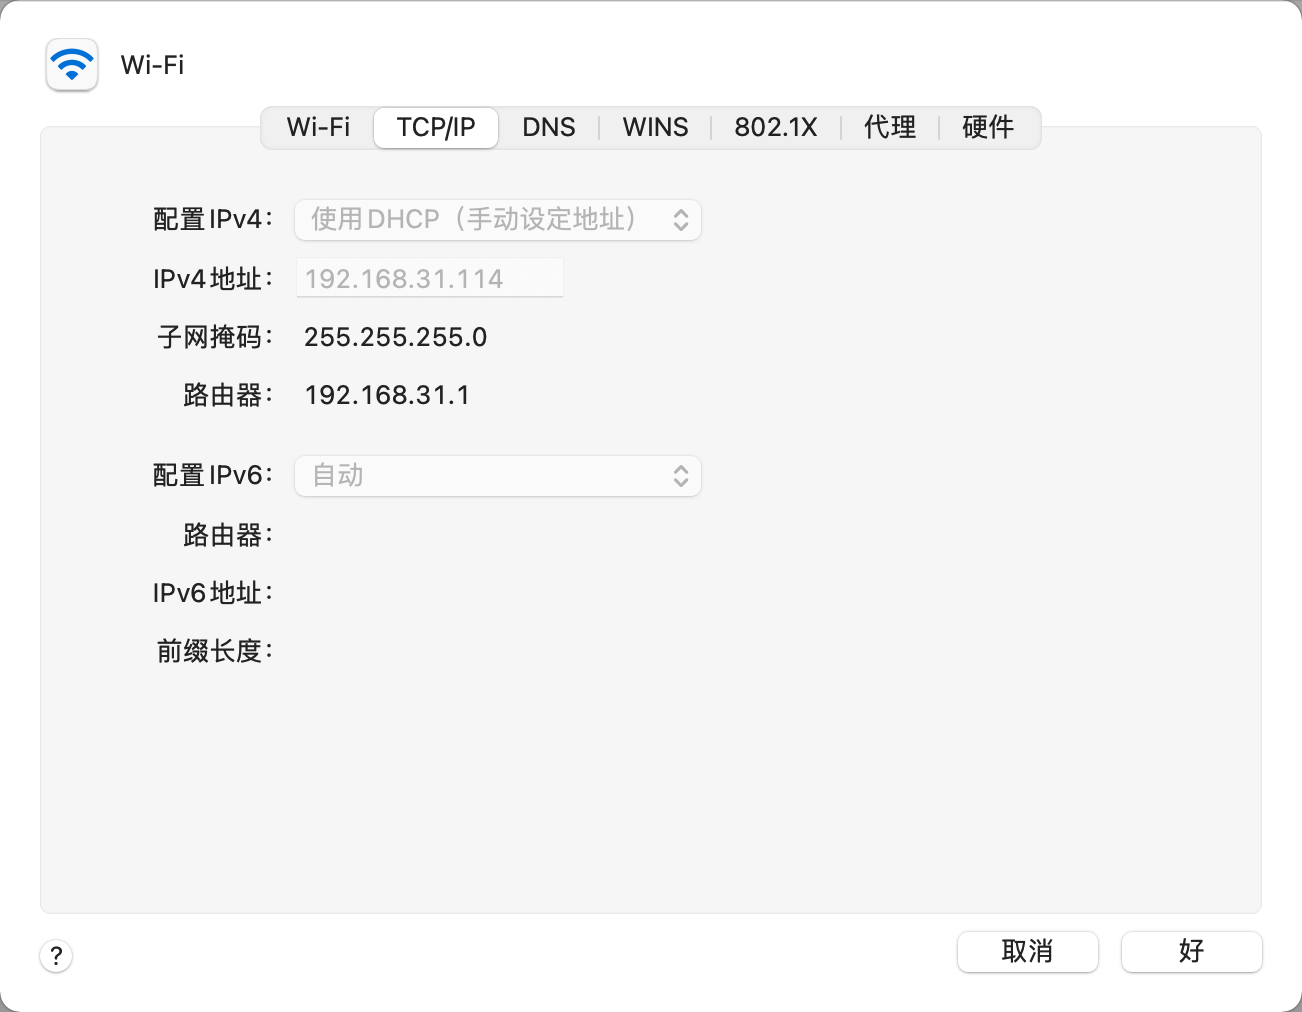
网关为192.168.28.1
dns设为和网关一样即可
[root@localhost ~]# vim /etc/sysconfig/network-scripts/ifcfg-ens33
BOOTPROTO="dhcp" -> BOOTPROTO="static"
添加
IPADDR=192.168.28.102
GATEWAY=192.168.28.1
NETMASK=255.255.255.0
DNS1=192.168.28.1
可以看出nat模式是在主机的基础上虚拟出了一层网络
//实际的网络
en0: flags=8863<UP,BROADCAST,SMART,RUNNING,SIMPLEX,MULTICAST> mtu 1500
options=400<CHANNEL_IO>
ether a4:83:e7:7c:d4:e1
inet6 fe80::8da:7544:4b99:453e%en0 prefixlen 64 secured scopeid 0x6
inet 192.168.31.114 netmask 0xffffff00 broadcast 192.168.31.255
nd6 options=201<PERFORMNUD,DAD>
media: autoselect
status: active
//nat转换虚拟网卡 虚拟机通过192.168.28.1与本机通信,在通过192.168.31.114对应的网关与外部通信
bridge100: flags=8a63<UP,BROADCAST,SMART,RUNNING,ALLMULTI,SIMPLEX,MULTICAST> mtu 1500
options=3<RXCSUM,TXCSUM>
ether a6:83:e7:c7:ac:64
inet 192.168.28.1 netmask 0xffffff00 broadcast 192.168.28.255
inet6 fe80::bd:ed2a:d86a:f222%bridge100 prefixlen 64 secured scopeid 0x12
Configuration:
id 0:0:0:0:0:0 priority 0 hellotime 0 fwddelay 0
maxage 0 holdcnt 0 proto stp maxaddr 100 timeout 1200
root id 0:0:0:0:0:0 priority 0 ifcost 0 port 0
ipfilter disabled flags 0x0
member: en6 flags=3<LEARNING,DISCOVER>
ifmaxaddr 0 port 17 priority 0 path cost 0
member: en7 flags=3<LEARNING,DISCOVER>
ifmaxaddr 0 port 19 priority 0 path cost 0
member: en8 flags=3<LEARNING,DISCOVER>
ifmaxaddr 0 port 20 priority 0 path cost 0
nd6 options=201<PERFORMNUD,DAD>
media: autoselect
status: active
========================================================================================================================
TYPE="Ethernet"
PROXY_METHOD="none"
BROWSER_ONLY="no"
BOOTPROTO="static"
DEFROUTE="yes"
IPV4_FAILURE_FATAL="no"
IPV6INIT="yes"
IPV6_AUTOCONF="yes"
IPV6_DEFROUTE="yes"
IPV6_FAILURE_FATAL="no"
IPV6_ADDR_GEN_MODE="stable-privacy"
NAME="ens33"
UUID="27d91f68-c0a1-418b-b435-6729358c49dc"
DEVICE="ens33"
ONBOOT="yes"
IPADDR=192.168.28.102
GATEWAY=192.168.28.1
NETMASK=255.255.255.0
DNS1=192.168.28.1
========================================================================================================================
3.配置主机名
①
su root
②
vim /etc/hostname
hadoop102
③
vim /etc/sysconfig/network
HOSTNAME=hadoop102
④
vim /etc/hosts
192.168.28.1 hadoop1
192.168.28.102 hadoop102
192.168.28.103 hadoop103
192.168.28.104 hadoop104
⑤
systemctl disable firewalld
chkconfig iptables off
⑥
reboot
4.