1. 先安装jdk
yum search java|grep jdk
查看yum库中都有哪些jdk版本

yum install java-1.8.0-openjdk.x86_64
两次y确认

2. centOS wget的安装和使用
安装:yum install wget

3. 安装 Elasticsearch
Elasticsearch的安装很简单,下载下来解压即可,这里使用wget下载,当然也可通过网页下载 https://www.elastic.co/downloads/elasticsearch ,再拷贝。
(1) wget https://artifacts.elastic.co/downloads/elasticsearch/elasticsearch-5.6.3.tar.gz
(2) 解压到/usr/local/
tar -zxvf elasticsearch-5.6.3.tar.gz -C /usr/local/
(3) Elasticsearch 要求不能使用超级用户root运行,所以我们建立一个testuser账号
# 创建testuser账户
adduser testuser
# 修改密码
passwd testuser
给testuser用户elasticsearch目录的授权
chown -R testuser /usr/local/elasticsearch-5.6.3/
切换至elasticsearch目录,并以testuser用户运行
运行elasticsearch,如果想后台运行后面加 -d
Elasticsearch后端启动命令为:./bin/elasticsearch -d

如果没有没有error,就运行成功啦
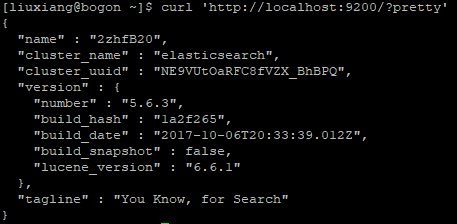
4. 新开一个终端,用curl访问
curl 'http://localhost:9200/?pretty'
5. vim安装
yum search vim

安装VIM:
yum install vim-enhanced

6. 指定ip地址
编辑es的配置文件
[testuser@localhost elasticsearch-5.6.3]$ vim ./config/elasticsearch.yml1
找到network.host: 一行,去除#号,修改为:
network.host: [_local_, 172.30.6.1]1
172.30.6.1为指定的ip地址,可以是多个。
这样就可以在浏览器里打开啦
http://172.30.6.1:9200/?pretty
7. 查看运行状态:
curl http://localhost:9200

安装完后启动服务:
systemctl start elasticsearch.service
8. 安装Elasticsearch head插件
wget https://github.com/mobz/elasticsearch-head/archive/master.zip
unzip master.zip


9. 安装node
wget https://npm.taobao.org/mirrors/node/latest-v4.x/node-v4.4.7-linux-x64.tar.gz
tar -zxvf node-v4.4.7-linux-x64.tar.gz


vi /etc/profile
export NODE_HOME=/usr/java/head/node
export PATH=$PATH:$NODE_HOME/bin
export NODE_PATH=$NODE_HOME/lib/node_modules
执行 source /etc/profile
10. 安装npm
安装 nodejs:
curl -sL https://rpm.nodesource.com/setup_6.x | bash -
yum install -y nodejs
如果提示你需要安装构建工具 gcc gcc++ 什么的你就安装就行了,安装完了再重新安装 nodejs
命令:node -v 如果输出版本号就安装成功了。

更新 npm
npm install npm@latest -g
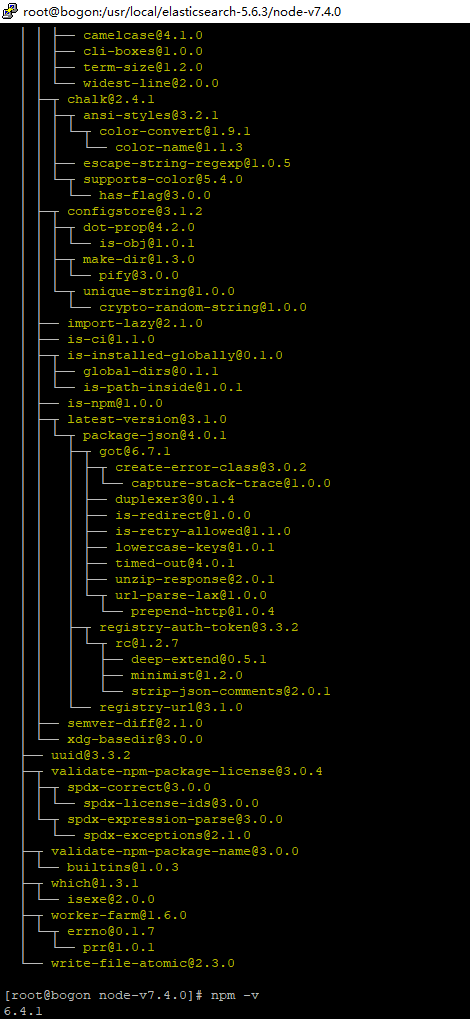
命令:npm -v 输出版本号就成功安装了。
【卸载npm:sudo npm uninstall npm -g ,
卸载nodejs包:yum remove nodejs,
cd 到yum源配置文件夹:cd /etc/yum.repo.d ,删除以 node 开头的源;
清除 yum 缓存 yum clean all 】
11. 安装grunt
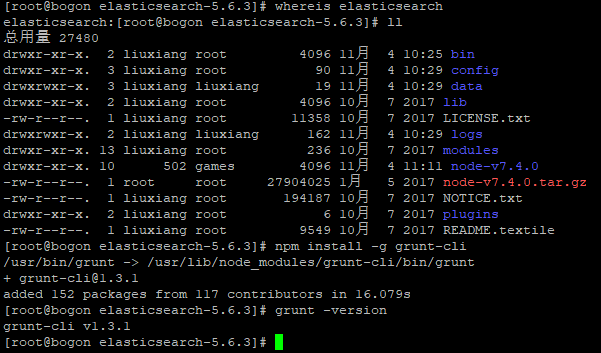
whereis elasticsearch
执行后会生成node_modules文件夹
npm install -g grunt-cli
检查是否安装成功
grunt -version
12. 安装netstat
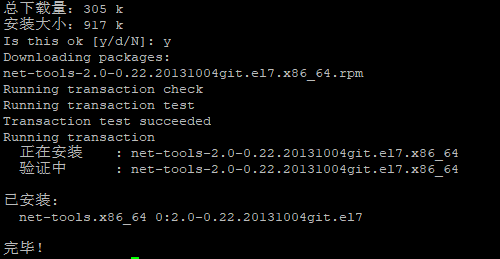
yum install net-tools
13. 先从yum安装git
yum –y install git
14. 下载head
git clone git://github.com/mobz/elasticsearch-head.git
cd elasticsearch-head
npm install
npm run start
启动后会出现连接不上.....
因head运行在9100上,而elasticsearch在9200上,因此需要配置跨越访问。
在 elasticsearch.yml中添加cors允许跨越访问,* 表示允许任何ip进行访问,可改为指定ip:
http.cors.enabled: true
http.cors.allow-origin: "*"
修改head插件源码 修改服务器监听地址:Gruntfile.js
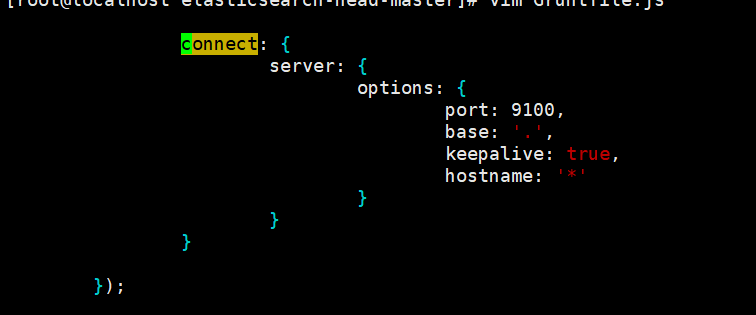
修改连接地址:_site/app.js

运行head
在elasticsearch-head-master目
npm install phantomjs-prebuilt@2.1.16 --ignore-scripts
nohup grunt server &exit
访问http://xxx:9100
添加防火墙:firewall-cmd --zone=public --add-port=9100/tcp --permanent
