简介
Spring Boot Admin 用于监控基于 Spring Boot 的应用,它是在 Spring Boot Actuator 的基础上提供简洁的可视化 WEB UI。
参考手册地址:http://codecentric.github.io/spring-boot-admin/2.1.1/
Spring Boot Admin 是由服务端Server和客户端Client组成
- 服务端
- 1.创建一个springboot工程并添加以下依赖
 1 <dependencies>
 2      <dependency>
 3          <groupId>org.springframework.boot</groupId>
 4          <artifactId>spring-boot-starter-web</artifactId>
 5      </dependency>
 6
 7      <dependency>
 8          <groupId>de.codecentric</groupId>
 9          <artifactId>spring-boot-admin-server</artifactId>
10          <version>2.1.1</version>
11      </dependency>
12
13      <dependency>
14          <groupId>de.codecentric</groupId>
15          <artifactId>spring-boot-admin-server-ui</artifactId>
16          <version>2.1.1</version>
17      </dependency>
18
19      <dependency>
20          <groupId>org.springframework.boot</groupId>
21          <artifactId>spring-boot-starter-security</artifactId>
22       </dependency>
23 </dependencies>
- 2.重写权限控制类(非必要)
 1 @Configuration
 2 public class SecuritySecureConfig extends WebSecurityConfigurerAdapter {
 3     private final String adminContextPath;
 4
 5     public SecuritySecureConfig(AdminServerProperties adminServerProperties) {
 6         this.adminContextPath = adminServerProperties.getContextPath();
 7     }
 8
 9     @Override
10     protected void configure(HttpSecurity http) throws Exception {
11         SavedRequestAwareAuthenticationSuccessHandler successHandler = new SavedRequestAwareAuthenticationSuccessHandler();
12         successHandler.setTargetUrlParameter("redirectTo");
13         successHandler.setDefaultTargetUrl(adminContextPath + "/monitor");
14
15         http.authorizeRequests()
16                 .antMatchers(adminContextPath + "/assets/**").permitAll()
17                 .antMatchers(adminContextPath + "/login").permitAll()
18                 .anyRequest().authenticated()
19                 .and()
20                 .formLogin().loginPage(adminContextPath + "/login").successHandler(successHandler).and()
21                 .logout().logoutUrl(adminContextPath + "/logout").and()
22                 .httpBasic().and()
23                 .csrf()
24                 .csrfTokenRepository(CookieCsrfTokenRepository.withHttpOnlyFalse())
25                 .ignoringAntMatchers(
26                         adminContextPath + "/instances",
27                         adminContextPath + "/actuator/**"
28                 );
29     }
30 }
 1 @EnableWebSecurity
 2 public class WebSecurityConfig implements WebMvcConfigurer {
 3
 4     @Bean
 5     public UserDetailsService userDetailsService() throws Exception {
 6         InMemoryUserDetailsManager manager = new InMemoryUserDetailsManager();
 7         manager.createUser(User.withDefaultPasswordEncoder().username("root").password("root").roles("administrator").build());
 8         return manager;
 9     }
10 }
- 3.启动类添加注解@EnableAdminServer
1 @SpringBootApplication
2 @EnableAdminServer
3 public class AdminServerApplication{
4
5     public static void main(String[] args) {
6         SpringApplication.run(AdminServerApplication.class, args);
7     }
8 }
- 4.配置application.yml
1 server:
2   port: 8081
3
4 spring:
5   boot:
6     admin:
7       context-path: monitor
- 5.浏览器访问该项目

- 客户端
- 1.在需要被监控的应用里面添加如下依赖(注意版本号要与server端相同)
1 <dependency>
2       <groupId>de.codecentric</groupId>
3       <artifactId>spring-boot-admin-starter-client</artifactId>
4       <version>2.1.1</version>
5 </dependency>
- 2.编辑配置文件(详细属性配置参考手册)
1 spring.boot.admin.client.url = http://localhost:8081/admin-server/monitor
2 spring.boot.admin.client.username = root
3 spring.boot.admin.client.password = root
4 spring.boot.admin.client.instance.service-base-url=http://localhost:8080
5 spring.boot.admin.client.instance.name = dida
6
7 management.endpoints.web.exposure.include = *
8 management.endpoint.health.show-details = ALWAYS
- 1.在需要被监控的应用里面添加如下依赖(注意版本号要与server端相同)
- 刷新服务端

问题记录
按照上面的操作,我把公司的一个项目配置成了客户端。在我的win10系统电脑上面运行这两个程序是没有问题的。但是当实际部署在linux服务器上面的时候就遇到了问题:我把springbootAdmin的server端部署到了linux服务器(服务器1),把要监控的项目部署到了另一台Linux服务器(服务器2),这两台服务器处于同一个局域网内。运行这两个项目,发现程序server端能够发现这个我的client项目,但是client项目一直处于断开状态。

错误日志
WARN  de.codecentric.boot.admin.client.registration.ApplicationRegistrator.register Line:115 - Failed to register application as Application
(name=dida, managementUrl=http://www.xxx.com:8081/dida/actuator, healthUrl=http://www.xxx.com:8081/dida/actuator/health,serviceUrl=http://www.xxx.com:8081/dida)
 at spring-boot-admin ([http://admin.xxx.com:8080/monitor/instances]): 404 null. Further attempts are logged on DEBUG level
经过多次尝试,发现spring.boot.admin.client.url 该项目配置应该配置ip地址 http://172.18.0.188:8080/monitor,而不是域名。
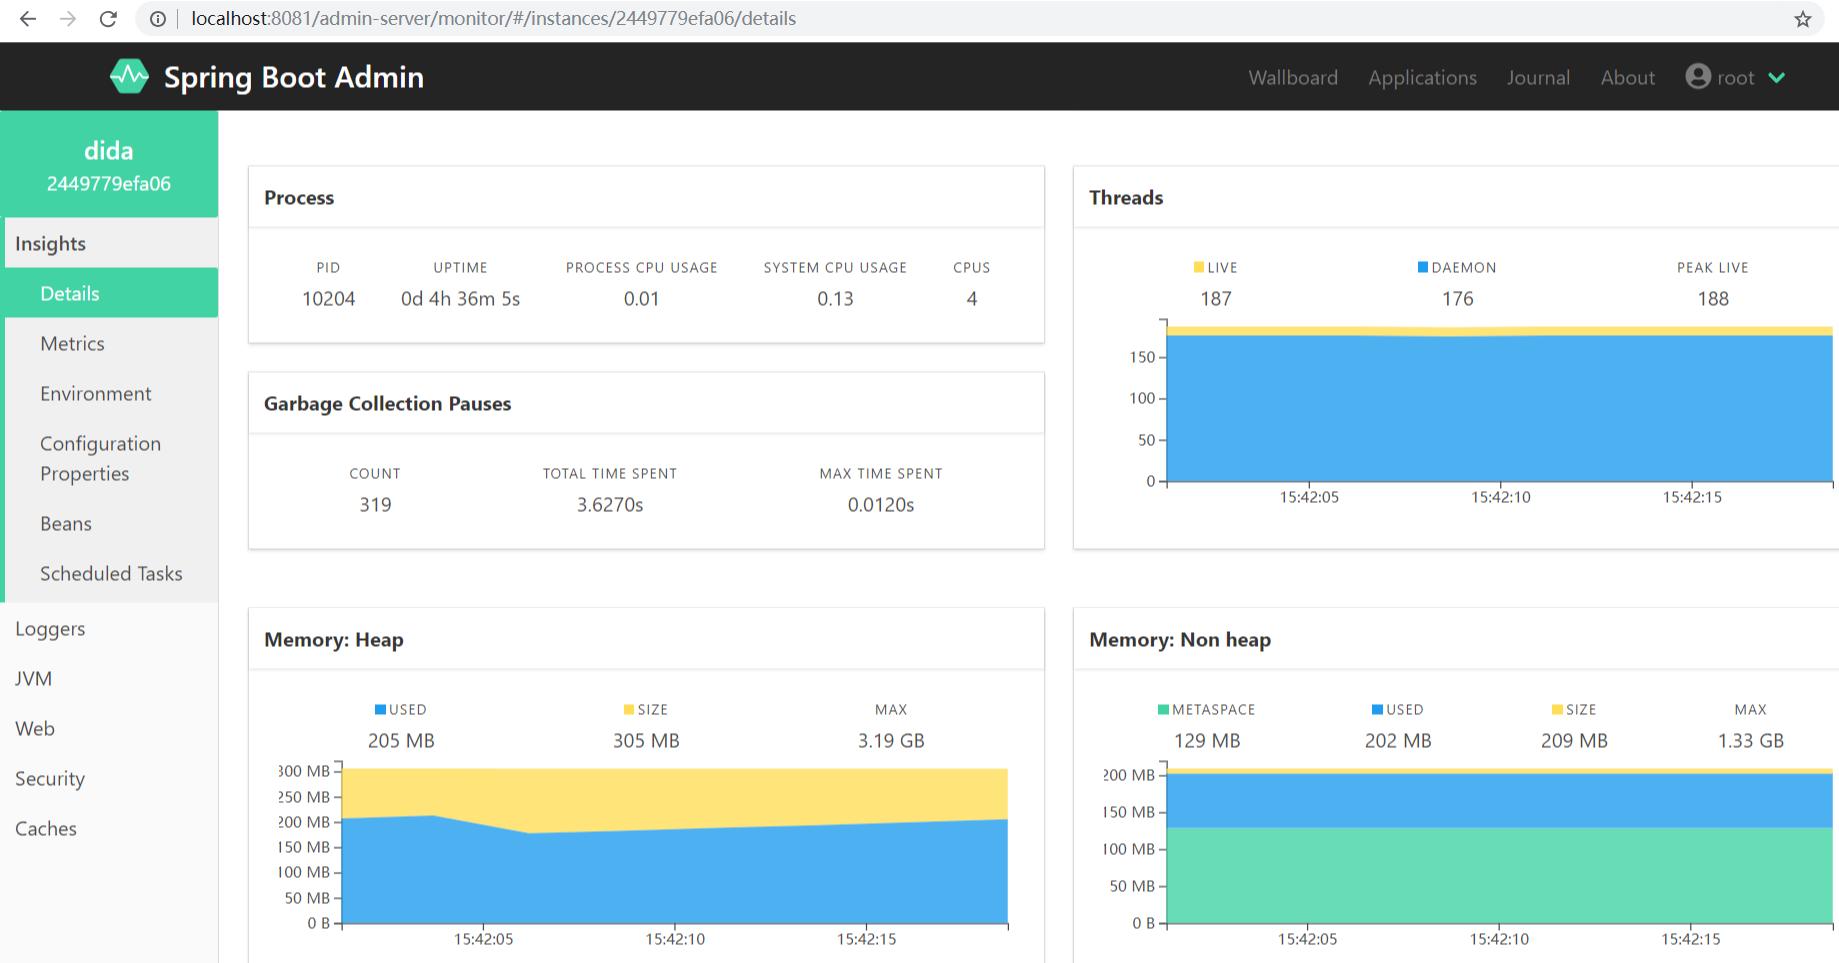
INFO de.codecentric.boot.admin.client.registration.ApplicationRegistrator.register Line:98 - Application registered itself as 2449779efa06
日志显示注册成功。
待补充 ... ...