前言
写这篇文章的原因,其实由于我写EF core 实现多租户的时候,遇到的问题。
具体文章的链接:
Asp.net core下利用EF core实现从数据实现多租户(1)
Asp.net core下利用EF core实现从数据实现多租户(2) : 按表分离 (主要关联文章)
这里我遇到的最主要问题是:由于多租户的表使用的是同一个数据库。由于这个原因,无法通过 Database.EnsureCreated() 自动创建多个结构相同但名字不同的表。
所以我在文中提到,需要自己跑脚本去创建多有的表。
虽然我依然认为在多租户的情况下使用sql管理表是更可靠的方案,但如果可以利用EF core原生提供的Migration机制,在运行时自动创建和更新数据表结构,那更加友好。
实现的思路
其实我们都知道,EF core (code first) 会在数据库中生成唯一一个 __EFMigrationHistory 表,数据库的版本记录在这里。
在我们文章的场景下,由于有多个租户同时使用,同一个表结构(Products)会出现多次,那么意思就是一个 __EFMigrationHistory 无法同时记录多个租户的数据表版本。
好了,既然问题的关键已经知道了,我们可以在这里先把答案揭晓,在下问在详细说明实现方法:
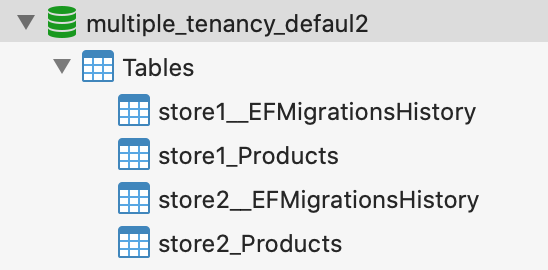
图中可以看到,我们自定义MigrationHistory表,并且在一个数据下,同时出现了store1和store2的 MigrationHistory 表。
实施
项目介绍
这是一个多租户系统,具体来说就是根据不同的租户,创建相同的所有数据表。
项目依赖:
1. .net core app 3.1。在机器上安装好.net core SDK, 版本3.1
2. Mysql. 使用 Pomelo.EntityFrameworkCore.MySql 包
3. EF core,Microsoft.EntityFrameworkCore, 版本3.1.1。这里必须要用3.1的,因为ef core3.0是面向.net standard 2.1.
4. EF core design, Microsoft.EntityFrameworkCore.Design, 版本 3.1.1
5. dotnet-ef tool, 版本 3.1.1
关键的对象:
1. MigrationsAssembly, 利用此类去实现创建对应的Migration单元。
2. Migration files, 这里指的是一批Migration相关的文件,利用执行dotnet-ef 命令生成具体的文件,从而真正地去创建和更新数据库。
实施步骤
1. 运行dotnet-ef命令,生成Migration files
命令:
1 dotnet-ef migrations add init
执行后,会在项目中的Migrations文件夹下生成多个*.cs文件,其实他们也是可执行C#对象
机构如下:
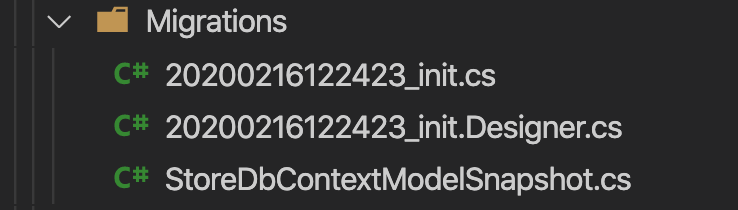
这3个文件中,主要起作用的是*_init.cs这个文件
打开之后我们需要对他进行修改


 1 using Microsoft.EntityFrameworkCore.Metadata;
 2 using Microsoft.EntityFrameworkCore.Migrations;
 3
 4 namespace kiwiho.Course.MultipleTenancy.EFcore.Api.Migrations
 5 {
 6     public partial class init : Migration
 7     {
 8         private readonly string prefix;
 9         public init(string prefix)
10         {
11             if (string.IsNullOrEmpty(prefix))
12             {
13                 throw new System.ArgumentNullException();
14             }
15             this.prefix = prefix;
16         }
17
18         protected override void Up(MigrationBuilder migrationBuilder)
19         {
20             migrationBuilder.CreateTable(
21                 name: prefix + "_Products",
22                 columns: table => new
23                 {
24                     Id = table.Column<int>(nullable: false)
25                         .Annotation("MySql:ValueGenerationStrategy", MySqlValueGenerationStrategy.IdentityColumn),
26                     Name = table.Column<string>(maxLength: 50, nullable: false),
27                     Category = table.Column<string>(maxLength: 50, nullable: true),
28                     Price = table.Column<double>(nullable: true)
29                 },
30                 constraints: table =>
31                 {
32                     table.PrimaryKey("PK__Products", x => x.Id);
33                 });
34         }
35
36         protected override void Down(MigrationBuilder migrationBuilder)
37         {
38             migrationBuilder.DropTable(
39                 name: prefix + "_Products");
40         }
41     }
42 }
这里修改的主要是:
1.1 新增构造函数,并且在里面添加一个 prefix 参数。
1.2 在Up方法中,对table Name进行修改,把prefix变量加在_Product前面(第21行)
1.3 在Down方法中,对table Name进行修改,把prefix变量加在_Product前面 (第39行)
2. 创建 MigrationByTenantAssembly 文件。
由于上一步讲Migration file的构造函数修改了,理论上EF core已经五法通过默认的方式成功执行改Migration file了
 1 using System;
 2 using System.Reflection;
 3 using Microsoft.EntityFrameworkCore;
 4 using Microsoft.EntityFrameworkCore.Diagnostics;
 5 using Microsoft.EntityFrameworkCore.Infrastructure;
 6 using Microsoft.EntityFrameworkCore.Migrations;
 7 using Microsoft.EntityFrameworkCore.Migrations.Internal;
 8
 9 namespace kiwiho.Course.MultipleTenancy.EFcore.Api.Infrastructure
10 {
11     public class MigrationByTenantAssembly : MigrationsAssembly
12     {
13         private readonly DbContext context;
14
15         public MigrationByTenantAssembly(ICurrentDbContext currentContext,
16               IDbContextOptions options, IMigrationsIdGenerator idGenerator,
17               IDiagnosticsLogger<DbLoggerCategory.Migrations> logger)
18           : base(currentContext, options, idGenerator, logger)
19         {
20             context = currentContext.Context;
21         }
22
23         public override Migration CreateMigration(TypeInfo migrationClass,
24               string activeProvider)
25         {
26             if (activeProvider == null)
27                 throw new ArgumentNullException($"{nameof(activeProvider)} argument is null");
28
29             var hasCtorWithSchema = migrationClass
30                     .GetConstructor(new[] { typeof(string) }) != null;
31
32             if (hasCtorWithSchema && context is ITenantDbContext tenantDbContext)
33             {
34                 var instance = (Migration)Activator.CreateInstance(migrationClass.AsType(), tenantDbContext?.TenantInfo?.Name);
35                 instance.ActiveProvider = activeProvider;
36                 return instance;
37             }
38
39             return base.CreateMigration(migrationClass, activeProvider);
40         }
41     }
42 }
这个类中没有什么特别的,关键在于29~37行。首先需要判断目标 Migration 对象的是否有一个构造函数的参数有且仅有一个string 类型
判断DbContext是否有实现ITenantDbContext接口。
利用 Activator 创建 Migration 实例(把tenant Name传进构造函数)
3. 在 MultipleTenancyExtension 类的AddDatabase方法中,添加自定义MigrationHistory表名
 1 var dbOptionBuilder = options.UseMySql(resolver.GetConnection(), builder =>
 2 {
 3     if (option.Type == ConnectionResolverType.ByTabel)
 4     {
 5         builder.MigrationsHistoryTable(${tenantInfo.Name}__EFMigrationsHistory");
 6     }
 7 });
 8
 9
10 dbOptionBuilder.ReplaceService<Microsoft.EntityFrameworkCore.Migrations.IMigrationsAssembly, MigrationByTenantAssembly>();
最关键的一点是第5行,调用 MigrationsHistoryTable 设置MigrationHistory表名
另外一点是第10行,用 MigrationByTenantAssembly 类替换 EF core 中默认的实现(IMigrationsAssembly接口)
4. 在ProductController的构造函数中,修改成如下
Database.Migrate 的作用主要是在运行时可以执行数据库的创建和更新
1 public ProductController(StoreDbContext storeDbContext)
2 {
3     this.storeDbContext = storeDbContext;
4     this.storeDbContext.Database.Migrate();
5 }
查看效果
调用接口
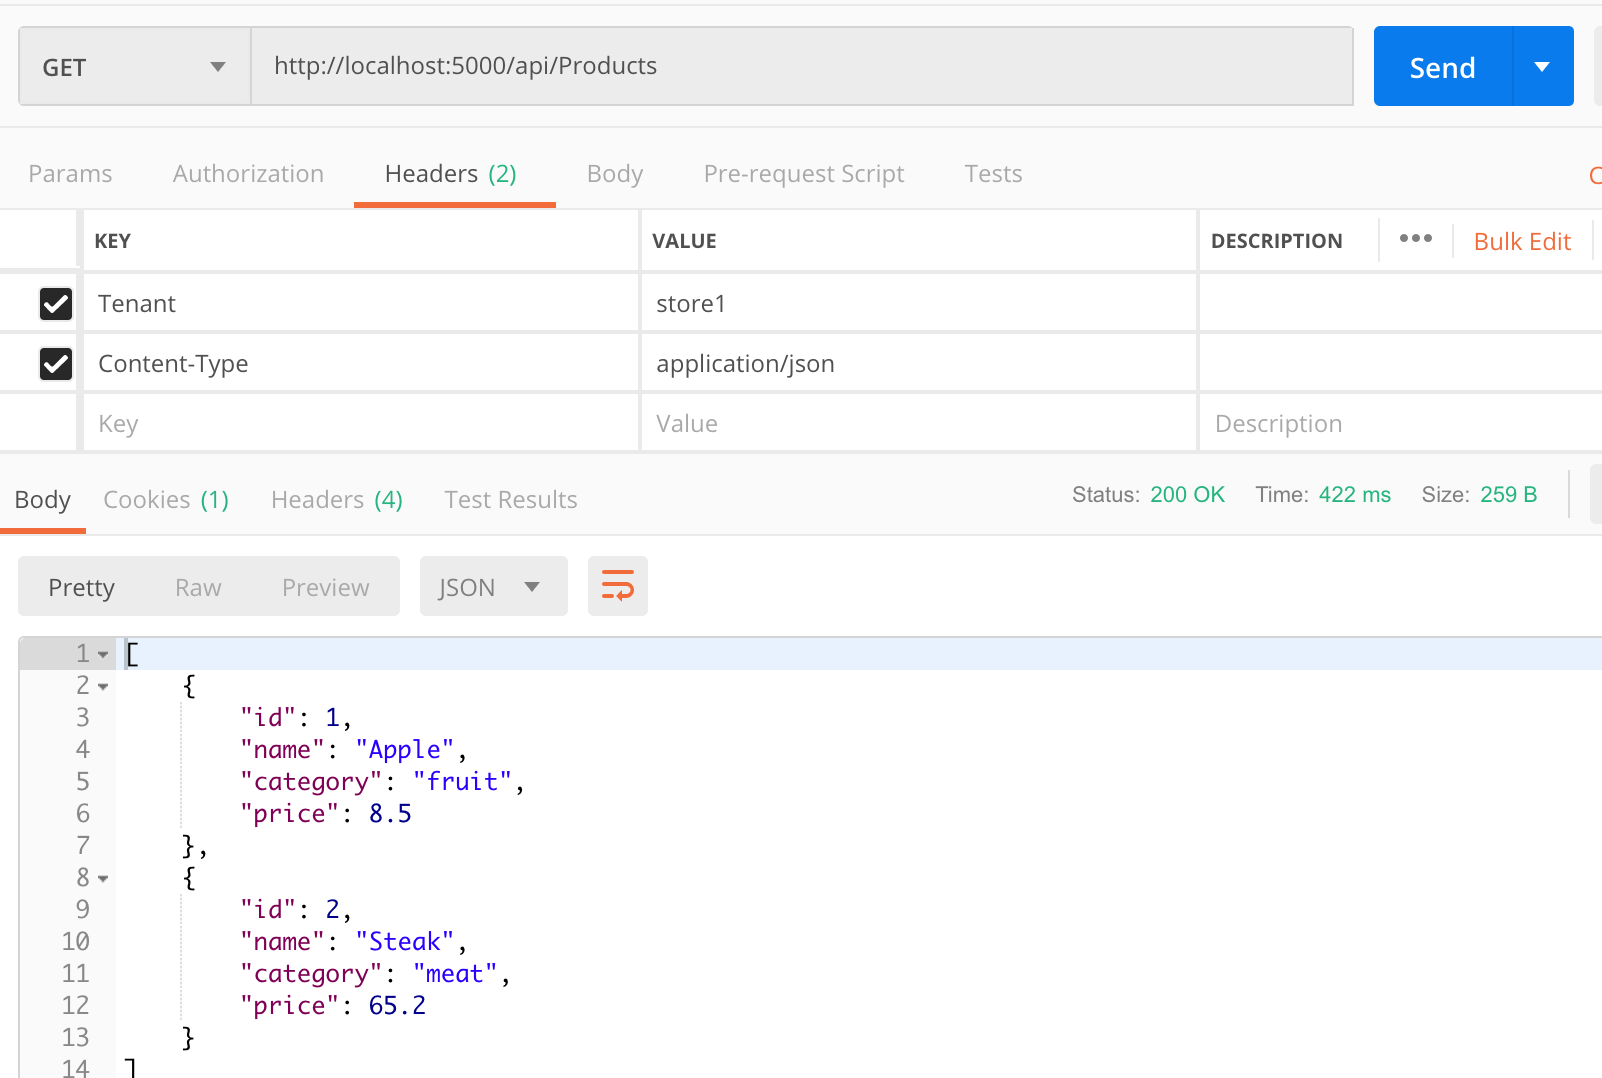
跟系列文章一样,我们先调用创建product的接口分别在store1和store2中添加记录。
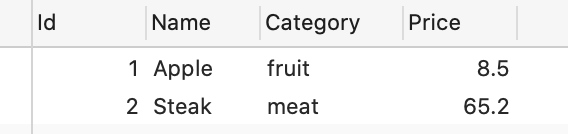
下面是store1 的查询结果
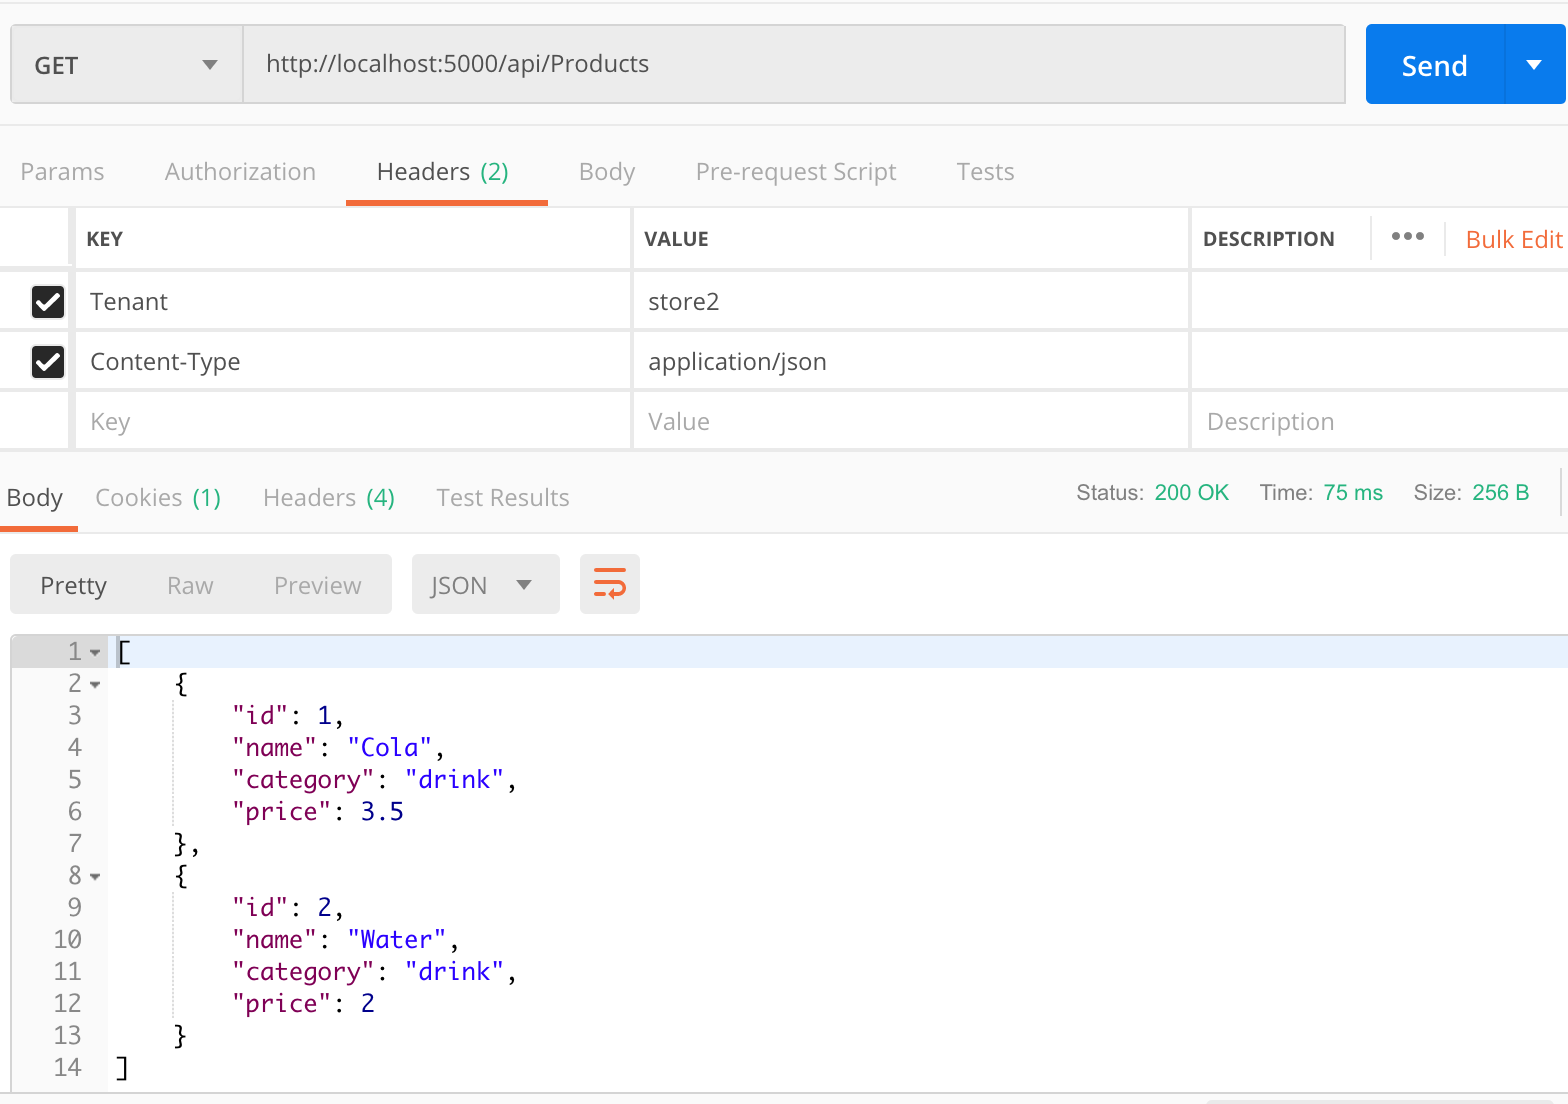
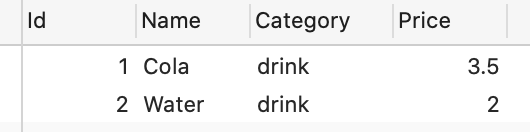
store2的查询结果
查看数据库验证数据
数据库的表结构

store1_Products 表数据
store2_Products 表数据
总结
本文中我们介绍了ef core 的code first模式下是如何更新数据库的,并且通过添加 Migration 对象的构造函数 ,自行添加了必要参数。
通过替换EF core中默认的 IMigrationsAssembly 实现, MigrationByTenantAssembly 中自定对Migration对象实例化。
替换EF core中默认的MigrationHistory最终实现需求。
本文虽然只是一个示例,但是却可以在真实项目中使用相同的手段以实现需求。不过还是那句话,对于多租户情况下,我推荐使用db first模式。
关于代码
代码已经传上github,请查看EF_code_first的分支的代码。
https://github.com/woailibain/EFCore.MultipleTenancyDemo/tree/EF_code_first
参考文章