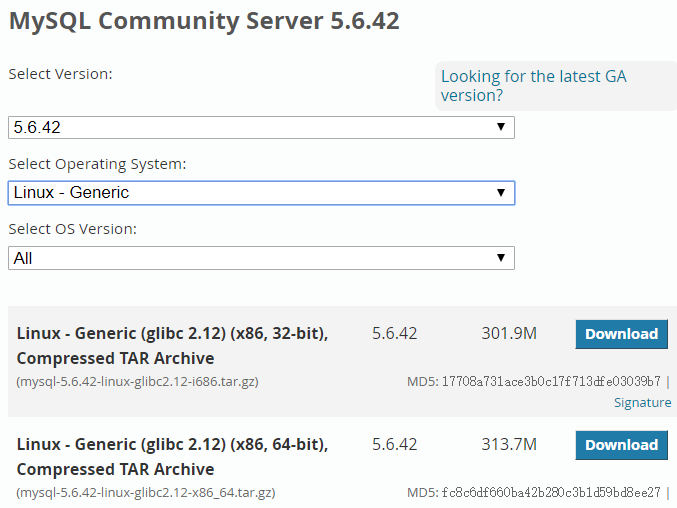
1. 下载mysql https://dev.mysql.com/downloads/mysql/5.6.html#downloads

2. 上传解压

3. 删除安装包, 重命名解压后的文件

4. 先检查是否有mysql用户组和mysql用户,没有就添加有就忽略: groups mysql
添加用户组和用户 groupadd mysql && useradd -r -g mysql mysql

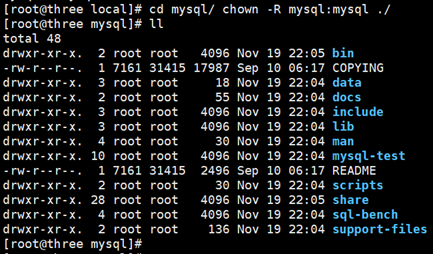
5. 进入mysql目录修改权限 cd mysql/ chown -R mysql:mysql ./

6. 安装依赖库 yum -y install autoconf && yum install libaio* -y && yum -y install numactl
7. 执行安装脚本 ./scripts/mysql_install_db --user=mysql
8. 脚本安装完之后修改当前目录拥有者为root用户,修改data目录拥有者为mysql
chown -R root:root ./ && chown -R mysql:mysql data

9. 创建默认日志文件 mkdir /var/log/mariadb && touch /var/log/mariadb/mariadb.log
10. my.cnf设置为用户可读写,其他用户不可写 。 chmod 644 /usr/local/mysql/my.cnf
11. 启动mysql ./support-files/mysql.server start
12. 修改密码 ./bin/mysqladmin -u root -h localhost.localdomain password '123456'
13. 登陆mysql ./bin/mysql -h127.0.0.1 -uroot -p123456
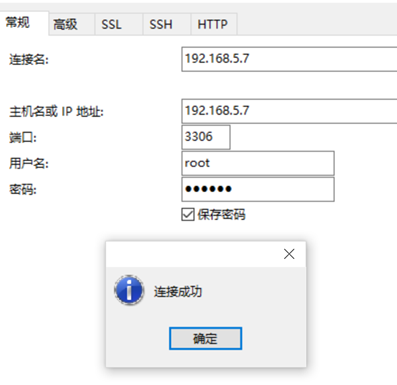
14. 授权远程登陆 grant all privileges on *.* to root@'%' identified by '123456'; flush privileges;

【卸载】
1. rm -rf /root/.mysql_sercret
2. rm -rf /var/lib/mysql
3. rm -rf /usr/local/mysql
【mysql5.6 开机自启动】
1,将服务文件复制一份到init.d下,并重命名为mysqld
cp /usr/local/mysql/support-files/mysql.server /etc/init.d/mysqld
2,对文件赋予执行权限
chmod +x /etc/init.d/mysqld 或 chmod 777 /etc/init.d/mysqld
3,增加mysqld服务
chkconfig --add mysqld
4,查询mysqld服务情况
chkconfig --list mysqld

5, 如果3,4,5 为off:
chkconfig --level 345 mysqld on
6, 重启服务器验证:reboot