docker
安装docker (release>=19.02)
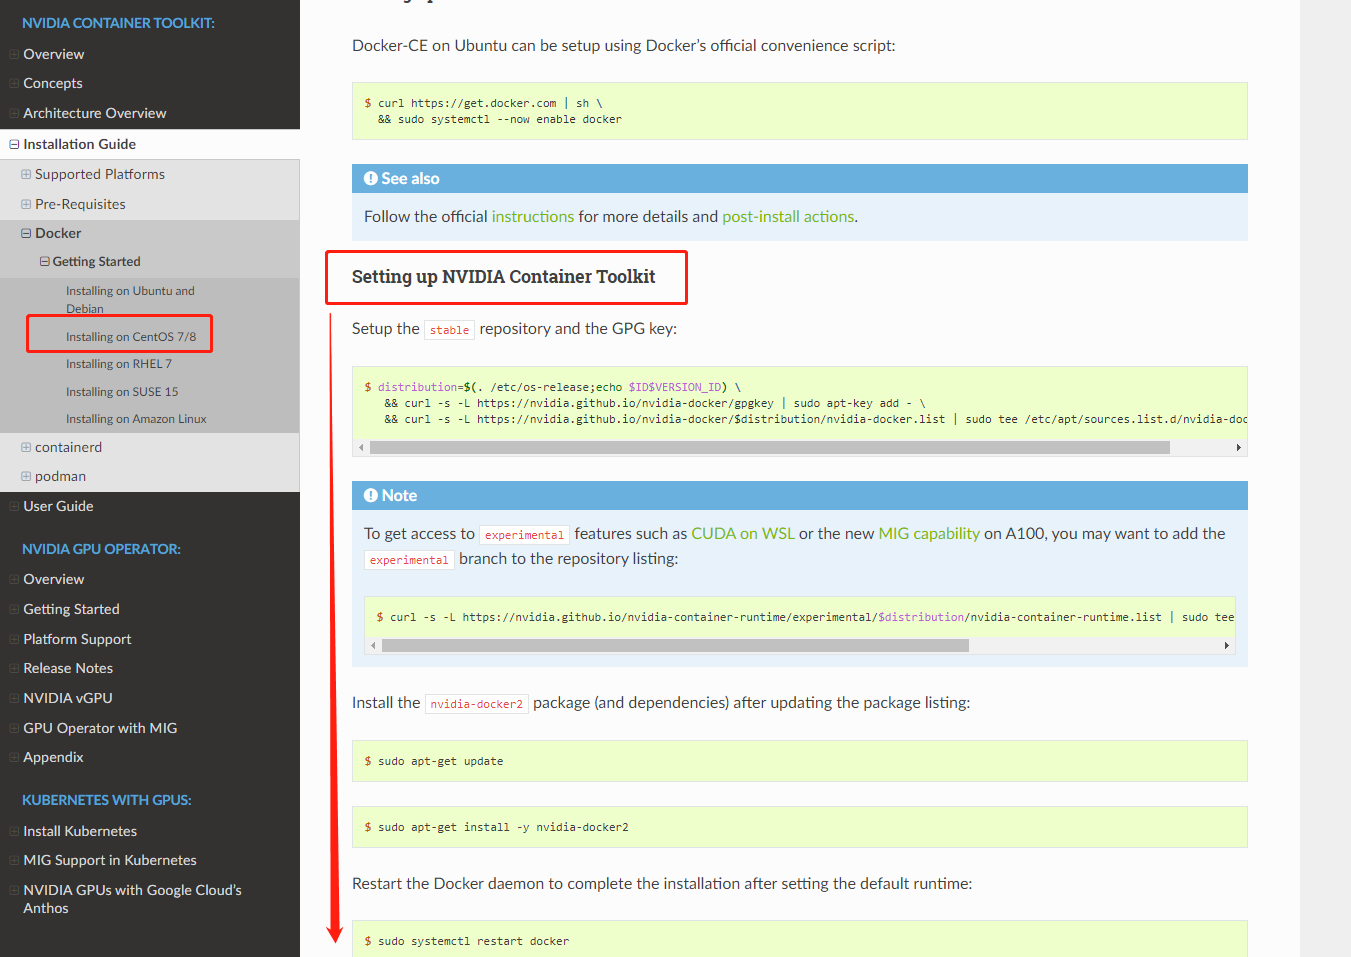
安装NVIDIA Container Toolkit
https://docs.nvidia.com/datacenter/cloud-native/container-toolkit/install-guide.html#docker

安装使用gpu的docker容器:
docker run -it --gpus all centos
安装开发环境:
安装编译工具:
yum -y install openssl-devel bzip2-devel expat-devel gdbm-devel readline-devel sqlite-devel
yum -y install gcc automake autoconf libtool make wget
yum -y install yum-utils
yum -y install libffi-devel
yum -y install wget
yum -y install vim
安装python:
mkdir -p /usr/local/python3
cd /usr/local/python3
wget https://www.python.org/ftp/python/3.7.1/Python-3.7.1.tgz
tar -zxvf Python-3.7.1.tgz
cd Python-3.7.1
./configure --prefix=/usr/local/python3
make && make install
ln -s /usr/local/python3/bin/python3 /usr/bin/python3
vim ~/.bash_profile
# .bash_profile# Get the aliases and functionsif [ -f ~/.bashrc ]; then. ~/.bashrcfi# User specific environment and startup programsPATH=$PATH:$HOME/bin:/usr/local/python3/binexport PATHmkdir .pip
cd .pip
vim pip.conf
[global]
index-url=https://pypi.tuna.tsinghua.edu.cn/simple/
trusted-host=pypi.tuna.tsinghua.edu.cn
docker images -a
# 使用新镜像 构造新容器并使用gpu (可跳过)docker run -i -t -p 2222:22 --gpus all IMAGE_NAME
使用Pycharm ssh 远程连接 Docker:
设置容器中的centos登录密码:
yum install passwd -y
passwd
安装ssh:
yum install openssh-server -y
配置ssh:
cd /etc/ssh
ssh-keygen -t rsa -f /etc/ssh/ssh_host_rsa_key
ssh-keygen -t rsa -f /etc/ssh/ssh_host_ecdsa_key
ssh-keygen -t rsa -f /etc/ssh/ssh_host_ed25519_key
创建允许外部访问的认证文件:
mkdir -p ~/.ssh
> ~/.ssh/authorized_keys
编写容器的服务启动脚本:
vi /run.sh
#!/bin/bash
/usr/sbin/sshd -D
设置执行权限:
chmod +x/run.sh
退出容器,将具有ssh功能的容器保存为新的镜像文件,方便使用:
exit
docker commit NEW_CONTAINER_ID NEW_IMAGE_NAME
启动并通过 ssh 连接新容器:
docker run -d --name SSH-CONTAINER-NAME -p 2222:22 NEW_IMAGE_NAME /run.sh
参数说明:
-d 后台启动
-name 指定容器名称
-p 2222:22 将容器的22端口服务映射到宿主机的 2222 端口上
进入后台运行的容器:
docker exec -it CONTAINER_ID /bin/bash
本地 ssh 连接容器:
ssh root@127.0.0.1 -p 2222
Pycharm ssh 连接容器 python:
- 打开 pycharm,依次点击 File > Settings > Project > Python Interpreter
- 依次点击 Show All > + > SSH Interpreter,依次输入
- host(容器所处的宿主机ip)、port(2222) username(为远程连接的容器用户名 root);
- 输入在容器中设计的root账户的密码,点击 Next;
- 编译器路径选择 /usr/local/bin/python3.8;