vue脚手架3使用 cesium
前前后后写了3篇vue使用cesium的博文了,我都写烦了,因为我用的挺好,但是仅限于我自己。
主要是之前写的我觉得确实有瑕疵,今天这个我实验了,没有那么多的配置,而且还很顺利,没有任何错误提示,稍微写一下吧再,这篇写完,在也不写了。
安装 Cesium
直接使用npm安装,一行命令安装完成!
npm install cesium --save
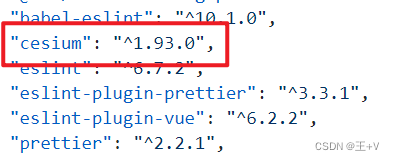
我安装的版本是这个 1.93.0 。

好,到这里安装就完成了。
配置
接下来就是使用,很多人卡在这个地方,要不是不会用,要不是 Cesium 找不到,按照下面的步骤,就没问题。不需要移动什么文件夹之类的,安装完直接配置。
vue.config.js 文件这样配置。
const CopyWebpackPlugin = require('copy-webpack-plugin')
const webpack = require('webpack')
const path = require('path')

let cesiumSource = './node_modules/cesium/Source'
let cesiumWorkers = '../Build/Cesium/Workers'

module.exports = {
  // 基本路径
  publicPath: "./",
  // 输出文件目录
  outputDir: "dist",
  // eslint-loader 是否在保存的时候检查
  lintOnSave: false,
  // webpack-dev-server 相关配置
  devServer: {
    open: process.platform === "darwin",
    host: "0.0.0.0",
    port: 5000,
    https: false,
    hotOnly: false
  },
  configureWebpack: {
    output: {
      sourcePrefix: ' '
    },
    amd: {
      toUrlUndefined: true
    },
    resolve: {
      alias: {
        'vue$': 'vue/dist/vue.esm.js',
        '@': path.resolve('src'),
        'cesium': path.resolve(__dirname, cesiumSource)
      }
    },
    plugins: [
      new CopyWebpackPlugin([{ from: path.join(cesiumSource, cesiumWorkers), to: 'Workers' }]),
      new CopyWebpackPlugin([{ from: path.join(cesiumSource, 'Assets'), to: 'Assets' }]),
      new CopyWebpackPlugin([{ from: path.join(cesiumSource, 'Widgets'), to: 'Widgets' }]),
      new CopyWebpackPlugin([{ from: path.join(cesiumSource, 'ThirdParty/Workers'), to: 'ThirdParty/Workers' }]),
      new webpack.DefinePlugin({
        CESIUM_BASE_URL: JSON.stringify('./')
      })
    ],
    module: {
      unknownContextCritical: /^.\/.*$/,
      unknownContextCritical: false
    }
  }
};
使用
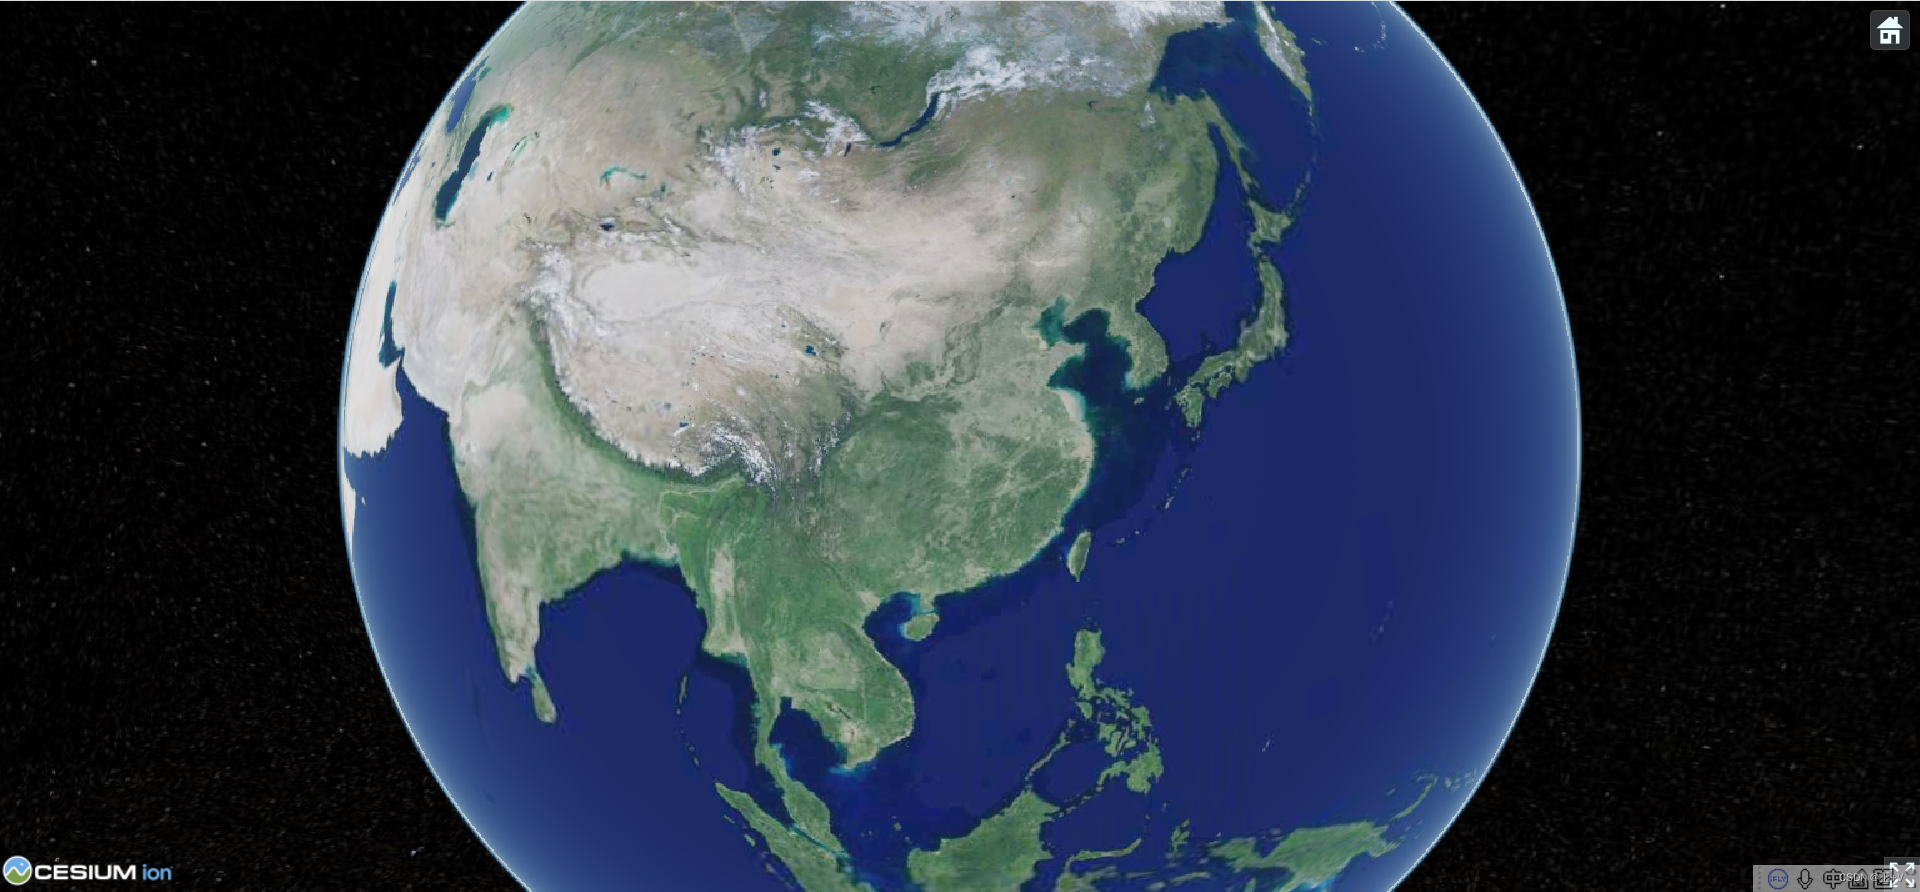
使用的话直接把我测试的demo放进来了
<template>
  <div id="map"></div>
</template>

<script>

  import * as Cesium from "cesium/Cesium";
  import widget from "cesium/Widgets/widgets.css";

  export default {
    name: "Home",
    data() {
      return {

      }
    },
    mounted() {
      this.init()
    },
    methods: {
      init() {
        window.earth = new Cesium.Viewer("map", {
          // terrainProvider: Cesium.createWorldTerrain(),
          animation: false, //是否显示动画控件
          homeButton: true, //是否显示home键
          geocoder: false, //是否显示地名查找控件        如果设置为true,则无法查询
          baseLayerPicker: false, //是否显示图层选择控件
          timeline: false, //是否显示时间线控件
          fullscreenButton: true, //是否全屏显示
          scene3DOnly: false, //如果设置为true,则所有几何图形以3D模式绘制以节约GPU资源
          infoBox: false, //是否显示点击要素之后显示的信息
          sceneModePicker: false, //是否显示投影方式控件  三维/二维
          navigationInstructionsInitiallyVisible: true,
          navigationHelpButton: false, //是否显示帮助信息控件
          selectionIndicator: false, //是否显示指示器组件
          // 加载天地图
          imageryProvider: new Cesium.WebMapTileServiceImageryProvider({
            url:
              "http://t0.tianditu.com/img_w/wmts?service=wmts&request=GetTile&version=1.0.0&LAYER=img&tileMatrixSet=w&TileMatrix={TileMatrix}&TileRow={TileRow}&TileCol={TileCol}&style=default&format=tiles&tk=你的天地图tk",
            layer: "tdtBasicLayer",
            style: "default",
            format: "image/jpeg",
            tileMatrixSetID: "GoogleMapsCompatible",
            show: false,
            mininumLevel: 0,
            maximumLevel: 16
          })
        });
      },
    },
  };
</script>
<style scoped>
  #map {
     100%;
    height: 100%;
    background-color: azure;
  }
</style>
好,就这样。
