写此文目的:利用搭建禅道环境联系Docker基本使用方法,加深对Docker容器的理解,Ubuntu下面才能原生运行Docker,因此选择了Ubuntu
1、下载禅道开源版
wget http://dl.cnezsoft.com/zentao/docker/docker_zentao.zip
wilson@ubuntu:~/temp/zetao$ wget http://dl.cnezsoft.com/zentao/docker/docker_zentao.zip
--2019-01-12 13:08:20--  http://dl.cnezsoft.com/zentao/docker/docker_zentao.zip
正在解析主机 dl.cnezsoft.com (dl.cnezsoft.com)... 183.232.171.177, 183.232.152.111, 183.232.171.240, ...
正在连接 dl.cnezsoft.com (dl.cnezsoft.com)|183.232.171.177|:80... 已连接。
已发出 HTTP 请求,正在等待回应... 200 OK
长度: 506672 (495K) [application/zip]
正在保存至: “docker_zentao.zip”

docker_zentao.zip                                           100%[========================================================================================================================================>] 494.80K  1.86MB/s    in 0.3s
2、解压缩安装包
unzip docker_zentao.zip
wilson@ubuntu:~/temp/zetao$ unzip docker_zentao.zip
Archive:  docker_zentao.zip
   creating: docker_zentao/
  inflating: docker_zentao/docker-entrypoint.sh
  inflating: docker_zentao/Dockerfile
   creating: docker_zentao/config/
  inflating: docker_zentao/config/apache.conf
  inflating: docker_zentao/config/ioncube_loader_lin_7.0.so
 extracting: docker_zentao/config/00-ioncube.ini
  inflating: docker_zentao/README.md
3、构建Docker镜像,这个过程时间有点长,等得蛋疼
docker build -t zentao ./
这个过程很漫长,等了将近2小时

[sudo] wilson 的密码:
Sending build context to Docker daemon  1.251MB
Step 1/18 : FROM ubuntu:16.04
 ---> b0ef3016420a
Step 2/18 : MAINTAINER yidong <yidong@cnezsoft.com>
 ---> Using cache
 ---> 87a4c6e80ac1
Step 3/18 : RUN apt-get update && apt-get install -y apache2 mariadb-server php php-curl php-gd php-ldap php-mbstring php-mcrypt php-mysql php-xml php-zip php-cli php-json curl unzip libapache2-mod-php locales
 ---> Running in c9ec5160c062
Get:1 http://archive.ubuntu.com/ubuntu xenial InRelease [247 kB]
Get:2 http://security.ubuntu.com/ubuntu xenial-security InRelease [107 kB]
Get:1 http://archive.ubuntu.com/ubuntu xenial InRelease [247 kB]
Get:3 http://archive.ubuntu.com/ubuntu xenial-updates InRelease [109 kB]
Get:4 http://archive.ubuntu.com/ubuntu xenial-backports InRelease [107 kB]
Get:5 http://archive.ubuntu.com/ubuntu xenial/main amd64 Packages [1558 kB]
Get:2 http://security.ubuntu.com/ubuntu xenial-security InRelease [107 kB]
Get:6 http://security.ubuntu.com/ubuntu xenial-security/main amd64 Packages [763 kB]
Get:7 http://archive.ubuntu.com/ubuntu xenial/restricted amd64 Packages [14.1 kB]
Get:8 http://archive.ubuntu.com/ubuntu xenial/universe amd64 Packages [9827 kB]
Ign:6 http://security.ubuntu.com/ubuntu xenial-security/main amd64 Packages
Get:9 http://security.ubuntu.com/ubuntu xenial-security/restricted amd64 Packages [12.7 kB]
Get:8 http://archive.ubuntu.com/ubuntu xenial/universe amd64 Packages [9827 kB]
Get:10 http://security.ubuntu.com/ubuntu xenial-security/universe amd64 Packages [522 kB]
Ign:10 http://security.ubuntu.com/ubuntu xenial-security/universe amd64 Packages
Get:11 http://security.ubuntu.com/ubuntu xenial-security/multiverse amd64 Packages [4026 B]
Get:6 http://security.ubuntu.com/ubuntu xenial-security/main amd64 Packages [763 kB]
Get:12 http://archive.ubuntu.com/ubuntu xenial/multiverse amd64 Packages [176 kB]
Get:13 http://archive.ubuntu.com/ubuntu xenial-updates/main amd64 Packages [1166 kB]
Get:14 http://archive.ubuntu.com/ubuntu xenial-updates/restricted amd64 Packages [13.1 kB]
Get:15 http://archive.ubuntu.com/ubuntu xenial-updates/universe amd64 Packages [925 kB]
Get:16 http://archive.ubuntu.com/ubuntu xenial-updates/multiverse amd64 Packages [19.0 kB]
Get:17 http://archive.ubuntu.com/ubuntu xenial-backports/main amd64 Packages [7942 B]
Get:18 http://archive.ubuntu.com/ubuntu xenial-backports/universe amd64 Packages [8532 B]
Get:6 http://security.ubuntu.com/ubuntu xenial-security/main amd64 Packages [763 kB]
Get:10 http://security.ubuntu.com/ubuntu xenial-security/universe amd64 Packages [522 kB]
Fetched 11.5 MB in 14min 35s (13.2 kB/s)

Step 4/18 : ENV LANG="en_US.UTF8"
 ---> Running in 9be27690b204
Removing intermediate container 9be27690b204
 ---> 0255c3b48399
Step 5/18 : ENV MYSQL_ROOT_PASSWORD="123456"
 ---> Running in 651637f735f0
Removing intermediate container 651637f735f0
 ---> 8424fc3d84ad
Step 6/18 : RUN echo -e "LANG="en_US.UTF-8"
LANGUAGE="en_US:en"" > /etc/default/locale && locale-gen en_US.UTF-8
 ---> Running in 3f9fd38e8ff9
Generating locales (this might take a while)...
  en_US.UTF-8... done
Generation complete.
Removing intermediate container 3f9fd38e8ff9
 ---> 9a311f65fa12
Step 7/18 : RUN mkdir -p /app/zentaopms
 ---> Running in b9b42e3d4772
Removing intermediate container b9b42e3d4772
 ---> 1ba27f6402b5
Step 8/18 : COPY docker-entrypoint.sh /app
 ---> db6b4043b278
Step 9/18 : RUN random=`date +%s`; curl http://cdn.zentaopm.com/latest/zentao.zip?rand=$random -o /var/www/zentao.zip
 ---> Running in 7b94978811f5
  % Total    % Received % Xferd  Average Speed   Time    Time     Time  Current
                                 Dload  Upload   Total   Spent    Left  Speed
100 6942k  100 6942k    0     0   557k      0  0:00:12  0:00:12 --:--:--  485k
Removing intermediate container 7b94978811f5
 ---> 9fb4e36804d5
Step 10/18 : RUN cd /var/www/ && unzip -q zentao.zip && rm zentao.zip
 ---> Running in 5316dd68c0f0
Removing intermediate container 5316dd68c0f0
 ---> a50f900b1bb0
Step 11/18 : RUN a2enmod rewrite
 ---> Running in 59e2fcd32ecd
Enabling module rewrite.
To activate the new configuration, you need to run:
  service apache2 restart
Removing intermediate container 59e2fcd32ecd
 ---> d5f7eefdc427
Step 12/18 : RUN rm -rf /etc/apache2/sites-enabled/000-default.conf /var/lib/mysql/*
 ---> Running in 610452002b86
Removing intermediate container 610452002b86
 ---> c83285f5d161
Step 13/18 : COPY config/apache.conf /etc/apache2/sites-enabled/000-default.conf
 ---> 05e2c57a3d16
Step 14/18 : COPY config/ioncube_loader_lin_7.0.so /usr/lib/php/20151012/ioncube_loader_lin_7.0.so
 ---> 1828a2059895
Step 15/18 : COPY config/00-ioncube.ini /etc/php/7.0/apache2/conf.d/
 ---> 712833053e63
Step 16/18 : COPY config/00-ioncube.ini /etc/php/7.0/cli/conf.d/
 ---> 45d501473eb7
Step 17/18 : VOLUME /app/zentaopms /var/lib/mysql
 ---> Running in e579cfe364f9
Removing intermediate container e579cfe364f9
 ---> b57c7ef9b51e
Step 18/18 : ENTRYPOINT ["/app/docker-entrypoint.sh"]
 ---> Running in d924cb6e4794
Removing intermediate container d924cb6e4794
 ---> b04dab32de9c
Successfully built b04dab32de9c
Successfully tagged zentao:latest
wilson@ubuntu:~/temp/zetao/docker_zentao$
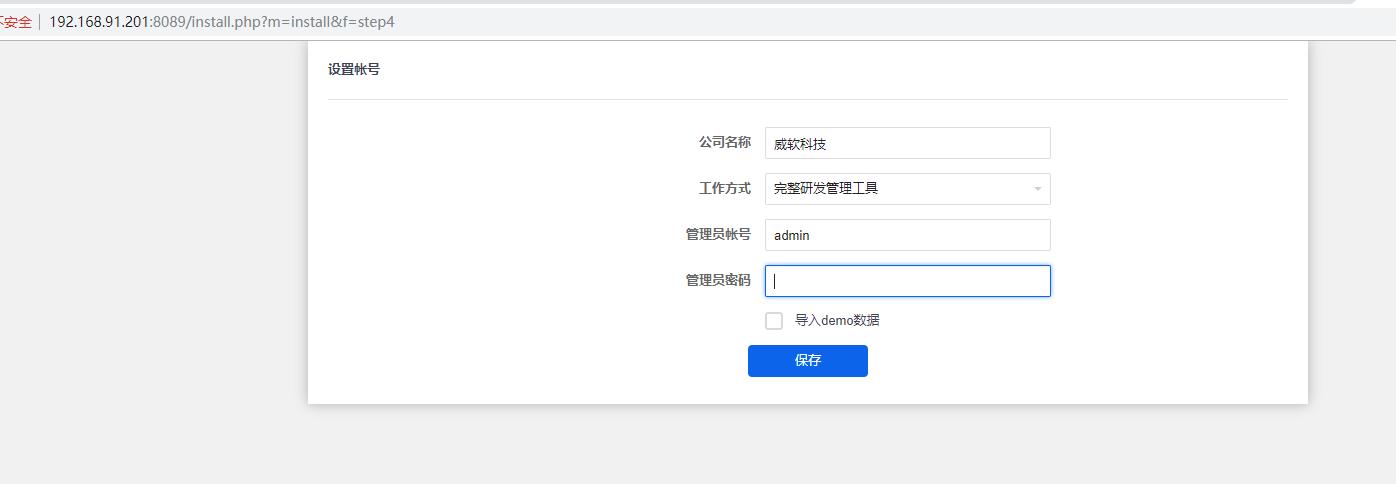
4、下面的过程很简单,本都是点击下一步
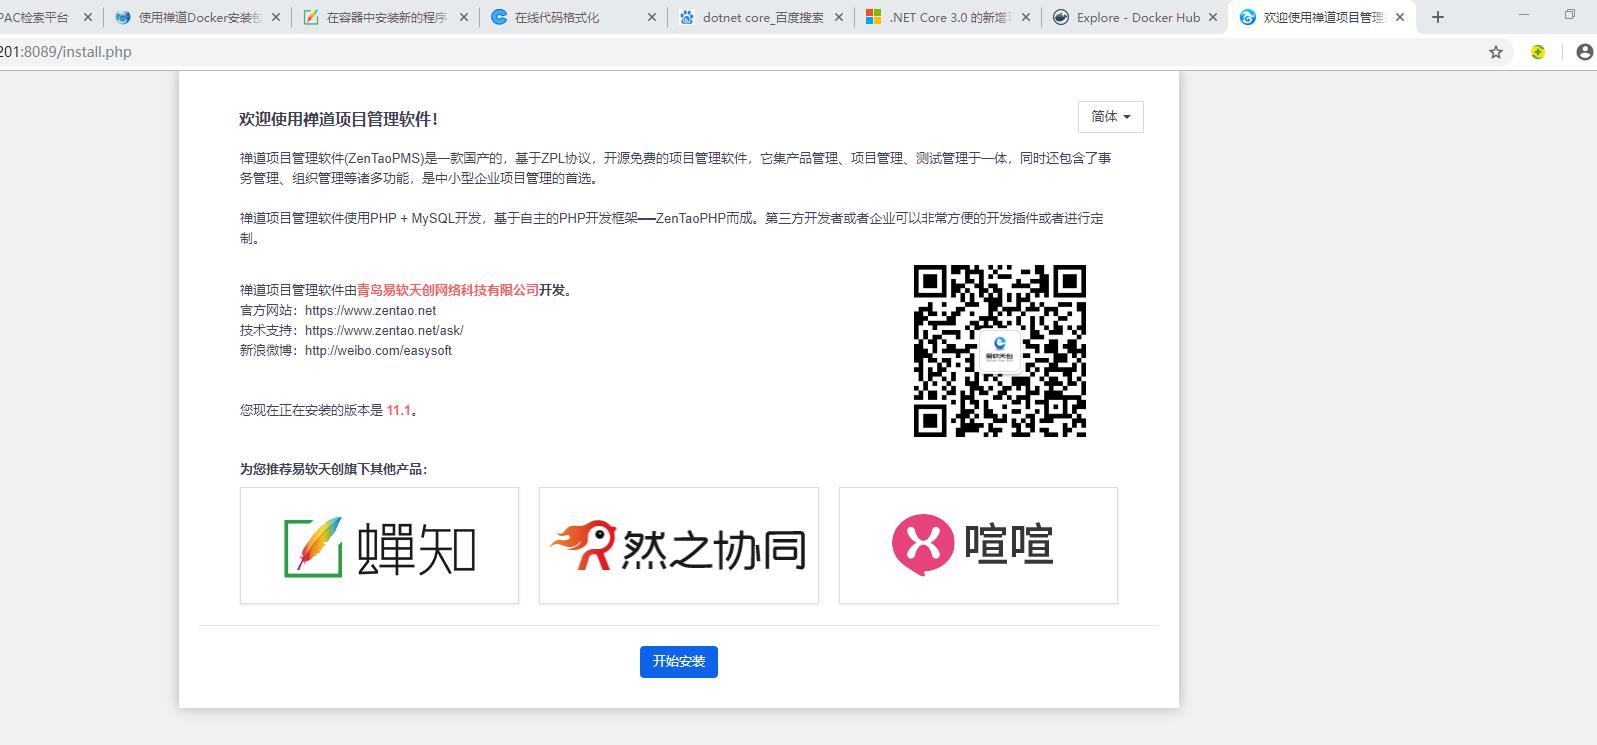
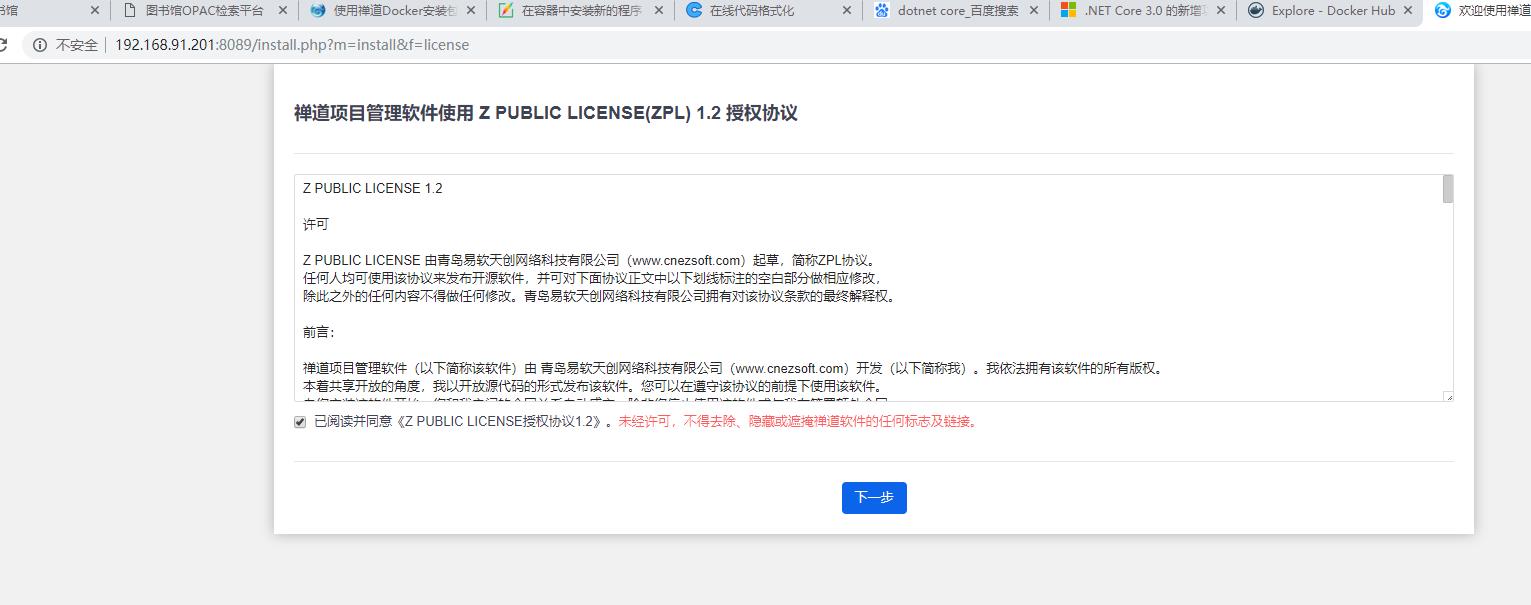

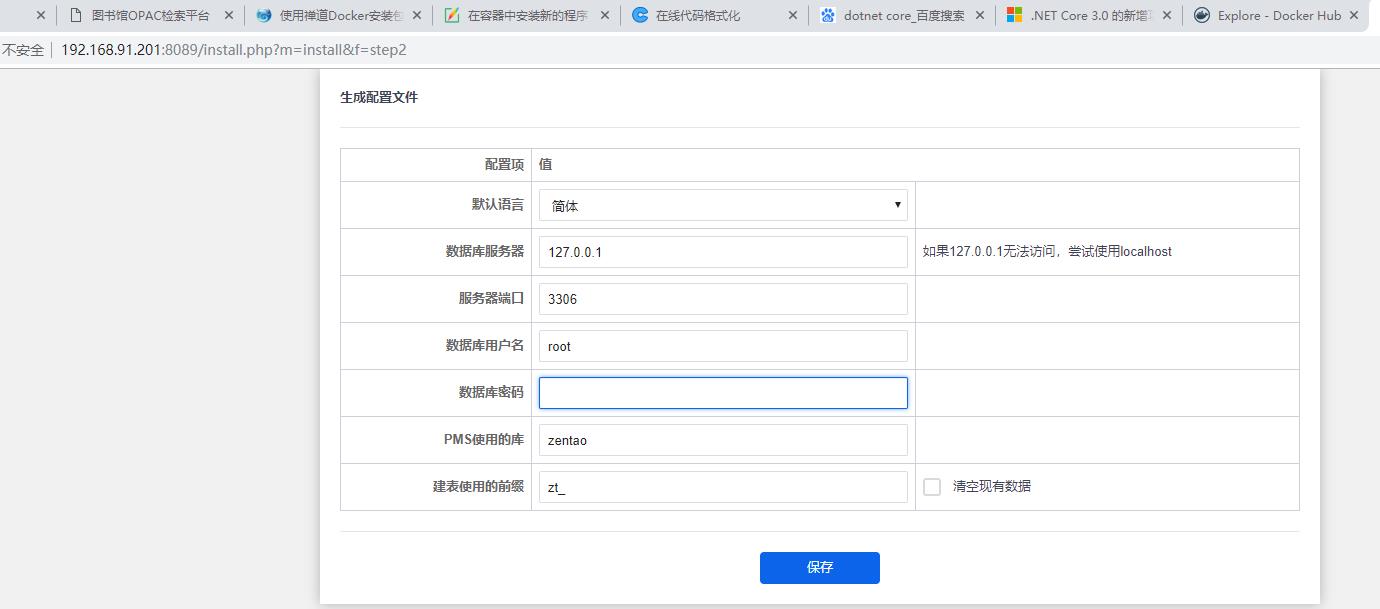
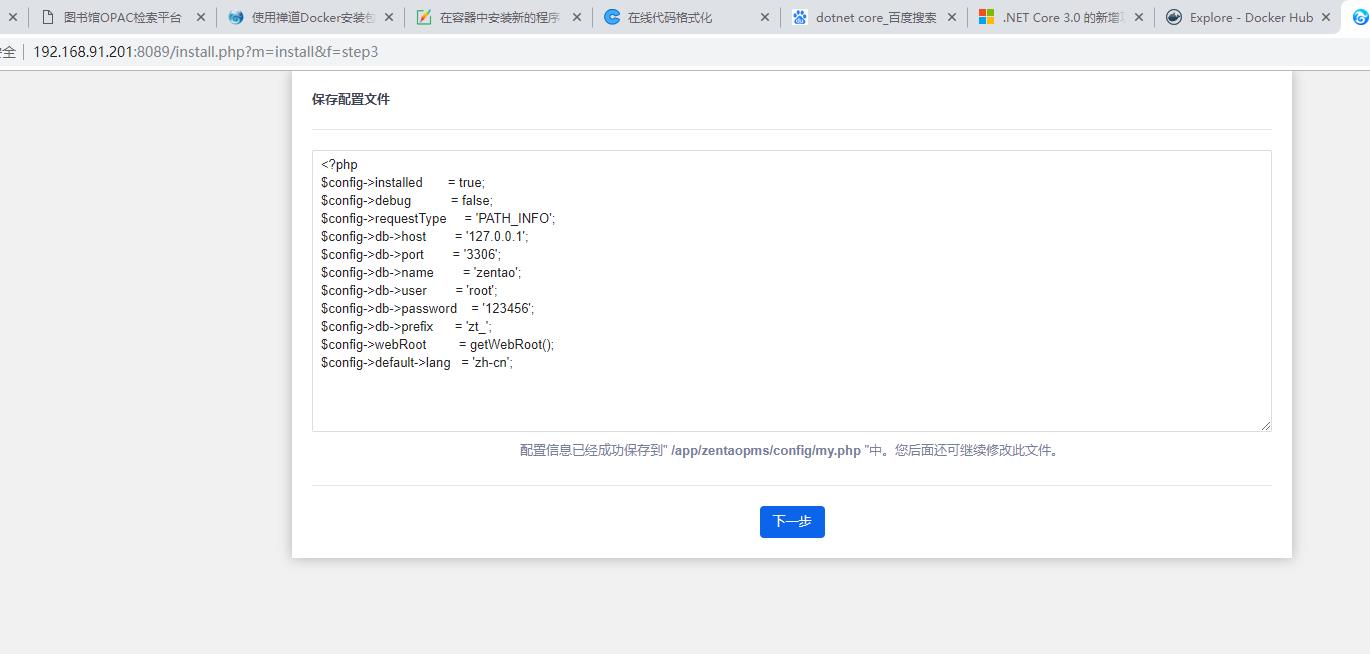
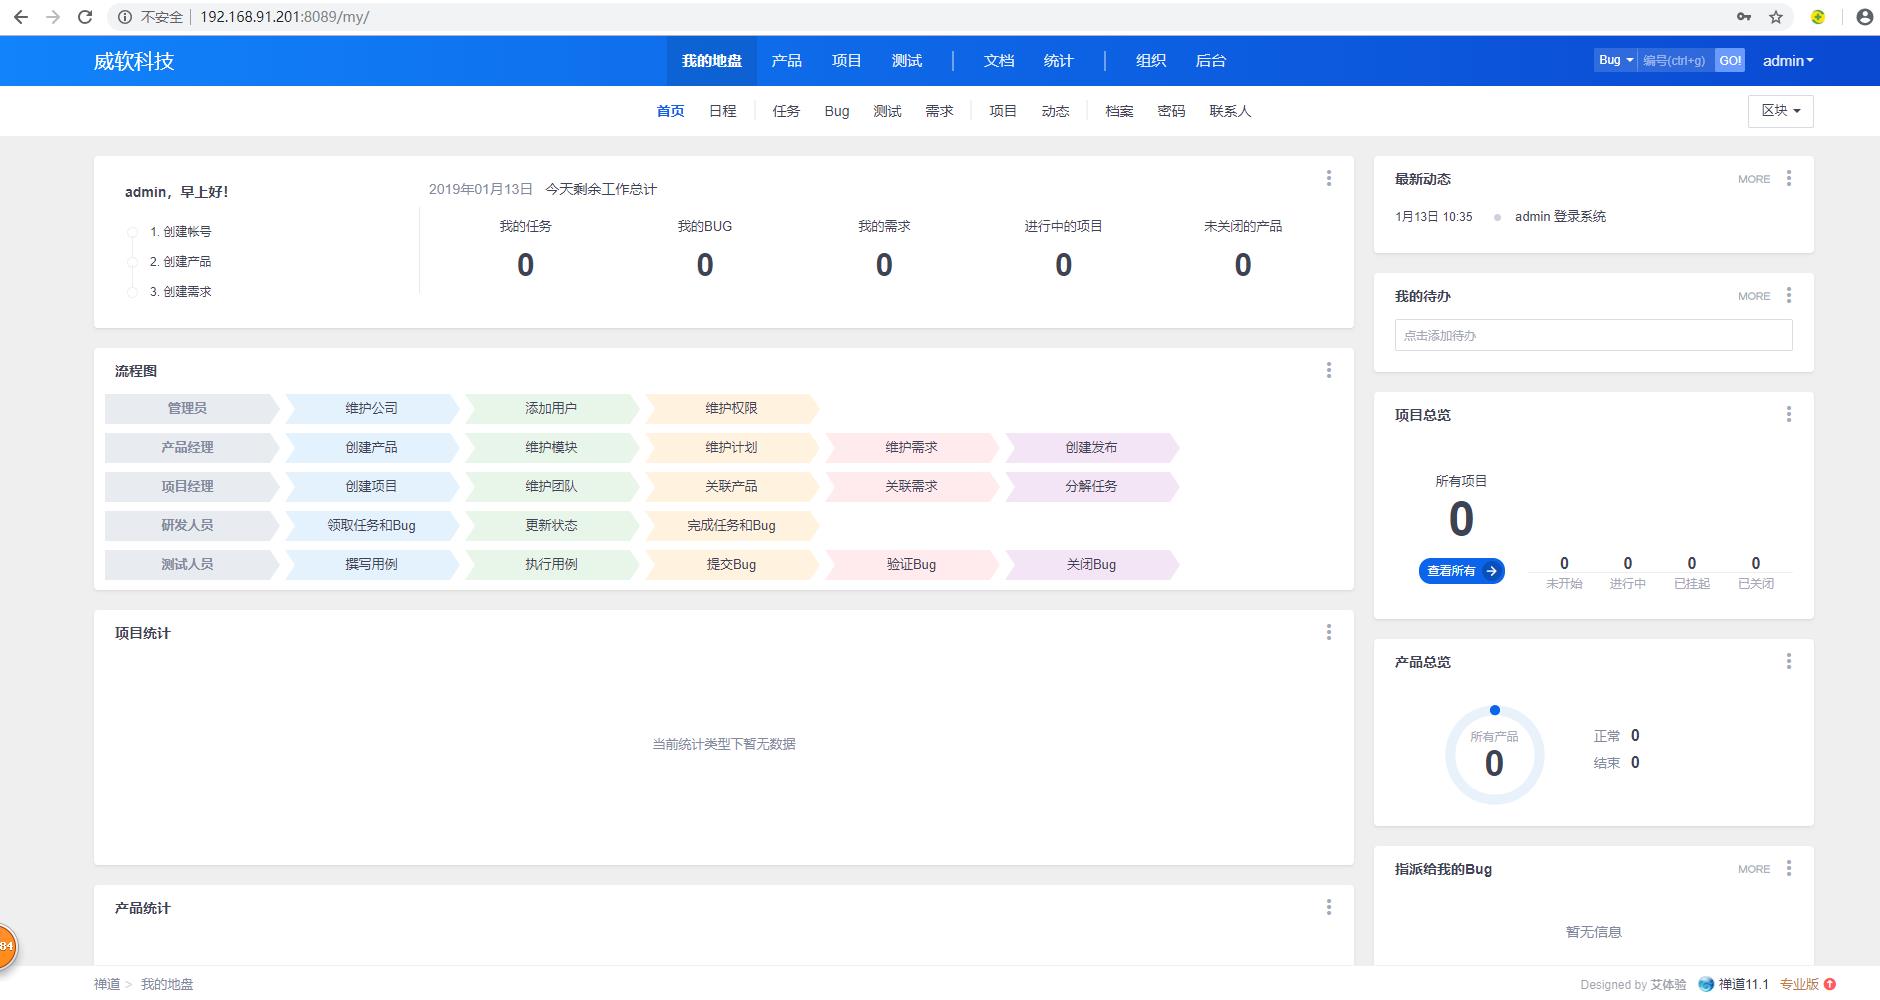
启动Docker里面的禅道系统,在浏览器中输入系统地址,大功告成!
docker run --name zentao -p 8089:80 -v /data/www:/app/zentaopms -v /data/data:/var/lib/mysql -e MYSQL_ROOT_PASSWORD=123456 -d zentao:latest
参考:
https://www.zentao.net/book/zentaopmshelp/303.html
