安卓app_sl4_12使用Notification在状态栏上显示通知

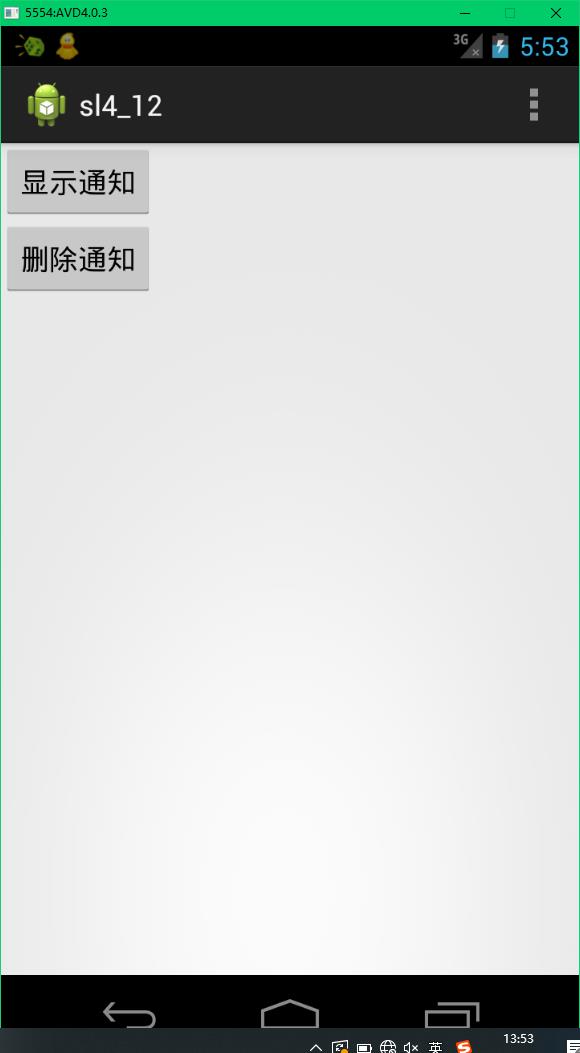
<LinearLayout xmlns:android="http://schemas.android.com/apk/res/android"
    xmlns:tools="http://schemas.android.com/tools"
    android:layout_width="match_parent"
    android:layout_height="match_parent"
    android:orientation="vertical"

    tools:context="com.example.sl4_12.MainActivity" >

    <Button
        android:id="@+id/button1"
        android:layout_width="wrap_content"
        android:layout_height="wrap_content"
        android:text="显示通知" />

    <Button
        android:id="@+id/button2"
        android:layout_width="wrap_content"
        android:layout_height="wrap_content"
        android:text="删除通知" />

</LinearLayout>
content.xml
<?xml version="1.0" encoding="utf-8"?>
<LinearLayout xmlns:android="http://schemas.android.com/apk/res/android"
    android:layout_width="match_parent"
    android:layout_height="match_parent"
    android:orientation="vertical" >


    <TextView
        android:id="@+id/textView1"
        android:layout_width="wrap_content"
        android:layout_height="wrap_content"
        android:text="@string/content"
        android:textAppearance="?android:attr/textAppearanceMedium" />

</LinearLayout>
AndroidManifest.xml
<?xml version="1.0" encoding="utf-8"?>
<manifest xmlns:android="http://schemas.android.com/apk/res/android"
    package="com.example.sl4_12"
    android:versionCode="1"
    android:versionName="1.0" >
   <!-- 添加操作闪光灯的权限 -->
   <uses-permission android:name="android.permission.FLASHLIGHT"/>
   <!-- 添加操作振动器的权限 -->
   <uses-permission android:name="android.permission.VIBRATE"/>
    <uses-sdk
        android:minSdkVersion="15"
        android:targetSdkVersion="21" />

    <application
        android:allowBackup="true"
        android:icon="@drawable/ic_launcher"
        android:label="@string/app_name"
        android:theme="@style/AppTheme" >
        <activity
            android:name=".MainActivity"
            android:label="@string/app_name" >
            <intent-filter>
                <action android:name="android.intent.action.MAIN" />

                <category android:name="android.intent.category.LAUNCHER" />
            </intent-filter>
        </activity>
        <activity android:name=".ContentActivity"
            android:label="详细内容"
            android:theme="@android:style/Theme.Dialog" />


    </application>

</manifest>
MainActivity.java
package com.example.sl4_12;
/*
 * 使用Notification在状态栏上显示通知
 */
import android.app.Activity;
import android.app.Notification;
import android.app.NotificationManager;
import android.app.PendingIntent;
import android.content.Intent;
import android.os.Bundle;
import android.view.Menu;
import android.view.MenuItem;
import android.view.View;
import android.view.View.OnClickListener;
import android.widget.Button;

public class MainActivity extends Activity {
    final int NOTIFYID_1 = 123;
    final int NOTIFYID_2 = 124;

    @Override
    protected void onCreate(Bundle savedInstanceState) {
        super.onCreate(savedInstanceState);
        setContentView(R.layout.activity_main);
        final NotificationManager notificationManager=
                (NotificationManager) getSystemService(NOTIFICATION_SERVICE);
       Button button1=(Button)findViewById(R.id.button1);
       button1.setOnClickListener(new OnClickListener(){

        @Override
        public void onClick(View v) {
            // TODO Auto-generated method stub
            Notification notify=new Notification();
            notify.icon=R.drawable.advise;
            notify.tickerText="显示第一个通知";
            notify.when=System.currentTimeMillis();//设置发送时间
            notify.defaults=Notification.DEFAULT_ALL;
            //设置默认声音、默认振动、默认闪光灯
            notify.setLatestEventInfo(MainActivity.this, "无题", "每天进步一点点",null);
            notificationManager.notify(NOTIFYID_1,notify);

            //添加第二个通知
            Notification notify2=new Notification(R.drawable.advise2,"显示第二个通知",System.currentTimeMillis());
            notify2.flags|=Notification.FLAG_AUTO_CANCEL;//打开应用程序后图标消失
            Intent intent=new Intent(MainActivity.this,ContentActivity.class);
            PendingIntent pendingIntent=PendingIntent.getActivity(MainActivity.this, 0, intent, 0);
            notify2.setLatestEventInfo(MainActivity.this, "通知", "查看详细内容", pendingIntent);
            notificationManager.notify(NOTIFYID_2,notify2);
            /*
             * 注意: 上面代码中加粗的部分,用于为第一个通知设置使用默认声音、默认振动和默认闪光灯。也就是说,程序中要访问系统闪光灯和振动器,
             * 需要在AndroidManifest.xml中声明使用权限,具体代码如下:
             * <!-- 添加操作闪光灯的权限 -->
             <uses-permission android:name="android.permission.FLASHLIGHT"/>
             <!-- 添加操作振动器的权限 -->
             <uses-permission android:name="android.permission.VIBRATE"/>

             另外,在程序中还需要启动另一个活动ContentActivity。因此,也需要在AndroidManifest.xml文件中声明该Activity,具体代码如下:
<activity android:name=".ContentActivity"
android:label="详细内容"
android:theme="@android:style/Theme.Dialog"/>
             */
            Button button2=(Button) findViewById(R.id.button2);
            //删除通知监听事件
            button2.setOnClickListener(new OnClickListener(){

                @Override
                public void onClick(View v) {
                    // TODO Auto-generated method stub
                    notificationManager.cancel(NOTIFYID_1);
                    notificationManager.cancelAll();

                }

            });


        }

       });
    }

    @Override
    public boolean onCreateOptionsMenu(Menu menu) {
        // Inflate the menu; this adds items to the action bar if it is present.
        getMenuInflater().inflate(R.menu.main, menu);
        return true;
    }

    @Override
    public boolean onOptionsItemSelected(MenuItem item) {
        // Handle action bar item clicks here. The action bar will
        // automatically handle clicks on the Home/Up button, so long
        // as you specify a parent activity in AndroidManifest.xml.
        int id = item.getItemId();
        if (id == R.id.action_settings) {
            return true;
        }
        return super.onOptionsItemSelected(item);
    }
}
ContentActivity.java
package com.example.sl4_12;

import android.app.Activity;
import android.os.Bundle;

public class ContentActivity extends Activity {

    @Override
    protected void onCreate(Bundle savedInstanceState) {
        // TODO Auto-generated method stub
        super.onCreate(savedInstanceState);

        //layout的目录添加context.xml文件,
        setContentView(R.layout.content);
    }

}