- author 尹明能
-
Structure your app with inversion of control (IoC) in mind.
-
Add Autofac references.
-
At application startup…
-
Create a ContainerBuilder.
-
Register components.
-
Build the container and store it for later use.
-
During application execution…
-
Create a lifetime scope from the container.
-
Use the lifetime scope to resolve instances of the components.
This getting started guide walks you through these steps for a simple console application. Once you have the basics down, you can check out the rest of the wiki for more advanced usage and integration information for WCF, ASP.NET, and other application types.
Structuring the Application
The idea behind inversion of control is that, rather than tie the classes in your application together and let classes “new up” their dependencies, you switch it around so dependencies are instead passed in during class construction. Martin Fowler has an excellent article explaining dependency injection/inversion of control if you want more on that.
For our sample app, we’ll define a class that writes the current date out. However, we don’t want it tied to the Console because we want to be able to test the class later or use it in a place where the console isn’t available.
We’ll also go as far as allowing the mechanism writing the date to be abstracted, so if we want to, later, swap in a version that writes tomorrow’s date, it’ll be a snap.
We’ll do something like this:
namespace AutoFacTest
{
    /*
    *┌────────────────────────────────────────────────┐
    *│ 描    述:AutoMacTest01
    *│ 作    者:尹明能
    *│ 版    本:3.0
    *│ 创建时间:2022/5/26 22:48:41
    *└────────────────────────────────────────────────┘
    */
    // This interface helps decouple the concept of
    // "writing output" from the Console class. We
    // don't really "care" how the Write operation
    // happens, just that we can write.
    public interface IOutput
    {
        void Write(string content);
    }

    // This implementation of the IOutput interface
    // is actually how we write to the Console. Technically
    // we could also implement IOutput to write to Debug
    // or Trace... or anywhere else.
    public class ConsoleOutput : IOutput
    {
        public void Write(string content)
        {
            Console.WriteLine(content);
        }
    }

    // This interface decouples the notion of writing
    // a date from the actual mechanism that performs
    // the writing. Like with IOutput, the process
    // is abstracted behind an interface.
    public interface IDateWriter
    {
        void WriteDate();
    }

    // This TodayWriter is where it all comes together.
    // Notice it takes a constructor parameter of type
    // IOutput - that lets the writer write to anywhere
    // based on the implementation. Further, it implements
    // WriteDate such that today's date is written out;
    // you could have one that writes in a different format
    // or a different date.
    public class TodayWriter : IDateWriter
    {
        private IOutput _output;
        public TodayWriter(IOutput output)
        {
            this._output = output;
        }

        public void WriteDate()
        {
            this._output.Write(DateTime.Today.ToShortDateString());
        }
    }
}
Now that we have a reasonably structured (if contrived) set of dependencies, let’s get Autofac in the mix!
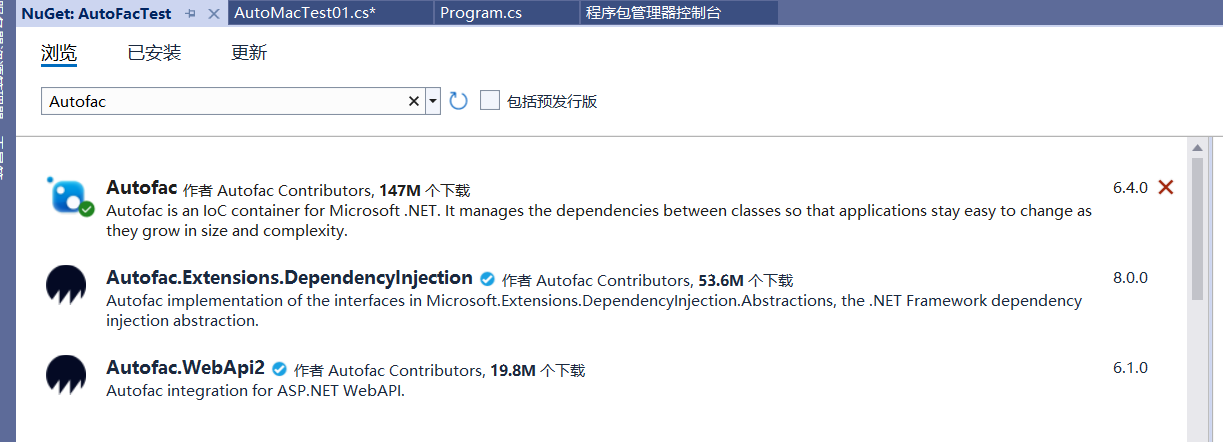
Add Autofac References
The easiest way to do this is through NuGet. The “Autofac” package has all the core functionality you’ll need.
At application startup, you need to create a ContainerBuilder and register your components with it. A component is an expression, .NET type, or other bit of code that exposes one or more services and can take in other dependencies.
In simple terms, think about a .NET type that implements an interface, like this:
public class SomeType : IService
{
}
You could address that type in one of two ways:
-
As the type itself,
SomeType -
As the interface, an
IService
In this case, the component is SomeType and the services it exposes are SomeType and IService.
In Autofac, you’d register that with a ContainerBuilder something like this:
// Create your builder.
var builder = new ContainerBuilder();

// Usually you're only interested in exposing the type
// via its interface:
builder.RegisterType<SomeType>().As<IService>();

// However, if you want BOTH services (not as common)
// you can say so:
builder.RegisterType<SomeType>().AsSelf().As<IService>();
For our sample app, we need to register all of our components (classes) and expose their services (interfaces) so things can get wired up nicely.
We also need to store the container so it can be used to resolve types later.
using System;
using Autofac;

namespace DemoApp
{
  public class Program
  {
    private static IContainer Container { get; set; }

    static void Main(string[] args)
    {
      var builder = new ContainerBuilder();
      builder.RegisterType<ConsoleOutput>().As<IOutput>();
      builder.RegisterType<TodayWriter>().As<IDateWriter>();
      Container = builder.Build();

      // The WriteDate method is where we'll make use
      // of our dependency injection. We'll define that
      // in a bit.
      WriteDate();
    }
  }
}
public static void WriteDate()
{
// Create the scope, resolve your IDateWriter,
// use it, then dispose of the scope.
using (var scope = Container.BeginLifetimeScope())
{
var writer = scope.Resolve<IDateWriter>();
writer.WriteDate();
}
}Now when you run your program…
-
The
WriteDatemethod creates a lifetime scope from which it can resolve dependencies. It does this to avoid any memory leaks - ifIDateWriteror its dependencies are disposable, they will be automatically disposed when the scope is disposed. -
The
WriteDatemethod manually resolves anIDateWriterfrom the lifetime scope. (This is “service location.”) Internally…-
Autofac sees that
IDateWritermaps toTodayWriterso starts creating aTodayWriter. -
Autofac sees that the
TodayWriterneeds anIOutputin its constructor. (This is “constructor injection.”) -
Autofac sees that
IOutputmaps toConsoleOutputso creates a newConsoleOutputinstance. -
Autofac uses the new
ConsoleOutputinstance to finish constructing theTodayWriter. -
Autofac returns the fully-constructed
TodayWriterforWriteDateto consume.
-
-
The call to
writer.WriteDate()goes to the brand newTodayWriter.WriteDate()since that’s what was resolved. -
The Autofac lifetime scope is disposed. Any disposable items that were resolved from that lifetime scope are also disposed.
Later, if you want your application to write a different date, you could implement a different IDateWriter and then change the registration at app startup. You don’t have to change any other classes. Yay, inversion of control!
Note: generally speaking, service location is largely considered an anti-pattern (see article). That is, manually creating scopes everywhere and sprinkling use of the container through your code is not necessarily the best way to go. Using the Autofac integration libraries you usually won’t have to do what we did in the sample app above. Instead, things get resolved from a central, “top level” location in the application and manual resolution is rare. Of course, how you design your app is up to you.