一.环境配置
centeos7

python3
二.安装jupyter notebook
1.安装jupyter
安装Jupyter Notebook
通过pip安装Jupyter Notebook
#安装jupyter notebook
python3 -m pip install jupyter

#安装完会在python3的包管理器,创建一个软连接以便在任何地方都可以直接执行
ln -s /usr/local/python3/bin/jupyter /usr/bin/jupyter
通过jupyter notebook命令启动Jupyter服务器,验证是否安装成功
[root@instance-hrnebyqu bin]# jupyter notebook --allow-root
[I 11:26:22.273 NotebookApp] JupyterLab beta preview extension loaded from /root/anaconda3/lib/python3.6/site-packages/jupyterlab
[I 11:26:22.273 NotebookApp] JupyterLab application directory is /root/anaconda3/share/jupyter/lab
[I 11:26:22.277 NotebookApp] Serving notebooks from local directory: /root/ipython
至此,Jupyter Notebook安装成功。
2.配置外部访问
关闭防火墙(CentOS7)
systemctl stop firewalld.service
systemctl disable firewalld.service
生成Jupyter Notebook配置文件
jupyter notebook --generate-config
通过 ipython 创建登录密码:(这个要进入python3的bin目录执行)
from notebook.auth import passwd
In [2]: passwd()
Enter password:
Verify password:
Passwords do not match.
Enter password:
Verify password:
Out[2]: 'sha1:b79414f2844a:27a3bd36f0d79a1e51664e21e75559b3c5554db4'
编辑生成的配置文件 /root/.jupyter/jupyter_notebook_config.py,并在文件头添加如下配置信息:
[root@instance-hrnebyqu bin]# vim /root/.jupyter/jupyter_notebook_config.py
c.NotebookApp.ip='0.0.0.0'            #监听所有的地址
c.NotebookApp.password = u'sha1:153a389b3933:9e8c3bcaf7690cf46931f81c21e39753d3a1696d'  #就是前面生成的密码
c.NotebookApp.open_browser = False
c.NotebookApp.port =8888                       #指定端口
c.NotebookApp.notebook_dir = "/root/ipython"  #jupyter的工作目录

先 reboot 机器,然后使用命令jupyter notebook --allow-root 启动服务器

通过浏览器访问地址:http://ipaddress:8888/
注意:这边的密码是加密前的面而不是‘sha1....’
三.拓展
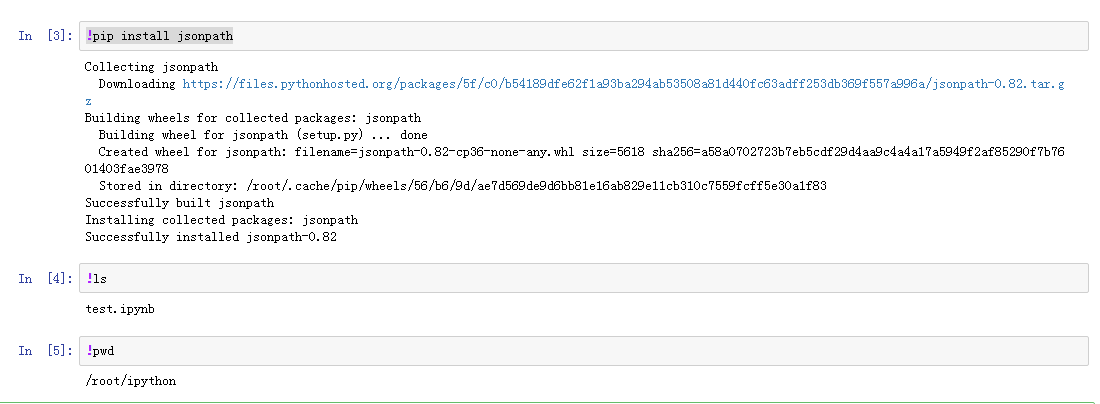
在jupyter界面直接安装第三方包或者执行命令行命令,记得加上感叹号,英文的
!pip install jsonpath
在Jupyter中安装查看卸载第三方包:
import pip

def pip_install(package):

    pip.main(['install', package])

def pip_list():

    print(pip.main(['list']))

def pip_uninstall(package):

    pip.main(['uninstall', package])