Ocelot和Consul 实现网关API 服务注册 负载均衡
Ocelot是一个用.NET Core实现并且开源的API网关,它功能强大,包括了:路由、请求聚合、服务发现、认证、鉴权、限流熔断、并内置了负载均衡器与Service Fabric、Butterfly Tracing集成。这些功能只都只需要简单的配置即可完成
Consul 服务发现
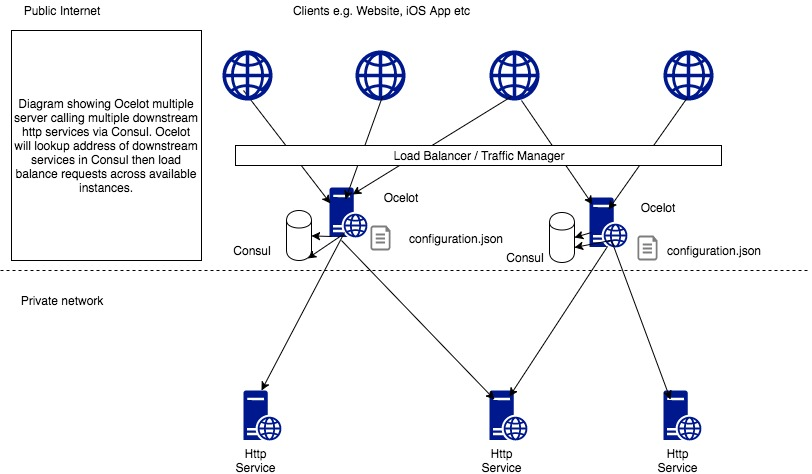
在Ocelot已经支持简单的负载功能,也就是当下游服务存在多个结点的时候,Ocelot能够承担起负载均衡的作用。但是它不提供健康检查,服务的注册也只能通过手动在配置文件里面添加完成。这不够灵活并且在一定程度下会有风险。这个时候我们就可以用Consul来做服务发现,它能与Ocelot完美结合。
Consul是什么
Consul是一个服务网格(微服务间的 TCP/IP,负责服务之间的网络调用、限流、熔断和监控)解决方案,它是一个一个分布式的,高度可用的系统,而且开发使用都很简便。它提供了一个功能齐全的控制平面,主要特点是:服务发现、健康检查、键值存储、安全服务通信、多数据中心。
安装Consul:windos环境
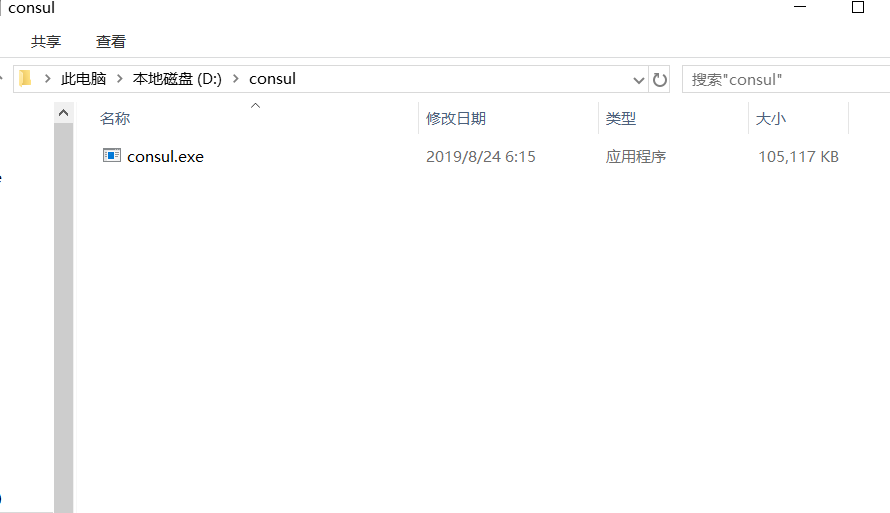
https://www.consul.io/downloads.html 下载文件
放到D盘下
打开powershell 执行 命令启动一个Agent的开发模式:
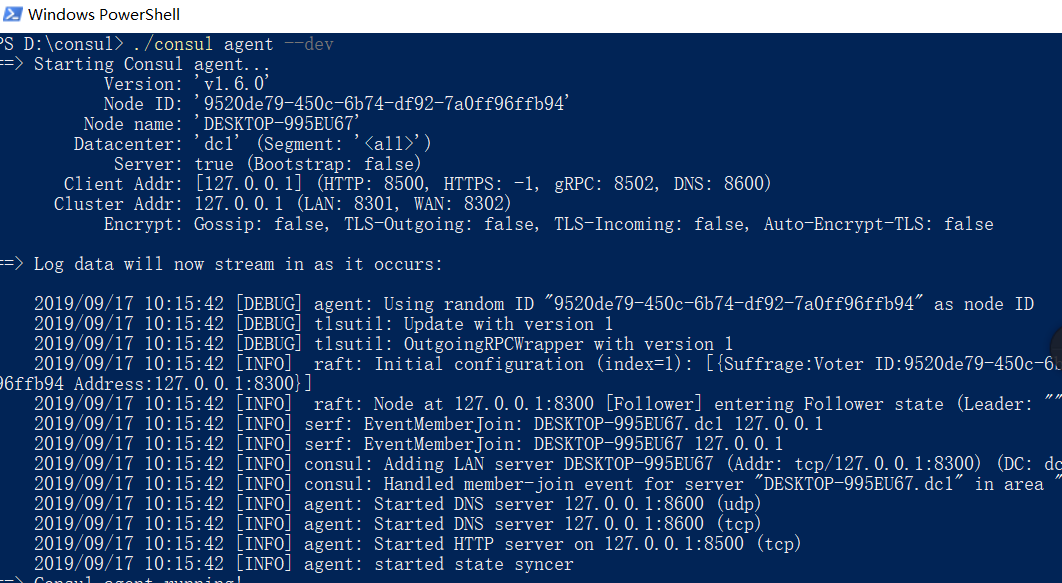
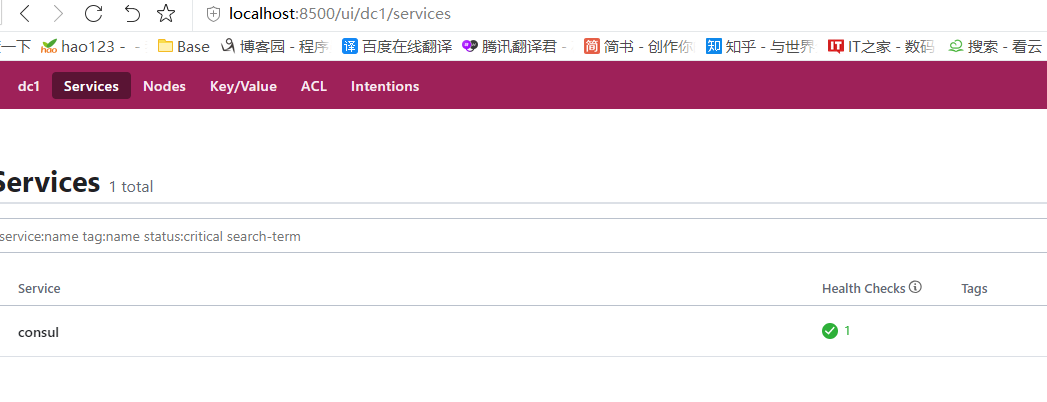
启动完成:打开localhost:8500 默认端口8500 就可以看到一个可视化consul界面了,可以看到默认启动了一个consul 服务
下面,使用netcore通过Ocelot搭建API网关 服务注册 负载均衡
新建一个api1:nuget 添加一个consul 依赖
startup 添加代码
public void Configure(IApplicationBuilder app, IHostingEnvironment env, IApplicationLifetime lifetime)
       {
           if (env.IsDevelopment())
           {
               app.UseDeveloperExceptionPage();
           }


           //注册项目启动的方法
           lifetime.ApplicationStarted.Register(OnStart);
           //注册项目关闭的方法
           lifetime.ApplicationStarted.Register(OnStopped);

           app.UseMvc();
       }

       //关闭的时候在consul中移除
       private void OnStopped()
       {
           var client = new ConsulClient();
           //根据ID在consul中移除当前服务
           client.Agent.ServiceDeregister("servicename:93");
       }
       private void OnStart()
       {
           var client = new ConsulClient();
           //健康检查
           var httpCheck = new AgentServiceCheck()
           {
               //服务出错一分钟后 会自动移除
               DeregisterCriticalServiceAfter = TimeSpan.FromMinutes(1),
               //每10秒发送一次请求到 下面的这个地址 这个地址就是当前API资源的地址
               Interval = TimeSpan.FromSeconds(10),
               HTTP = $"http://localhost:93/HealthCheck"
           };

           var agentReg = new AgentServiceRegistration()
           {
               //这台资源服务的唯一ID
               ID = "servicename:93",
               Check = httpCheck,
               Address = "localhsot",
               Name = "servicename",
               Port = 93
           };
           client.Agent.ServiceRegister(agentReg).ConfigureAwait(false);
       }
添加一个健康检查接口
[Route("HealthCheck")]
   [ApiController]
   public class HealthCheckController : ControllerBase
   {
       // GET: api/HealthCheck
       [HttpGet]
       [HttpHead]
       public IActionResult Ping()
       {
           return Ok();
       }

   }
修改ValuesController
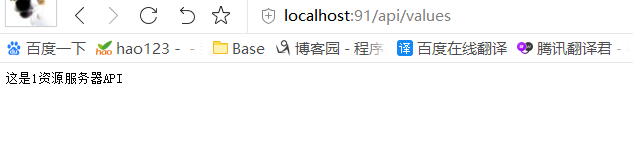
[Route("api/[controller]")]
   [ApiController]
   public class ValuesController : ControllerBase
   {
       // GET api/values
       [HttpGet]
       public string Get()
       {
           return "这是1资源服务器API";
       }
   }
添加项目 Api.Gateway(Ocelot网关服务器) 添加Ocelot包 添加Ocelot.Json配置 Ocelot服务器端口为91
Ocelot,Json
{
  "ReRoutes": [
    {
      //暴露出去的地址
      "UpstreamPathTemplate": "/api/{controller}",
      "UpstreamHttpMethod": [ "Get" ],

      //转发到下面这个地址
      "DownstreamPathTemplate": "/api/{controller}",
      "DownstreamScheme": "http",
      //资源服务器列表
      "DownstreamHostAndPorts": [
        {
          "host": "localhost",
          "port": 92
        },
        {
          "host": "localhost",
          "port": 93
        }
      ],
      //决定负载均衡的算法
      "LoadBalancerOptions": {
        "Type": "LeastConnection"
      },
      "UseServiceDiscovery": true
    }
  ],
  //对外暴露的访问地址  也就是Ocelot所在的服务器地址
  "GlobalConfiguration": {
    "BaseUrl": "http://localhost:91"
  }
}
Startup 修改
public void ConfigureServices(IServiceCollection services)
  {


      services.AddOcelot();
      services.AddMvc().SetCompatibilityVersion(CompatibilityVersion.Version_2_2);
  }

  // This method gets called by the runtime. Use this method to configure the HTTP request pipeline.
  public void Configure(IApplicationBuilder app, IHostingEnvironment env)
  {
      if (env.IsDevelopment())
      {
          app.UseDeveloperExceptionPage();
      }
      app.UseOcelot().Wait();
      app.UseMvc();
  }
Program 修改
public class Program
   {
       public static void Main(string[] args)
       {
           CreateWebHostBuilder(args).Build().Run();
       }

       public static IWebHostBuilder CreateWebHostBuilder(string[] args) =>
           WebHost.CreateDefaultBuilder(args)
                     .ConfigureAppConfiguration((hostingContext, builder) =>
                     {
                         builder
                         .SetBasePath(hostingContext.HostingEnvironment.ContentRootPath)
                         .AddJsonFile("Ocelot.json");
                     })
             .UseUrls("http://+:91")
             .UseStartup<Startup>();
   }
启动 api3 和api2

再启动Api.Gateway
执行 http://localhost:91/api/values
再执行
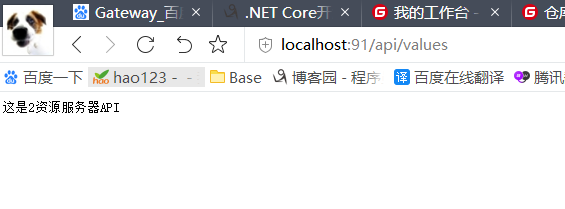
我们这里负载均衡算法是:LeastConnection
当然还可以选择其他的:
- RoundRobin - 轮询,挨着来
- LeastConnection - 最小连接数,谁的任务最少谁来
- NoLoadBalance - 不要负载均衡
如果api1 我们关掉 ,那么就只会请求到api2 ,api1的服务自动断开