这里我们只是简单介绍搭建一个springMVC+mybatis项目的基本操作,不做过多的理论介绍
首先,创建一个项目,引入相应的java包
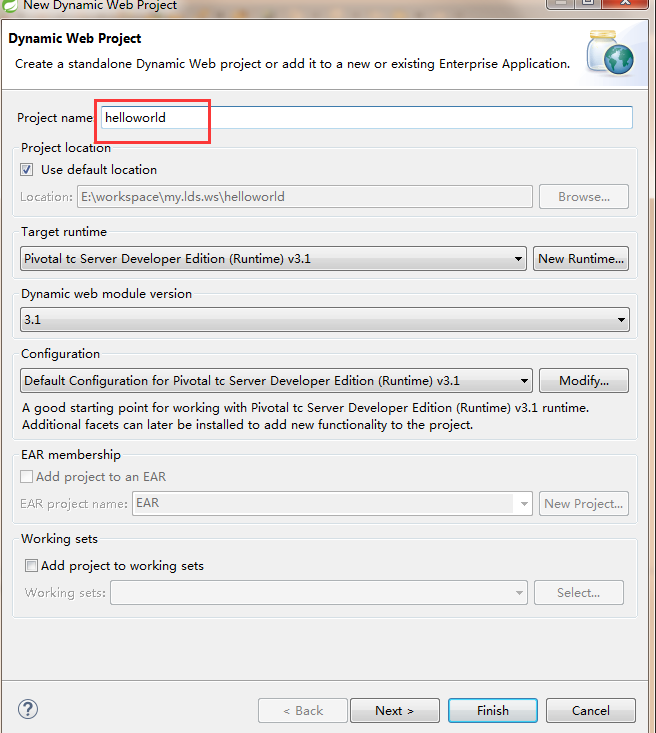
点击next,直到一下页面,勾选创建通用的web.xml后点击finish完成项目创建

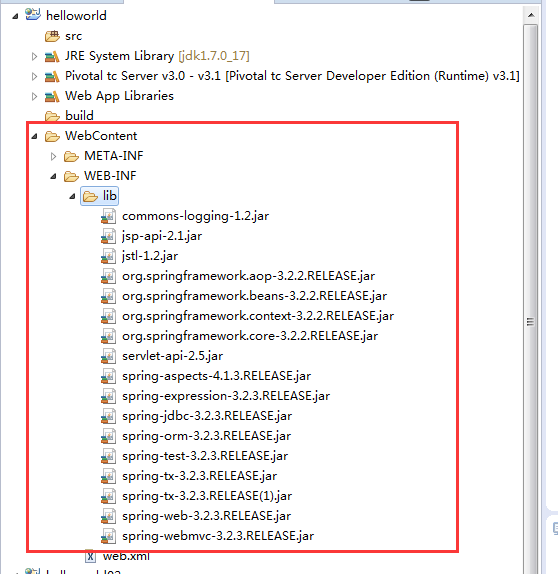
导入springMVC web项目的相关jar包
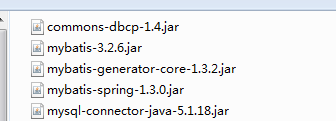
引入mybatis需要的jar包:

将jar包构建到项目中:选中项目名,邮件build path ->configure build path ->


全选lib内待导入的jar包,点击ok后点击apply(应用)——> 点击ok完成jar导入工程构建操作。
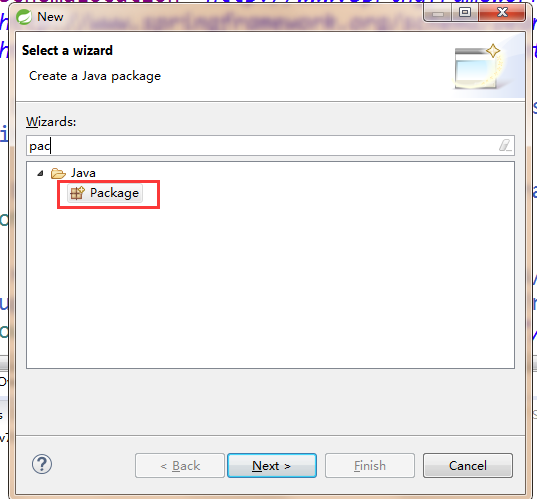
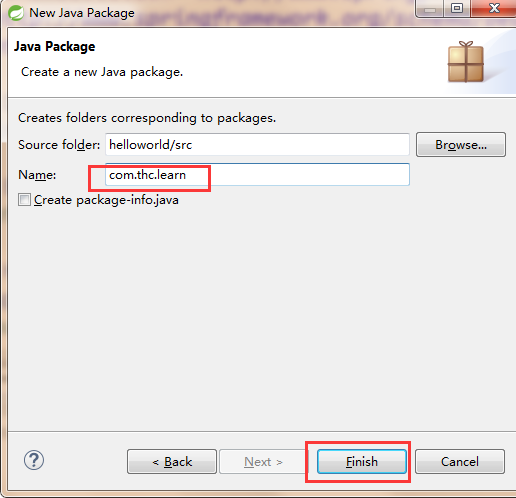
创建工程基本包:
添加spring配置:
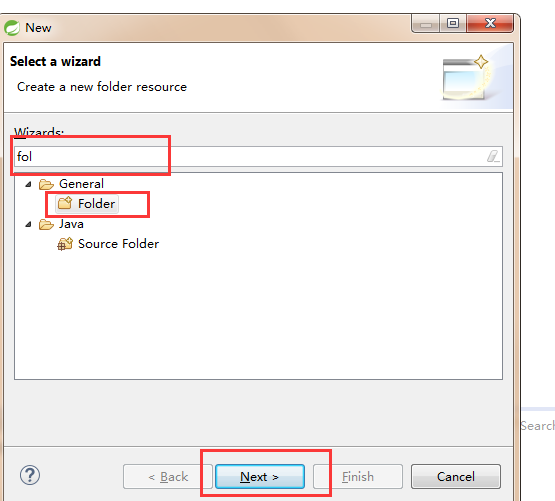

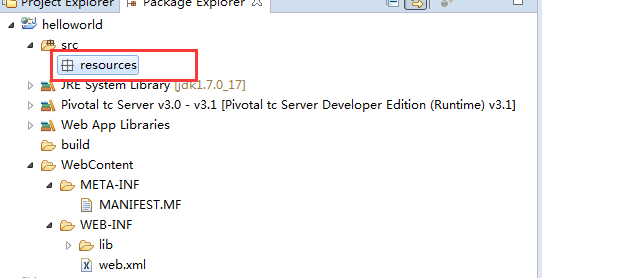
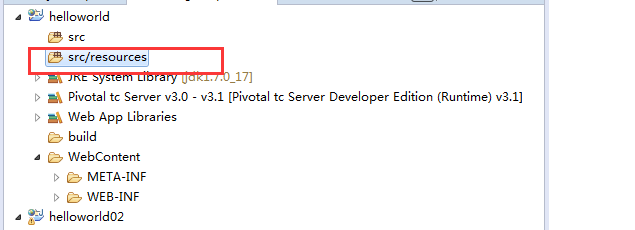
选中新建文件夹resources,右键->build path->use as source folder
在resources中创建如下文件:
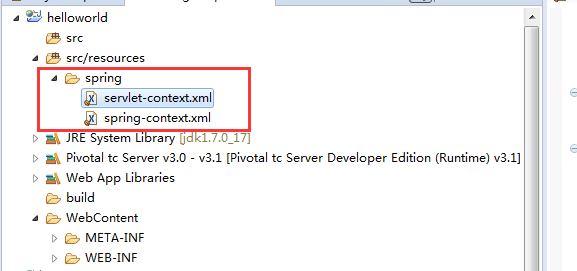
servlet-context.xml:这个文件写入一些spring关于web项目的servlet配置
<?xml version="1.0" encoding="UTF-8"?>
<beans:beans xmlns="http://www.springframework.org/schema/mvc"
    xmlns:xsi="http://www.w3.org/2001/XMLSchema-instance" xmlns:beans="http://www.springframework.org/schema/beans"
    xmlns:context="http://www.springframework.org/schema/context"
    xsi:schemaLocation="http://www.springframework.org/schema/mvc http://www.springframework.org/schema/mvc/spring-mvc.xsd
        http://www.springframework.org/schema/beans http://www.springframework.org/schema/beans/spring-beans.xsd
        http://www.springframework.org/schema/context http://www.springframework.org/schema/context/spring-context.xsd">

    <!-- DispatcherServlet Context: defines this servlet's request-processing
        infrastructure -->

    <!-- Enables the Spring MVC @Controller programming model -->
    <annotation-driven />

    <!-- Handles HTTP GET requests for /resources/** by efficiently serving
        up static resources in the ${webappRoot}/resources directory -->
    <resources mapping="/resources/**" location="/resources/" />

    <!-- Resolves views selected for rendering by @Controllers to .jsp resources
        in the /WEB-INF/views directory -->
    <beans:bean
        class="org.springframework.web.servlet.view.InternalResourceViewResolver">
        <beans:property name="prefix" value="/WEB-INF/views/" />
        <beans:property name="suffix" value=".jsp" />
    </beans:bean>

    <!-- <context:component-scan 配置spring扫描注解类的的工程包,支持部分正则,例如com.*.aa /> -->
    <context:component-scan base-package="com.thc.learn" />


</beans:beans>
spring-context.xml:这个文件里面是写一些spring的相关配置
<?xml version="1.0" encoding="UTF-8"?>
<beans xmlns="http://www.springframework.org/schema/beans"
    xmlns:xsi="http://www.w3.org/2001/XMLSchema-instance"
    xsi:schemaLocation="http://www.springframework.org/schema/beans http://www.springframework.org/schema/beans/spring-beans.xsd">


</beans>
下面的操作中我们将会陆续向里面添加内容
修改web.xml,配置spring容器启动入口
<?xml version="1.0" encoding="UTF-8"?>
<web-app xmlns:xsi="http://www.w3.org/2001/XMLSchema-instance" xmlns="http://java.sun.com/xml/ns/javaee" xsi:schemaLocation="http://java.sun.com/xml/ns/javaee http://java.sun.com/xml/ns/javaee/web-app_2_5.xsd" version="2.5">
  <display-name>HelloWorld</display-name>
 <!-- 读取spring相关配置 -->

  <context-param>
    <param-name>contextConfigLocation</param-name>
    <param-value>classpath:spring/spring-*.xml</param-value>
  </context-param>
  <listener>
    <listener-class>org.springframework.web.context.ContextLoaderListener</listener-class>
  </listener>
<!-- 读取spring工程关于servlet的配置 -->

  <servlet>
    <servlet-name>appServlet</servlet-name>
    <servlet-class>org.springframework.web.servlet.DispatcherServlet</servlet-class>
    <init-param>
      <param-name>contextConfigLocation</param-name>
      <param-value>classpath:spring/servlet-*.xml</param-value>
    </init-param>
    <load-on-startup>1</load-on-startup>
  </servlet>
  <servlet-mapping>
    <servlet-name>appServlet</servlet-name>
    <url-pattern>/</url-pattern>
  </servlet-mapping>
</web-app>
到此处,关于springmvc的准备工作就做好了,我们先做一个阶段性的测试,写一个helloworld页面,测试下工程对页面的请求转发功能是否成功实现。
1、写一个index.jsp页面,用来作为平台的欢迎页面

index.jsp页面内容如下:
<%@ page language="java" contentType="text/html; charset=UTF-8"
    pageEncoding="UTF-8"%>
<!DOCTYPE html>
<html>
<head>
<meta charset="utf-8">
<meta http-equiv="X-UA-Compatible" content="IE=edge">
<title>欢迎页面</title>
<!-- Tell the browser to be responsive to screen width -->
<meta
    content="width=device-width, initial-scale=1, maximum-scale=1, user-scalable=no"
    name="viewport">

</head>
<body class="hold-transition login-page">
    亲爱的,恭喜你,成功了!!
</body>
</html>
2、controller包,用于存放mvc设计模式中控制层的代码
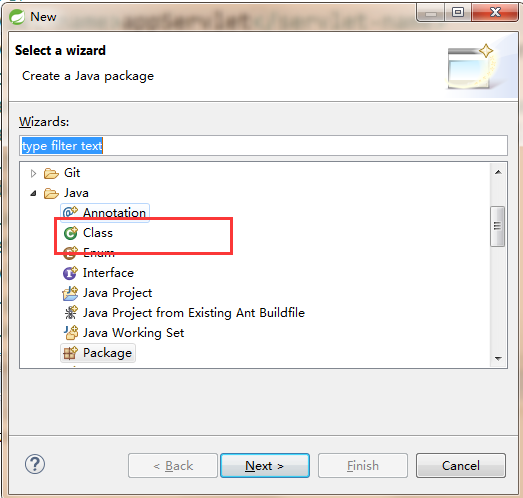
创建一个controller类,实现页面跳转的逻辑:选中controller包->快捷键ctrl+n出现创建文件的弹框,选择Class->点击next

HelloWorldController.java类内容如下:
package com.thc.learn.controller;

import org.springframework.stereotype.Controller;
import org.springframework.web.bind.annotation.RequestMapping;
import org.springframework.web.bind.annotation.RequestMethod;

/**
 * 类注释,用来标注这个类是做什么用的
 *
 * @author Administrator
 *
 */
@Controller // springmvc注解,放在每个controller类上,当spring容器扫描到这个类有这个注解时,就会对这个类做控制器操作
public class HelloWorldController {
    @RequestMapping(value = "/hello", method = { RequestMethod.GET, RequestMethod.POST })
    // @RequestMapping springmvc加在controller方法上的注解,
    // value值配置了通过怎样的链接访问可以跳转到这个方法(具体匹配逻辑和操作有springmvc帮我们完成)
    // 这个方法的配置是程序只要接收到"http://localhost:8080/helloworld(项目名)/hello(我们配置的路径)"请求就会执行该方法进行下面的跳转
    // method的值规定了这个方法可以接受的http请求是get方式的还是post方式的,或是两者都可以
    public String helloworld() {
        // 跳转到index.jsp页面,因为在servlet-context.xml中设置了返回页面的前缀和后缀,
        // 所以springmvc会帮我们在返回页面前给我们加上/WEB-INF/views/index.jsp,我们只需要返回页面名称即可。
        return "index";
    }
}
这样,我们测试用的helloworld代码就写完了,右击项目->run as->run on server(服务器插件我用的是tomcat7,具体安装过程就不再这里写了)运行项目
打开浏览器,输入:
http://localhost:8080/helloworld/hello 点击回车,跳转到页面index.jsp,页面显示:
亲爱的,恭喜你,成功了!!
到此处,我们已经基本完成了springmvc项目的基本搭建,为了避免文章过长,我们就此把这篇文章做完结。接下来的文章我们来写怎么用springMVC+mybatis框架实现系统登录和登录成功后显示用户列表的功能