LTUI是一个基于lua的跨平台字符终端UI界面库。
此框架源于xmake中图形化菜单配置的需求,类似linux kernel的menuconf去配置编译参数,因此基于curses和lua实现了一整套跨平台的字符终端ui库。
而样式风格基本上完全参照的kconfig-frontends,当然用户也可以自己定制不同的ui风格。
另外,LTUI是完全跨平台的,windows上的terminal终端也是完全支持的,在windows上ltui会采用pdcurses来进行窗口绘制。
更新内容
新版本中,我们主要增加了对鼠标事件的支持,除了 curses/ncurses,我们还对 windows 上 pdcurses 也做了支持,这里我们非常感谢 @laelnasan 贡献。
另外我们新增一个 tests/events.lua 测试用例,专门用来测试各种输入事件。
$ xmake run test events
我们可以通过这个测试例子,获取并显示用户的所有鼠标输入事件。
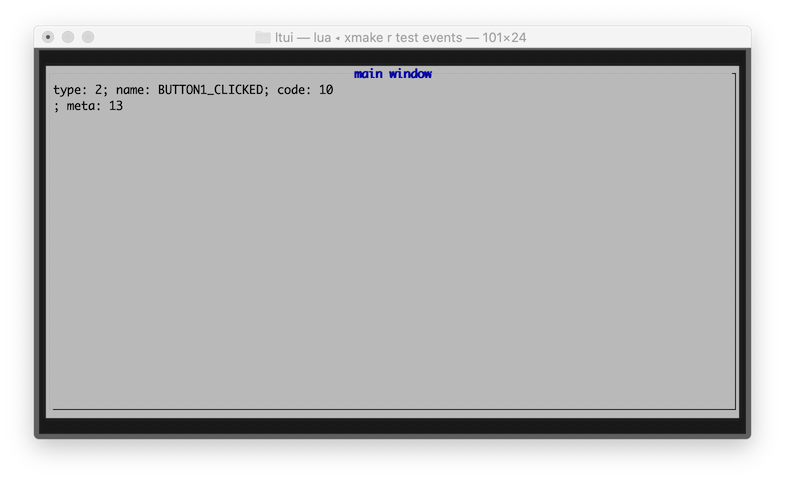
我们可以在自定义的view上,重写on_event来获取所有事件输入,包括所有的鼠标输入事件:
local demo = application()

function demo:init()
    application.init(self, "demo")
    self:background_set("black")
end

function demo:on_event(e)
    if e.type == "btn_code" then
        print(e.btn_name, e.x, e.y)
    end
    application.on_event(self, e)
end

demo:run()
安装使用
$ luarocks install ltui
如果要运行自带的测试,你需要先安装lua或者luajit程序去加载运行ltui源码仓库中的测试程序:
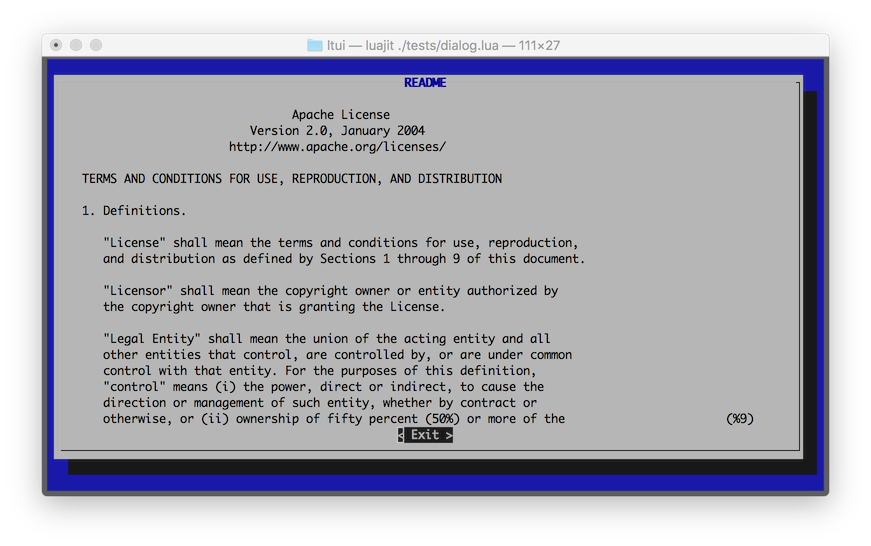
$ lua tests/dialog.lua
$ lua tests/window.lua
$ lua tests/desktop.lua
$ lua tests/inputdialog.lua
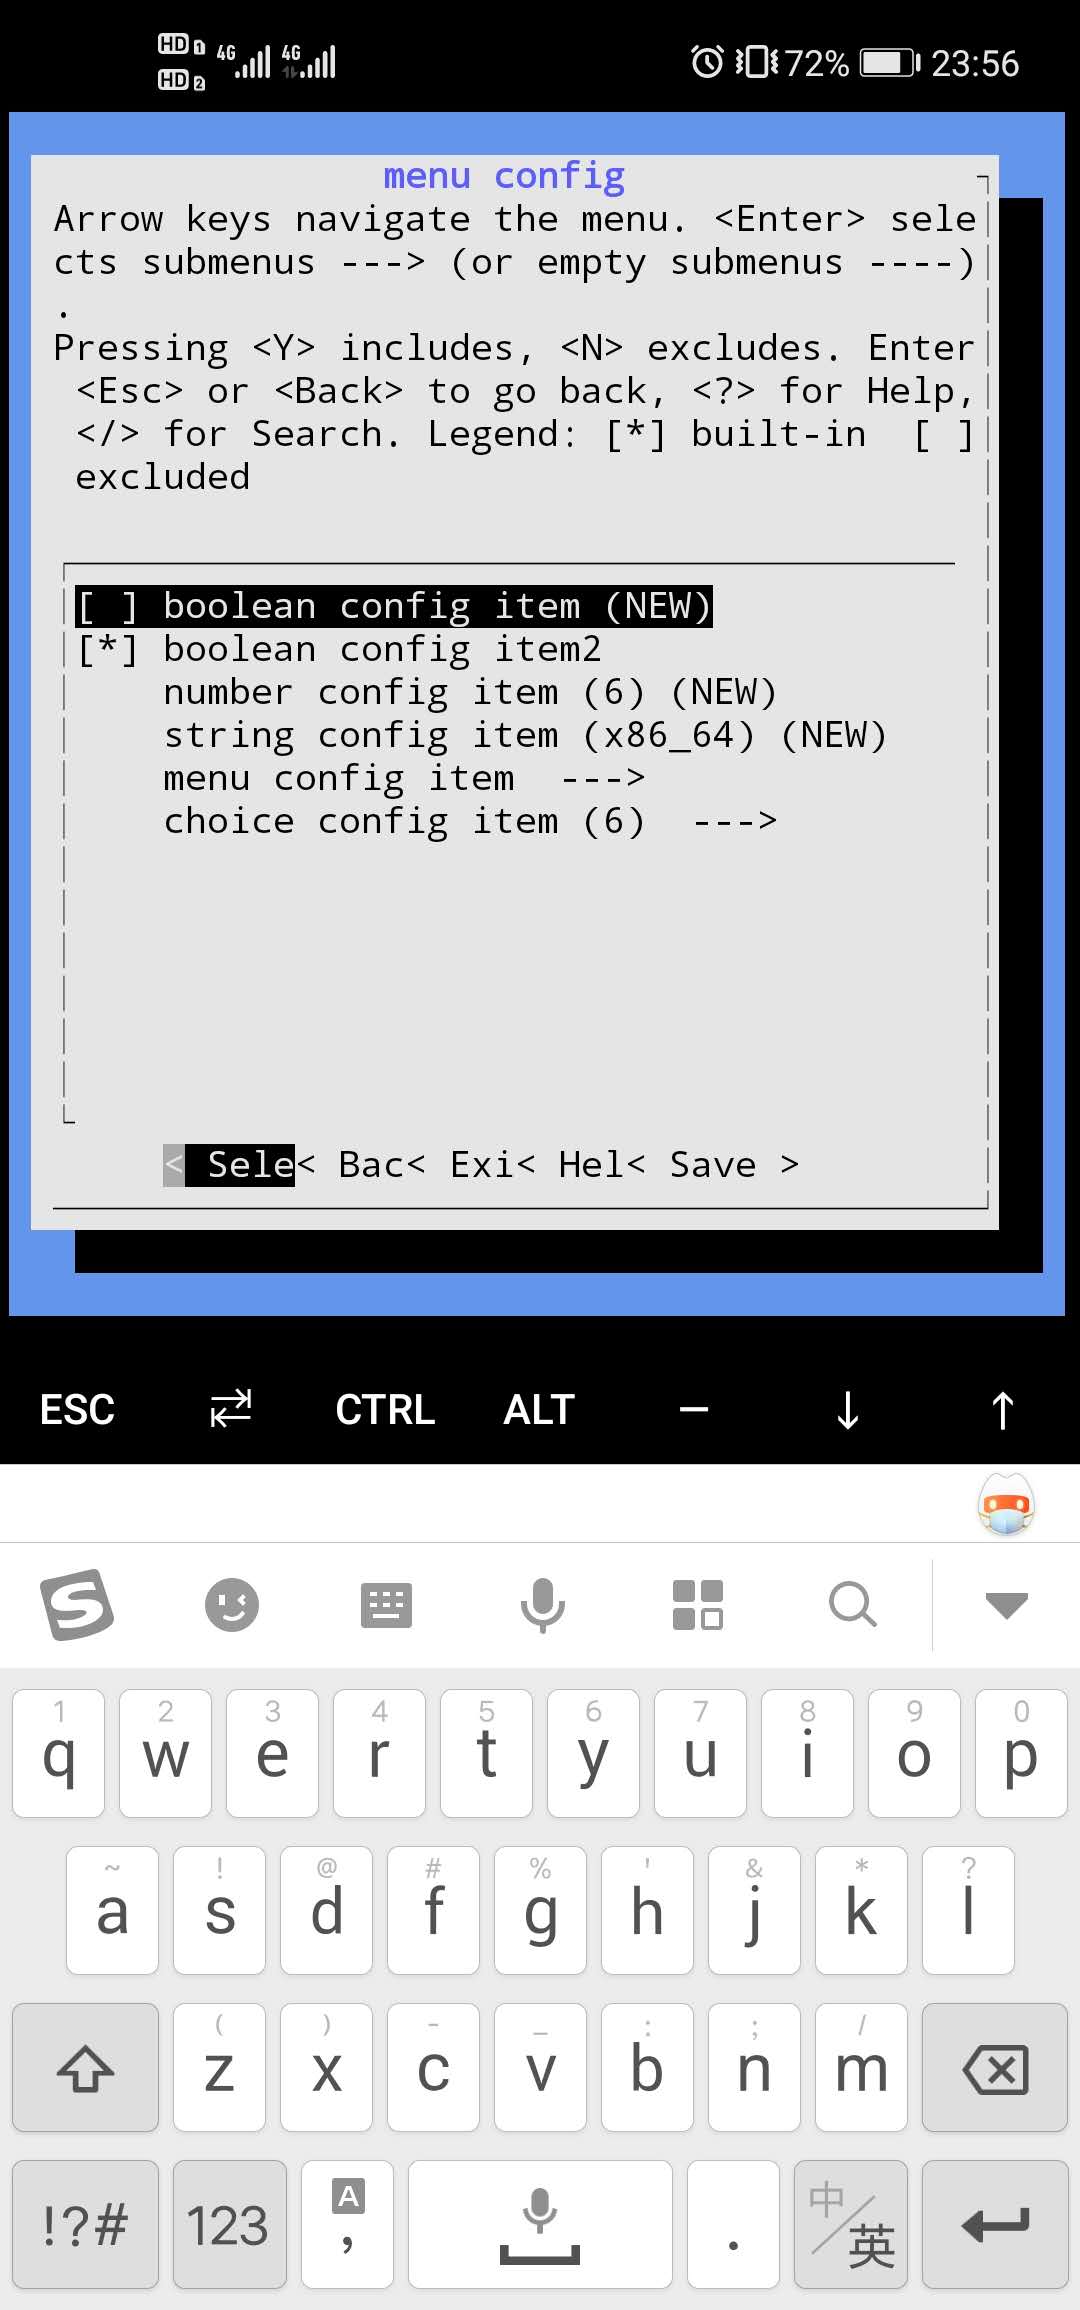
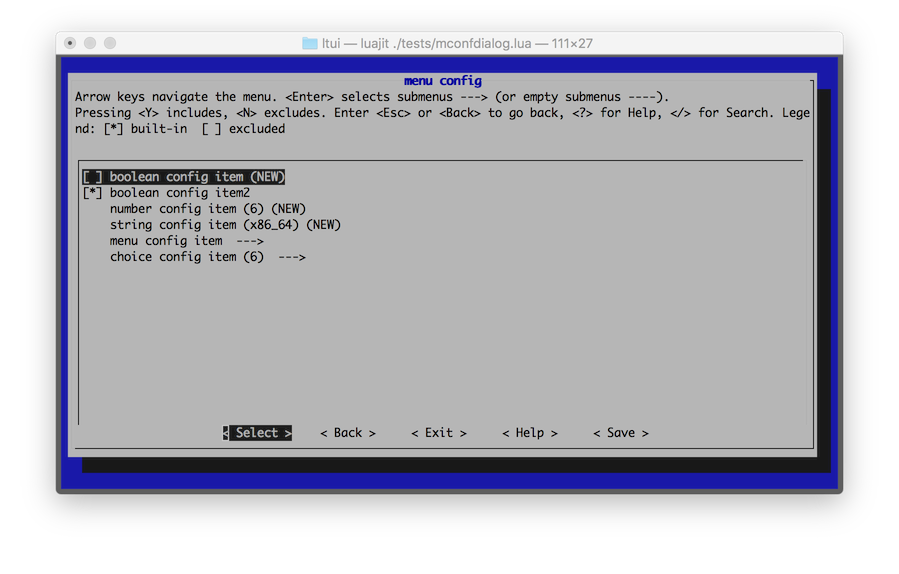
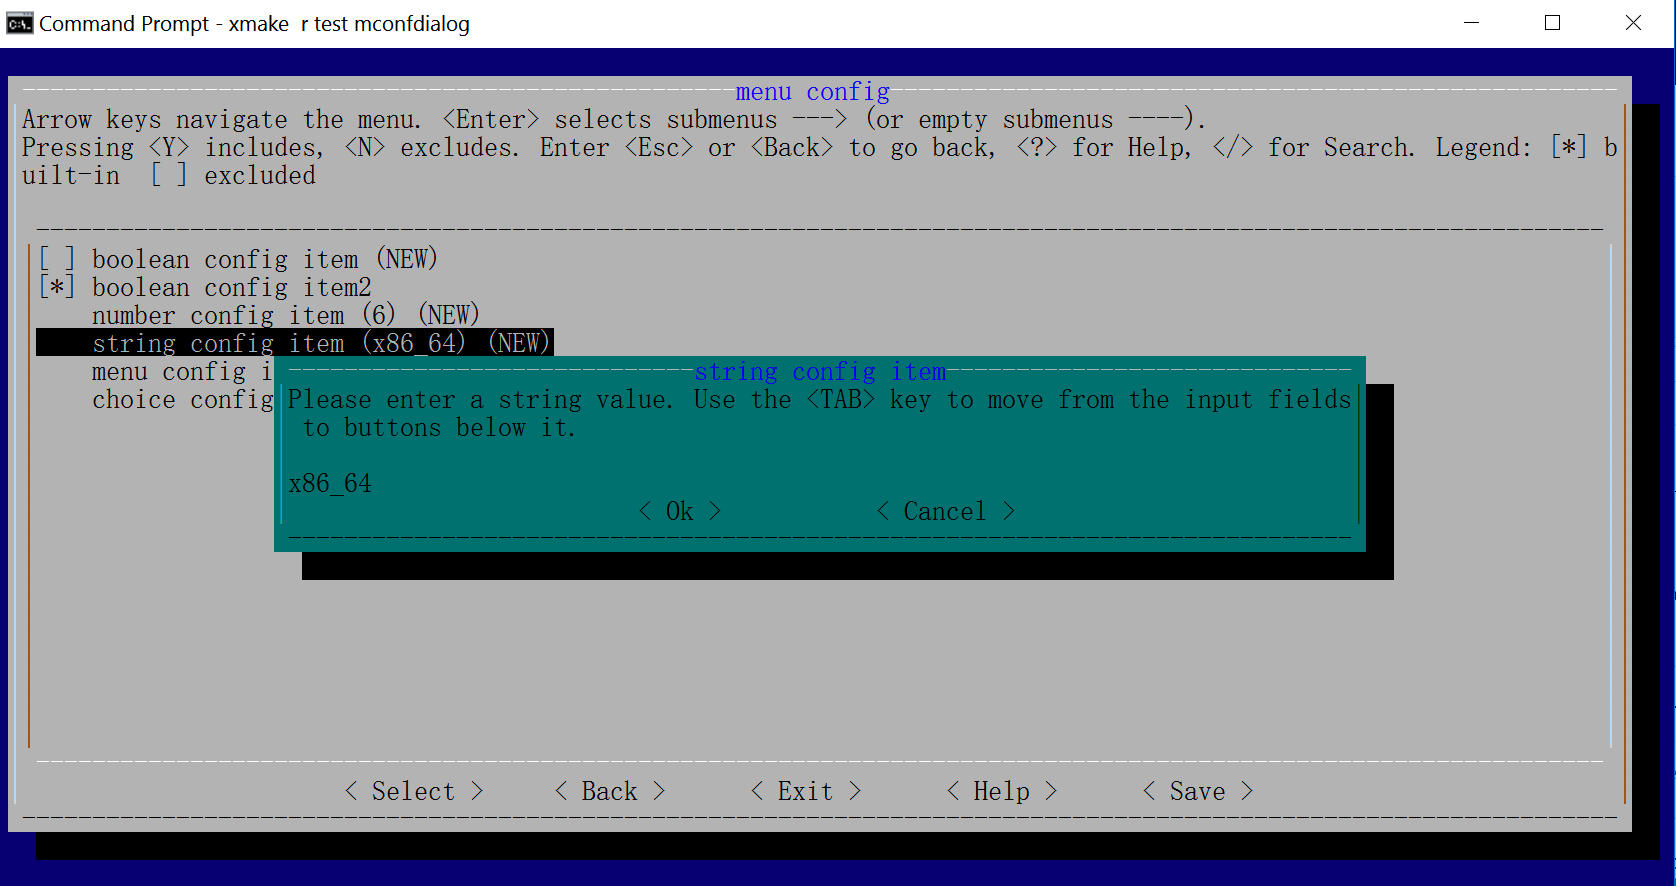
$ lua tests/mconfdialog.lua
或者
$ luajit tests/dialog.lua
$ luajit tests/window.lua
$ luajit tests/desktop.lua
$ luajit tests/inputdialog.lua
$ luajit tests/mconfdialog.lua
源码编译
通常只要luarocks安装好后就可以使用,如果想要本地调试,也可以源码编译后直接运行测试,首先我们需要先安装跨平台构建工具:xmake
$ xmake
xmake会自动下载lua, ncurses等相关依赖,然后我们直接通过xmake run加载相关测试程序即可:
$ xmake run test dialog
$ xmake run test window
$ xmake run test desktop
$ xmake run test inputdialog
$ xmake run test mconfdialog
应用程序
local ltui        = require("ltui")
local application = ltui.application
local event       = ltui.event
local rect        = ltui.rect
local window      = ltui.window
local demo        = application()

function demo:init()
    application.init(self, "demo")
    self:background_set("blue")
    self:insert(window:new("window.main", rect {1, 1, self:width() - 1, self:height() - 1}, "main window", true))
end

demo:run()
标签
local lab = label:new("title", rect {0, 0, 12, 1}, "hello ltui!"):textattr_set("white")
按钮
local btn = button:new("yes", rect {0, 1, 7, 2}, "< Yes >"):textattr_set("white")
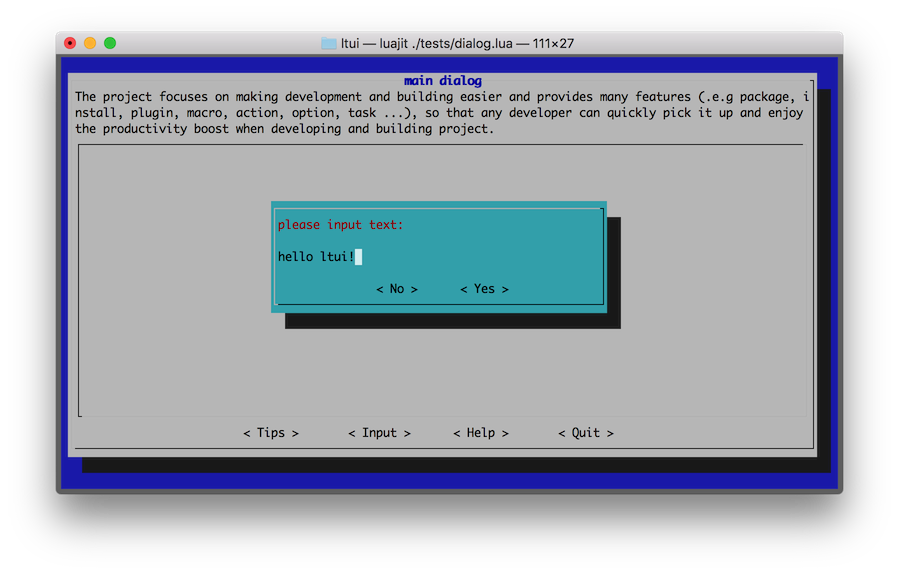
输入框
function demo:init()
    -- ...

    local dialog_input = inputdialog:new("dialog.input", rect {0, 0, 50, 8})
    dialog_input:text():text_set("please input text:")
    dialog_input:button_add("no", "< No >", function (v) dialog_input:quit() end)
    dialog_input:button_add("yes", "< Yes >", function (v) dialog_input:quit() end)
    self:insert(dialog_input, {centerx = true, centery = true})
end
组件
| 视图 | 对话框 | 其他 |
|---|---|---|
| view | dialog | event |
| panel | boxdialog | action |
| label | textdialog | canvas |
| button | inputdialog | curses |
| border | mconfdialog | program |
| window | choicedialog | application |
| menubar | point | |
| menuconf | rect | |
| textedit | object | |
| textarea | ||
| statusbar | ||
| choicebox | ||
| desktop |
菜单配置
输入框
文本区域
Windows
Termux