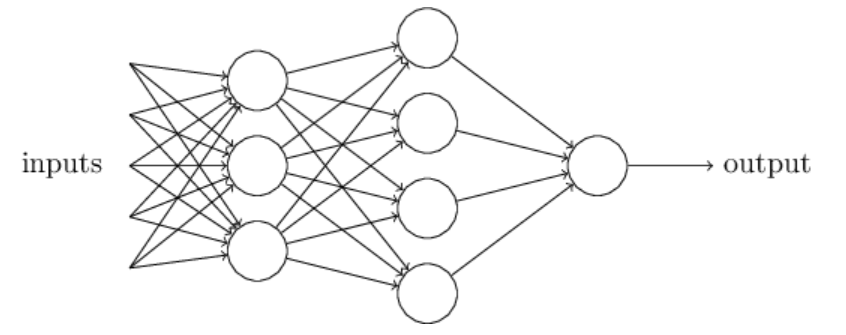
1. CNN(Convolutional Neural Network)卷积神经网络

示例代码
import tensorflow as tf
from tensorflow.examples.tutorials.mnist import input_data

mnist = input_data.read_data_sets('MNIST_data', one_hot=True)


# 计算准确度
def compute_accuracy(v_xs, v_ys):
    global prediction
    y_pre = sess.run(prediction, feed_dict={xs:v_xs})
    correct_prediction = tf.equal(tf.argmax(y_pre, 1), tf.argmax(v_ys, 1))
    accuracy = tf.reduce_mean(tf.cast(correct_prediction, tf.float32))
    result = sess.run(accuracy, feed_dict={xs:v_xs, ys:v_ys})
    return result


def weight_variable(shape):
    initial = tf.truncated_normal(shape, stddev=0.1)
    return tf.Variable(initial)


def bias_variable(shape):
    initial = tf.constant(0.1, shape=shape)
    return tf.Variable(initial)


def conv2d(x, W):
    return tf.nn.conv2d(x, W, strides=[1, 1, 1, 1], padding='SAME')  # stride[1,x,y,1],SAME和原图一样大


def max_pool_2x2(x):
    return tf.nn.max_pool(x, ksize=[1, 2, 2, 1], strides=[1, 2, 2, 1], padding='SAME')  # ksize表示卷积核大小


# 数据准备
xs = tf.placeholder(tf.float32, [None, 784])
ys = tf.placeholder(tf.float32, [None, 10])
keep_prob = tf.placeholder(tf.float32)
x_image = tf.reshape(xs, [-1, 28, 28, 1])  # -1表示这一维大小(即sample数)由计算机自己计算
print(x_image.shape)  # [n_sample, 28, 28, 1]
# 搭建神经网络
# 卷积层 池化层
W_conv1 = weight_variable([5, 5, 1, 32])  # patch(卷积核大小) 5x5, in size(输入图片厚度) 1, out size(输出图片厚度) 32
b_conv1 = bias_variable([32])
h_conv1 = tf.nn.relu(conv2d(x_image, W_conv1) + b_conv1)  # output size 28x28x32
h_pool1 = max_pool_2x2(h_conv1)  # output size 14x14x32
# 卷积层 池化层
W_conv2 = weight_variable([5, 5, 32, 64])  # patch(卷积核大小) 5x5, in size(输入图片厚度) 32, out size(输出图片厚度) 64
b_conv2 = bias_variable([64])
h_conv2 = tf.nn.relu(conv2d(h_pool1, W_conv2) + b_conv2)  # output size 14x14x64
h_pool2 = max_pool_2x2(h_conv2)  # output size 7x7x64
# 全连层
W_f1 = weight_variable([7*7*64, 1024])
b_fc1 = bias_variable([1024])
h_pool2_flat = tf.reshape(h_pool2, [-1, 7*7*64])  # [n_sample,7,7,64] ->> [n_sample, 7*7*64]
h_fc1 = tf.nn.relu(tf.matmul(h_pool2_flat, W_f1) + b_fc1)
# h_fc1_drop = tf.nn.dropout(h_fc1, keep_prob)
# 全连层
W_f2 = weight_variable([1024, 10])
b_fc2 = bias_variable([10])
prediction = tf.nn.softmax(tf.matmul(h_fc1, W_f2) + b_fc2)

# 计算损失函数
cross_entropy = tf.reduce_mean(-tf.reduce_sum(ys * tf.log(prediction), reduction_indices=[1]))
# 训练
train_step = tf.train.AdamOptimizer(1e-4).minimize(cross_entropy)  # learning rate = 0.1

# 核心部分
sess = tf.Session()
sess.run(tf.initialize_all_variables())  # 初始化所有变量
for i in range(1000):
    batch_xs, batch_ys = mnist.train.next_batch(100)  # 100个数据一批
    sess.run(train_step, feed_dict={xs: batch_xs, ys: batch_ys})
    if i % 50 == 0:  # 每隔50步输出一次准确度
        print(compute_accuracy(mnist.test.images, mnist.test.labels))
2. 文件保存
import tensorflow as tf

# 文件保存
W = tf.Variable([[1, 2, 3], [3, 4, 5]], dtype=tf.float32, name='weights')
b = tf.Variable([[1, 2, 3]], dtype=tf.float32, name='biases')
init = tf.initialize_all_variables()
saver = tf.train.Saver()
with tf.Session() as sess:
    sess.run(init)
    save_path = saver.save(sess, "my_net/save_net.ckpt")
    print("Save to path:", save_path)
3. 文件提取
# 文件提取
W = tf.Variable(np.arange(6).reshape((2, 3)), dtype=tf.float32, name="weights")
b = tf.Variable(np.arange(3).reshape((1, 3)), dtype=tf.float32, name="biases")
# 不用定义init
saver = tf.train.Saver()
with tf.Session() as sess:
    saver.restore(sess, "my_net/save_net.ckpt")
    print("weights:", sess.run((W)))
    print("biases:", sess.run(b))