一、创建demo项目
1.新建webapi项目,命名为“DemoProject”,去掉HTTPS勾选
 1 using Microsoft.AspNetCore.Mvc;
 2 using System.Collections.Generic;
 3
 4 namespace DemoProject.Controllers
 5 {
 6     [Route("api/[controller]/[action]")]
 7     [ApiController]
 8     public class DefaultController : ControllerBase
 9     {
10         static List<Student> list = new List<Student>() {
11              new Student(){ ID = "001", StudentName = "学生1", StudentAge = 16 },
12              new Student(){ ID = "002", StudentName = "学生2", StudentAge = 18 },
13              new Student(){ ID = "003", StudentName = "学生3", StudentAge = 17 }
14          };
15
16         [HttpGet]
17         public List<Student> GetList()
18         {
19             return list;
20         }
21
22         [HttpGet]
23         public Student GetModel(string id)
24         {
25             return list.Find(t => t.ID == id);
26         }
27     }
28
29     public class Student
30     {
31         public string ID { get; set; }
32         public string StudentName { get; set; }
33         public int StudentAge { get; set; }
34     }
35 }
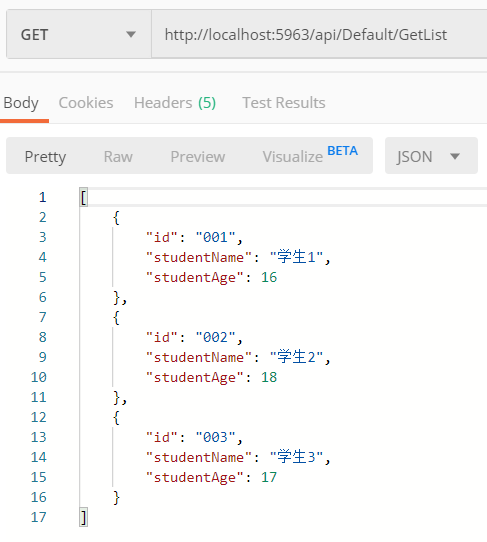
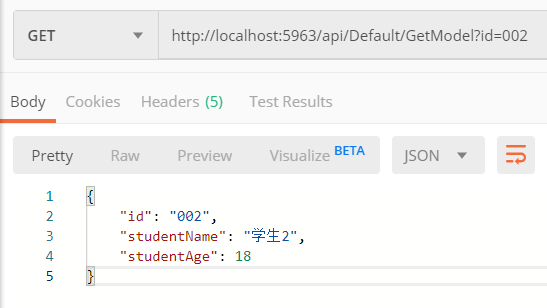
2.通过VS启动,并且保证能正常访问
二、创建Ocelot项目
1.新建webapi项目,命名为“OcelotProject”,去掉HTTPS勾选,不需要Controller
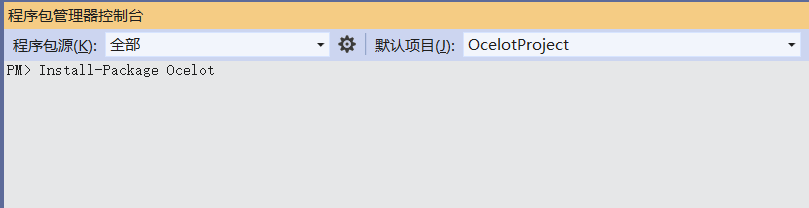
2.打开程序包管理器控制台,执行命令:Install-Package Ocelot
3.在项目根目录下,新建配置文件“ocelot.json”,填写为你自己的“DemoProject”的端口号
{
  "ReRoutes": [
    {
      "DownstreamPathTemplate": "/api/Default/GetList",
      "DownstreamScheme": "http",
      "DownstreamHostAndPorts": [
        {
          "Host": "localhost",
          "Port": 5963
        }
      ],
      "UpstreamPathTemplate": "/GetList",
      "UpstreamHttpMethod": [ "Get" ]
    },
    {
      "DownstreamPathTemplate": "/api/Default/GetModel?id={s1}",
      "DownstreamScheme": "http",
      "DownstreamHostAndPorts": [
        {
          "Host": "localhost",
          "Port": 5963
        }
      ],
      "UpstreamPathTemplate": "/GetModel?id={s1}",
      "UpstreamHttpMethod": [ "Get" ]
    }
  ]
}
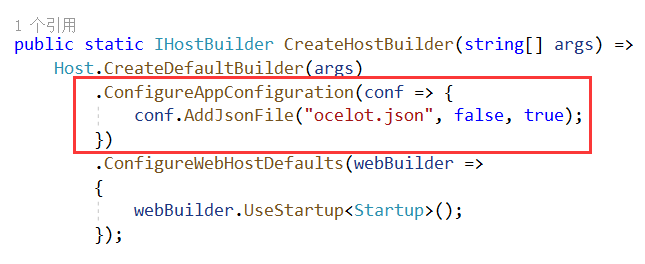
4.在Program.cs的CreateHostBuilder中加入
.ConfigureAppConfiguration(conf => {
    conf.AddJsonFile("ocelot.json", false, true);
})
5.找到Startup.cs
在ConfigureServices中加入:
services.AddOcelot(Configuration);
在Configure中加入:
app.UseOcelot().Wait();

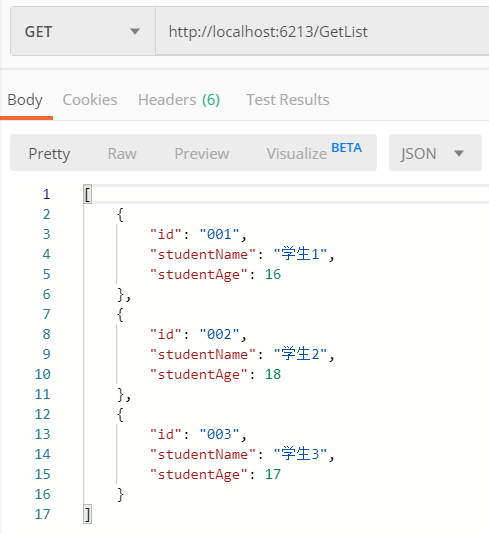
三、请求
通过VS启动“OcelotProject”,由于配置中对外的路由为“/GetList”,所以访问地址为:http://ip:port/GetList
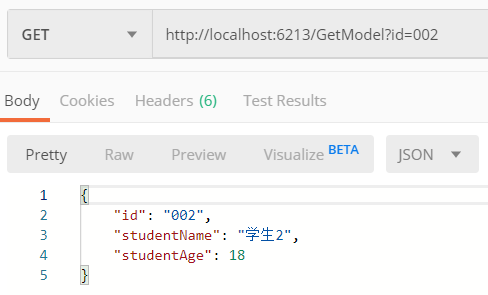
GetModel的访问地址为:http://ip:port/GetModel?id=002