转自:https://www.jb51.net/article/138554.htm
系统安装jdk1.8及以上,配置好maven的ide(这里用idea进行演示,maven版本3.5,配置阿里云源)
项目搭建
新建一个maven项目,创建最简单的那种就好,项目名这里为EurekaServerDemo,包名什么的随意,项目打包方式为jar,
也可以使用spring官方的生成器,官方的生成器会创建基础的springboot项目结构。这里为了演示,都可以
修改pom文件,参考如下,版本推荐和本文相同,springboot和cloud版本的坑很多
|
1
2
3
4
5
6
7
8
9
10
11
12
13
14
15
16
17
18
19
20
21
22
23
24
25
26
27
28
29
30
31
32
33
34
35
36
37
38
39
40
41
42
43
44
45
46
47
48
49
50
51
52
53
54
55
56
57
58
59
60
61
62
63
64
65
66
67
68
69
70
|
<?xml version="1.0" encoding="UTF-8"?><project xmlns="http://maven.apache.org/POM/4.0.0" xmlns:xsi="http://www.w3.org/2001/XMLSchema-instance" <modelVersion>4.0.0</modelVersion> <groupId>com.hellxz</groupId> <artifactId>EurekaServerDemo</artifactId> <version>0.0.1-SNAPSHOT</version> <packaging>jar</packaging> <dependencies> <dependency> <groupId>org.springframework.cloud</groupId> <artifactId>spring-cloud-netflix-eureka-server</artifactId> <version>1.3.5.RELEASE</version> </dependency> </dependencies> <name>EurekaServerDemo</name> <description>Demo project for Spring Boot</description> <parent> <groupId>org.springframework.boot</groupId> <artifactId>spring-boot-starter-parent</artifactId> <version>1.5.9.RELEASE</version> <relativePath/> <!-- lookup parent from repository --> </parent> <dependencyManagement> <dependencies> <dependency> <groupId>org.springframework.cloud</groupId> <artifactId>spring-cloud-dependencies</artifactId> <version>Camden.SR3</version> <type>pom</type> <scope>import</scope> </dependency> <dependency> <groupId>org.springframework.cloud</groupId> <artifactId>spring-cloud-config-server</artifactId> </dependency> <dependency> <groupId>org.springframework.cloud</groupId> <artifactId>spring-cloud-starter-eureka-server</artifactId> </dependency> <!--暴露各种指标--> <dependency> <groupId>org.springframework.boot</groupId> <artifactId>spring-boot-starter-actuator</artifactId> </dependency> </dependencies> </dependencyManagement> <build> <plugins> <plugin> <groupId>org.springframework.boot</groupId> <artifactId>spring-boot-maven-plugin</artifactId> </plugin> <plugin> <groupId>org.apache.maven.plugins</groupId> <artifactId>maven-compiler-plugin</artifactId> <configuration> <source>1.8</source> <target>1.8</target> </configuration> </plugin> </plugins> </build></project> |
新建一个主类,用于启动项目
|
1
2
3
4
5
6
7
8
9
10
11
12
13
14
15
16
17
18
19
20
|
package com.hellxz.EurekaServerDemo;import org.springframework.boot.SpringApplication;import org.springframework.boot.autoconfigure.SpringBootApplication;import org.springframework.cloud.netflix.eureka.server.EnableEurekaServer;/** * @Author : Hellxz * @Description: EurekaServer * @Date : 2018/4/13 16:53 */@EnableEurekaServer@SpringBootApplicationpublic class EurekaServerDemoApplication { public static void main(String[] args) { //启动这个springboot应用 SpringApplication.run(EurekaServerDemoApplication.class,args); }} |
在resources目录下新建一个application.properties文件,用于配置EurekaServer相关参数,也可以使用yaml文件
|
1
2
3
4
5
6
7
8
9
10
|
#提供服务端口server.port=1111#提供服务的域名,本地可以使用localhost或者配置hosts测试eureka.instance.hostname=localhost#关闭向注册中心注册自己eureka.client.register-with-eureka=false#关闭发现注册服务,注册中心仅用于维护节点eureka.client.fetch-registry=false#配置注册中心提供服务的url(这里引用上边的配置)eureka.client.serviceUrl.defaultZone=http://${eureka.instance.hostname}:${server.port}/eureka/ |
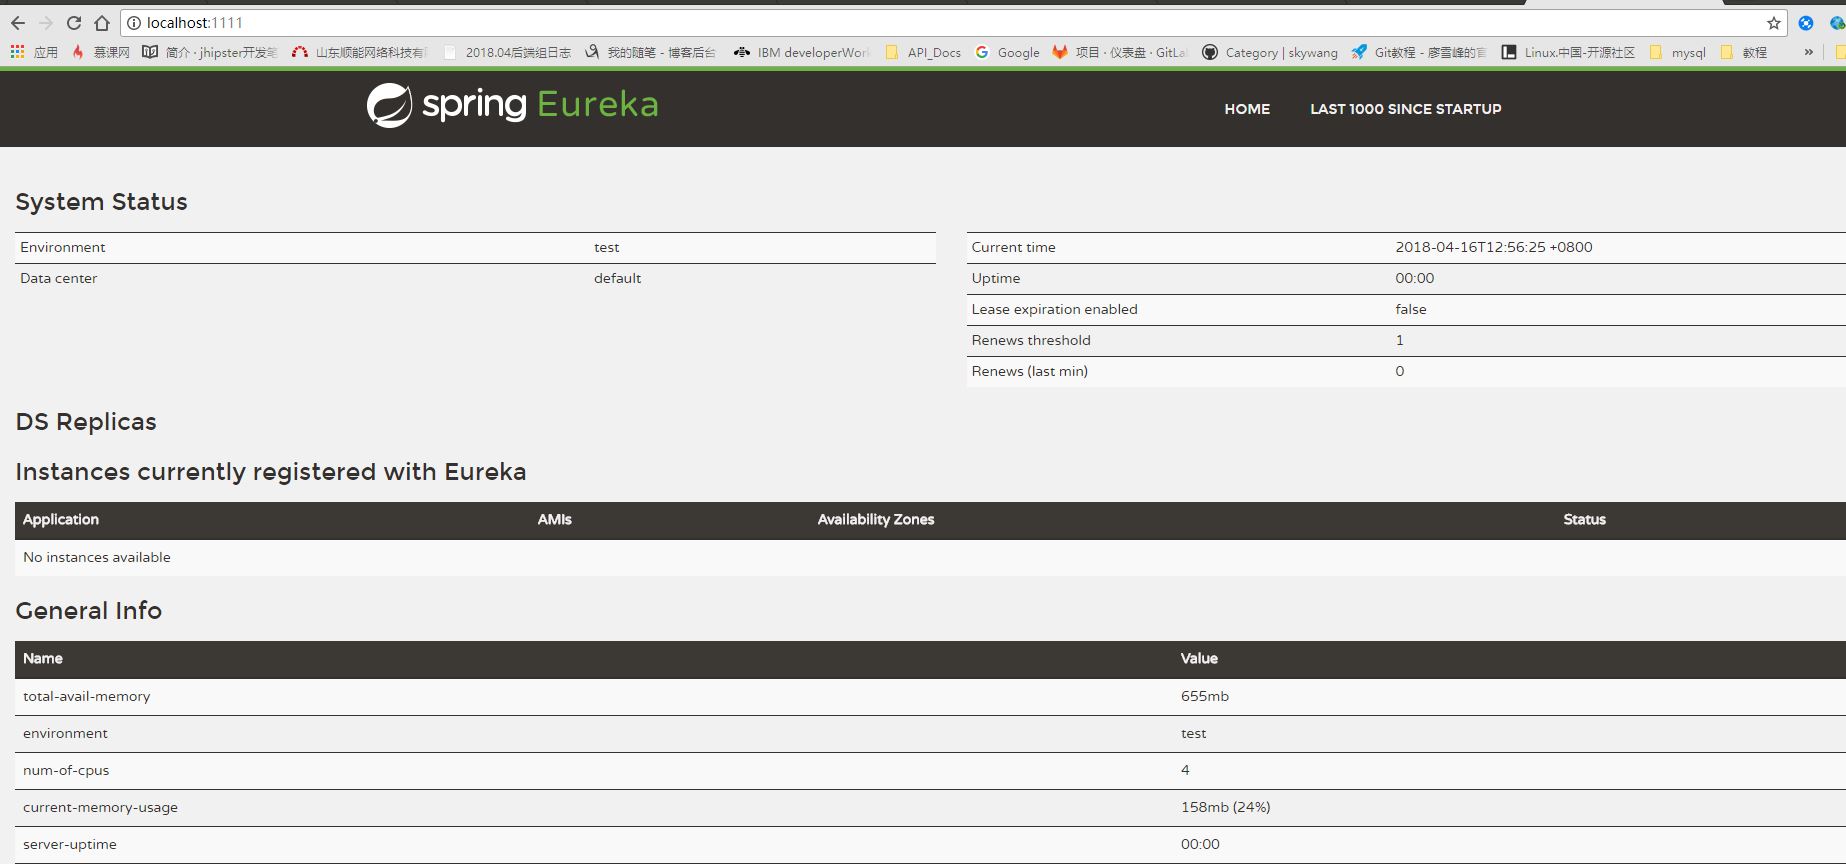
启动这个项目测试一下
测试
因为配置的是localhost:1111作为访问路径,这里启动项目后直接访问就好,如图

至此Eureka注册中心搭建完毕