我们之前是通过url来找到对应的视图函数
/ => hello_world
那么url_for则是通过视图函数找到url
hello world => /
演示如下
...
from flask import url_for


@app.route('/')
def hello_world():
    return url_for('my_list')


@app.route('/list/')
def my_list():
    return 'list page'

如果url带有参数的话,我们应该如下使用url_for
...
from flask import url_for

@app.route('/')
def hello_world():
    return url_for('my_list', page_id=1)


@app.route('/list/<page_id>/')
def my_list(page_id):
    return 'list page'

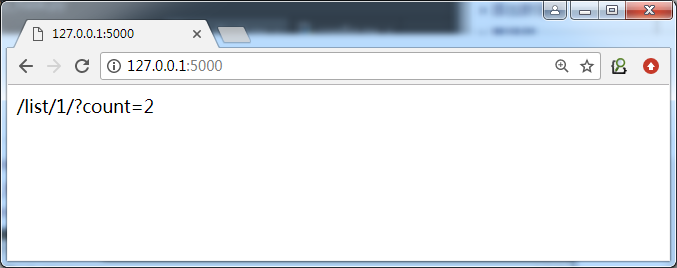
如果url只配置了一个参数,而url_for设置了多个
...
from flask import url_for

@app.route('/')
def hello_world():
    return url_for('my_list', page_id=1, count=2)


@app.route('/list/<page_id>/')
def my_list(page_id):
    return 'list page'
为什么要使用url_for呢?
当我们视图函数确定了,以后我们的url不管怎么变,只要通过url_for都能够正确地得到url,因为改变url的频率一般大于视图函数。
url_for会自动处理特殊的字符