一:gitlab-CentOS的安装
1. 环境准备
 1 [root@1-231 ~]# cat /etc/redhat-release
 2 CentOS Linux release 7.4.1708 (Core)
 3 [root@1-231 ~]# uname -r
 4 3.10.0-693.5.2.el7.x86_64
 5
 6 下载epel源
 7 [root@1-231 ~]# wget http://mirrors.aliyun.com/epel/epel-release-latest-7.noarch.rpm
 8 [root@1-231 ~]# rpm -ivh epel-release-latest-7.noarch.rpm
 9 [root@1-231 ~]# wget -O /etc/yum.repos.d/CentOS-Base.repo http://mirrors.aliyun.com/repo/Centos-7.repo
10
11 关闭networkmanager和防火墙
12 [root@1-231 ~]# systemctl stop firewalld.service
13 [root@1-231 ~]# systemctl disable firewalld
14 [root@1-231 ~]# systemctl disable NetworkManager
15
16 关闭selinux并确认处于关闭状态
17 [root@1-231 ~]# sed -i 's/SELINUX=enforcing/SELINUX=disabled/' /etc/selinux/config
18 [root@1-231 ~]# grep SELINUX=disabled /etc/selinux/config
19 SELINUX=disabled
20 [root@1-231 ~]# setenforce 0
21 setenforce: SELinux is disabled
22
23 更新系统并重启
24 [root@1-231 ~]# yum update -y && reboot
2. 安装gitlab
 1 [root@1-231 ~]# yum install curl policycoreutils openssh-server openssh-clients postfix -y
 2 [root@1-231 ~]# systemctl start postfix
 3 [root@1-231 ~]# curl -sS https://packages.gitlab.com/install/repositories/gitlab/gitlab-ce/script.rpm.sh | sudo bash
 4 [root@1-231 ~]# yum install -y gitlab-ce
 5
 6 由于网络问题,连接国外镜像连接超时,国内用户,建议使用清华大学的镜像源进行安装
 7 [root@1-231 ~]# cat /etc/yum.repos.d/gitlab-ce.repo
 8 [gitlab-ce]
 9 name=gitlab-ce
10 baseurl=http://mirrors.tuna.tsinghua.edu.cn/gitlab-ce/yum/el7
11 repo_gpgcheck=0
12 gpgcheck=0
13 enabled=1
14 gpgkey=https://packages.gitlab.com/gpg.key
15 [root@1-231 ~]# yum makecache
16 [root@1-231 ~]# yum install -y gitlab-ce
3. 在安装一个git客户端
1 [root@1-231 ~]# yum install -y git
4. 配置并启动gitlab-ce
 1 [root@1-231 ~]# gitlab-ctl reconfigure
 2 #时间可能比较长,耐心你等待即可
 3
 4 gitlab常用命令:
 5 关闭gitlab:[root@1-231 ~]# gitlab-ctl stop
 6 启动gitlab:[root@1-231 ~]# gitlab-ctl start
 7 重启gitlab:[root@1-231 ~]# gitlab-ctl restart
 8 重载配置文件: gitlab-ctl reconfigure
 9
10 可以使用gitlab-ctl管理gitlab,例如查看gitlab状态:
11 [root@1-231 ~]# gitlab-ctl status
12     run: gitaly: (pid 13265) 2545s; run: log: (pid 12780) 2590s
13     run: gitlab-monitor: (pid 13310) 2544s; run: log: (pid 12989) 2572s
14     run: gitlab-workhorse: (pid 13286) 2544s; run: log: (pid 12851) 2584s
15     run: logrotate: (pid 13155) 2547s; run: log: (pid 12896) 2580s
16     run: nginx: (pid 13198) 2547s; run: log: (pid 12874) 2582s
17     run: node-exporter: (pid 13205) 2546s; run: log: (pid 12967) 2574s
18     run: postgres-exporter: (pid 13367) 2543s; run: log: (pid 13066) 2558s
19     run: postgresql: (pid 13238) 2545s; run: log: (pid 12593) 2633s
20     run: prometheus: (pid 13354) 2543s; run: log: (pid 13025) 2564s
21     run: redis: (pid 13274) 2545s; run: log: (pid 12533) 2639s
22     run: redis-exporter: (pid 13293) 2544s; run: log: (pid 13008) 2566s
23     run: sidekiq: (pid 13386) 2542s; run: log: (pid 12760) 2596s
24     run: unicorn: (pid 13410) 2541s; run: log: (pid 12711) 2602s
25
26 提示:我们要保证80端口不被占用
27 我们可以查看一下端口
28 [root@1-231 ~]# gitlab-ctl restart
29     ok: run: gitaly: (pid 32816) 0s
30     ok: run: gitlab-monitor: (pid 32831) 1s
31     ok: run: gitlab-workhorse: (pid 32841) 0s
32     ok: run: logrotate: (pid 32850) 1s
33     ok: run: nginx: (pid 32892) 0s
34     ok: run: node-exporter: (pid 32898) 0s
35     ok: run: postgres-exporter: (pid 32906) 1s
36     ok: run: postgresql: (pid 32917) 0s
37     ok: run: prometheus: (pid 32926) 1s
38     ok: run: redis: (pid 32934) 0s
39     ok: run: redis-exporter: (pid 32938) 1s
40     ok: run: sidekiq: (pid 32946) 0s
41     ok: run: unicorn: (pid 32955) 0s
42
43 [root@1-231 ~]# lsof -i :80
44     COMMAND   PID       USER   FD   TYPE DEVICE SIZE/OFF NODE NAME
45     nginx   32892       root    7u  IPv4  81927      0t0  TCP *:http (LISTEN)
46     nginx   32893 gitlab-www    7u  IPv4  81927      0t0  TCP *:http (LISTEN)
47     nginx   32894 gitlab-www    7u  IPv4  81927      0t0  TCP *:http (LISTEN)
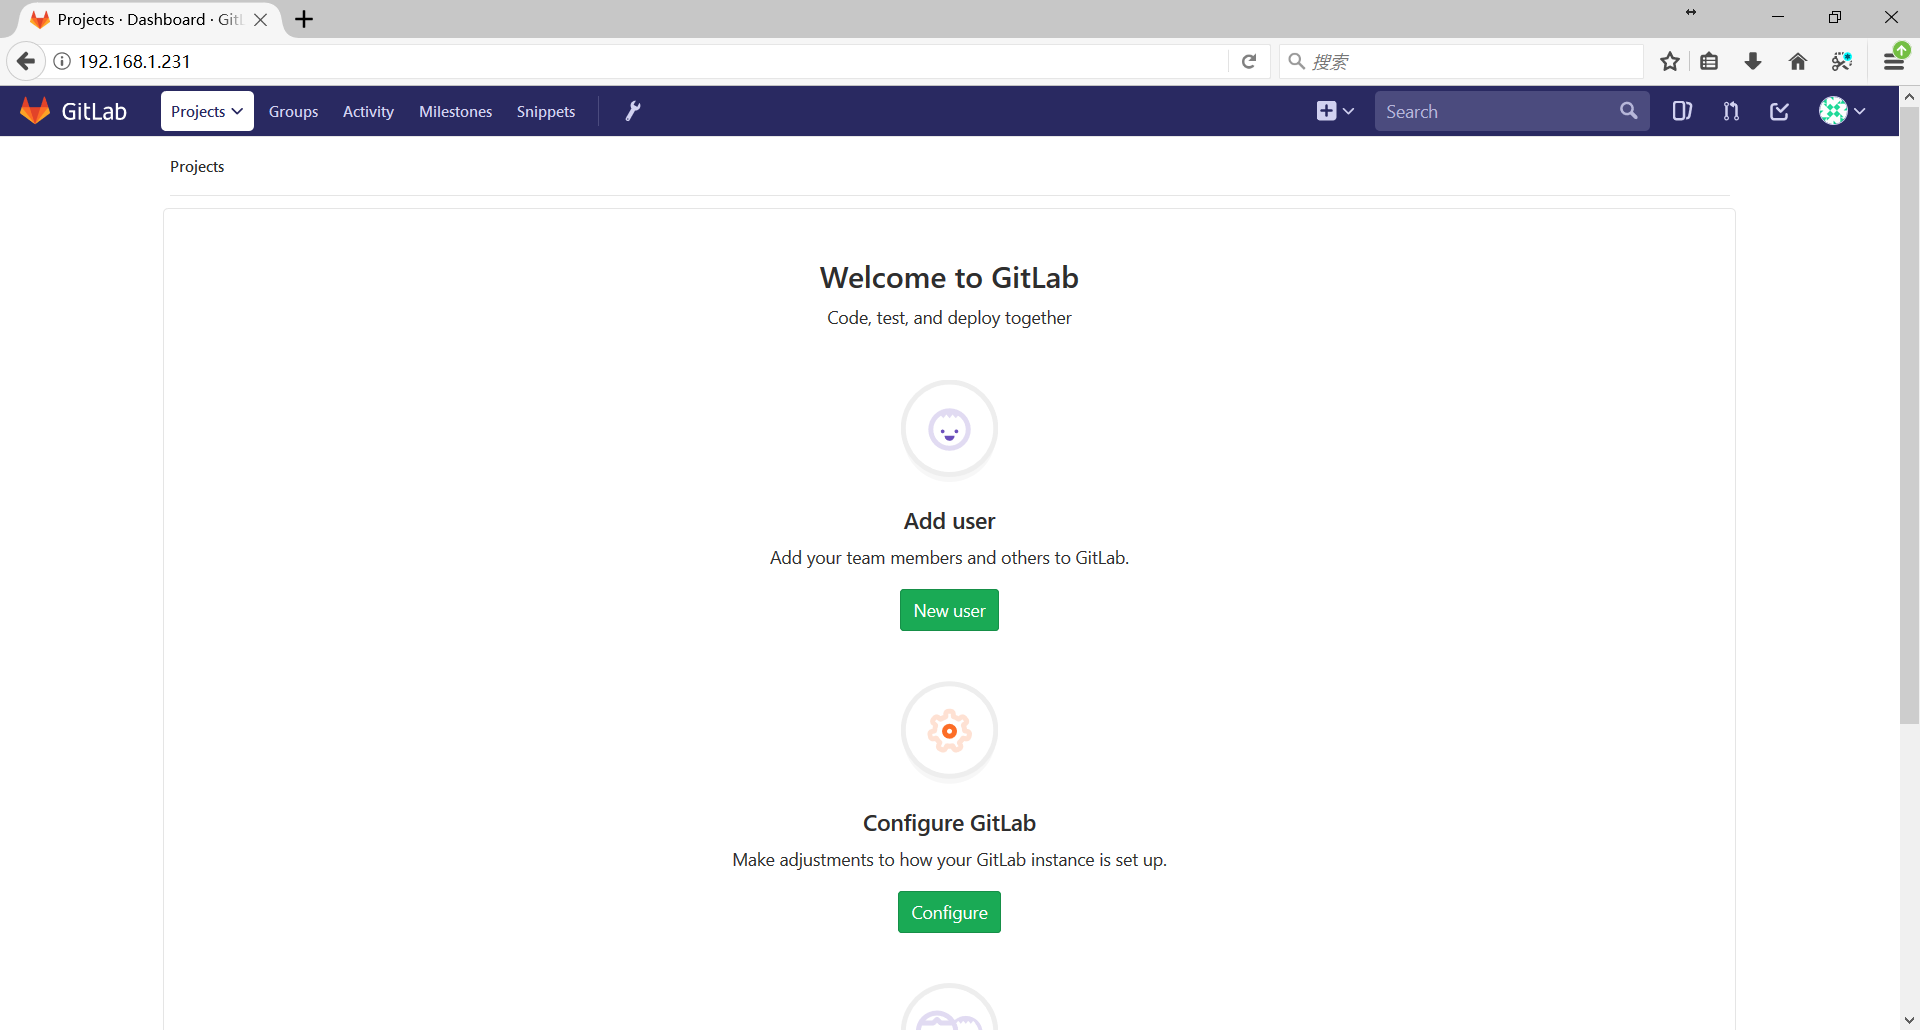
5. web:浏览器进行访问测试:192.168.1.231
提示:启动gitlab需要时间!
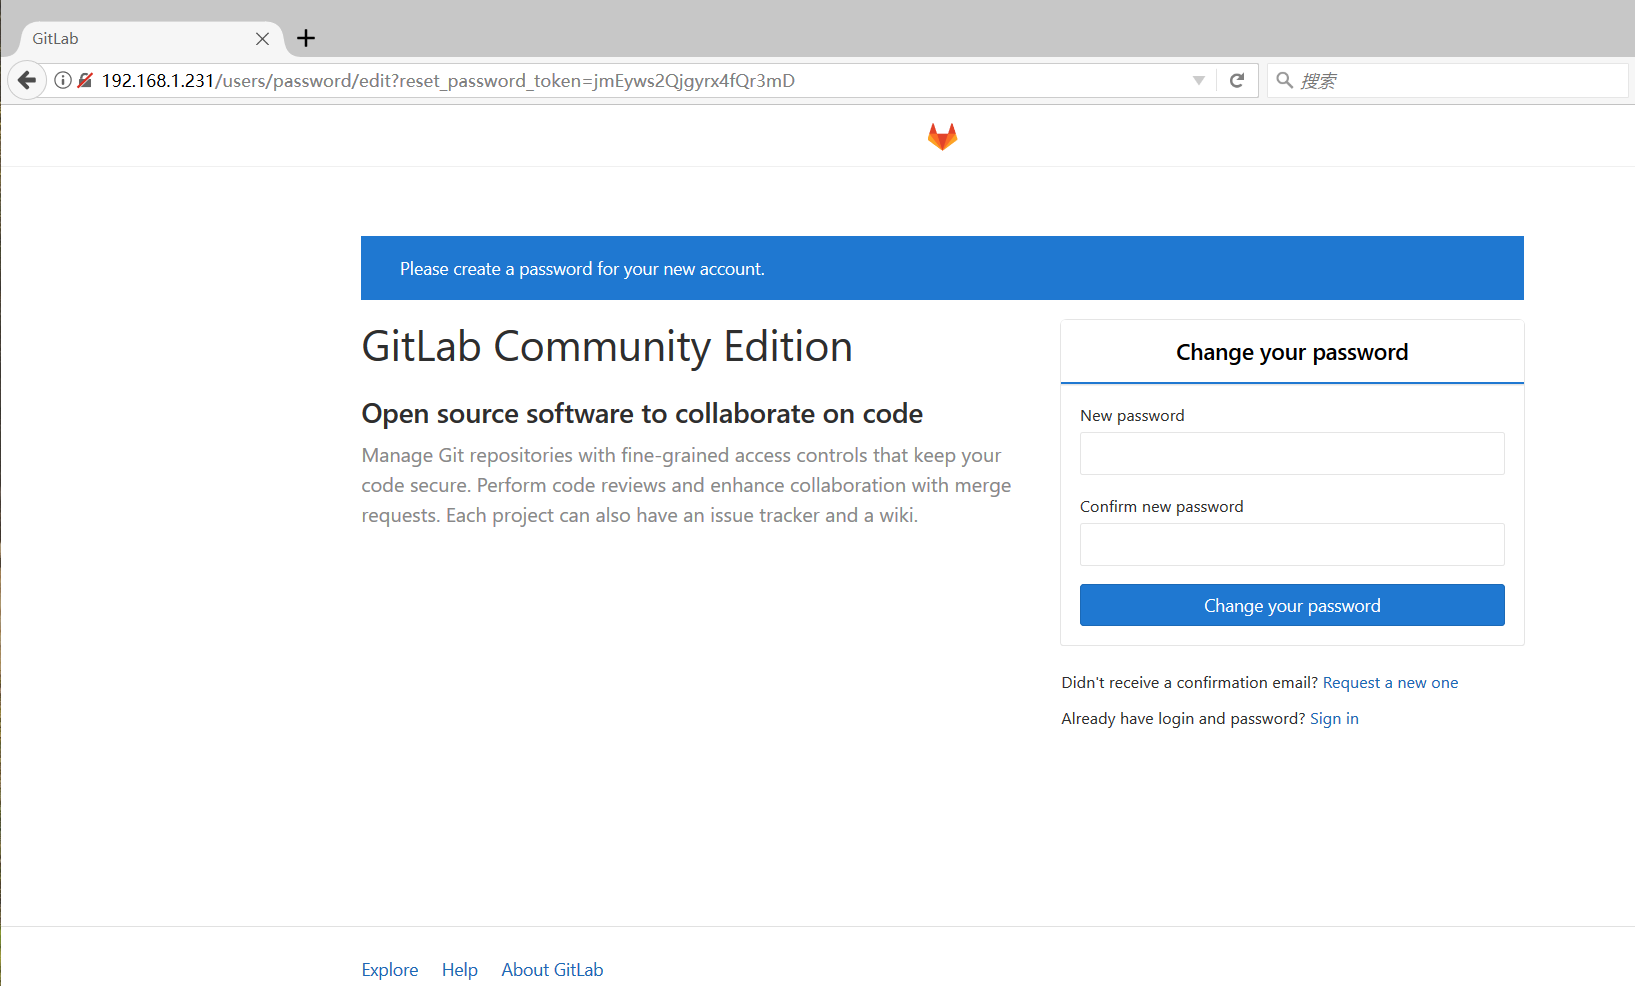
Web页面提示我们需要设置一个账号密码(我们要设置最少8位数的一个账号密码)我们设置密码为:12345678
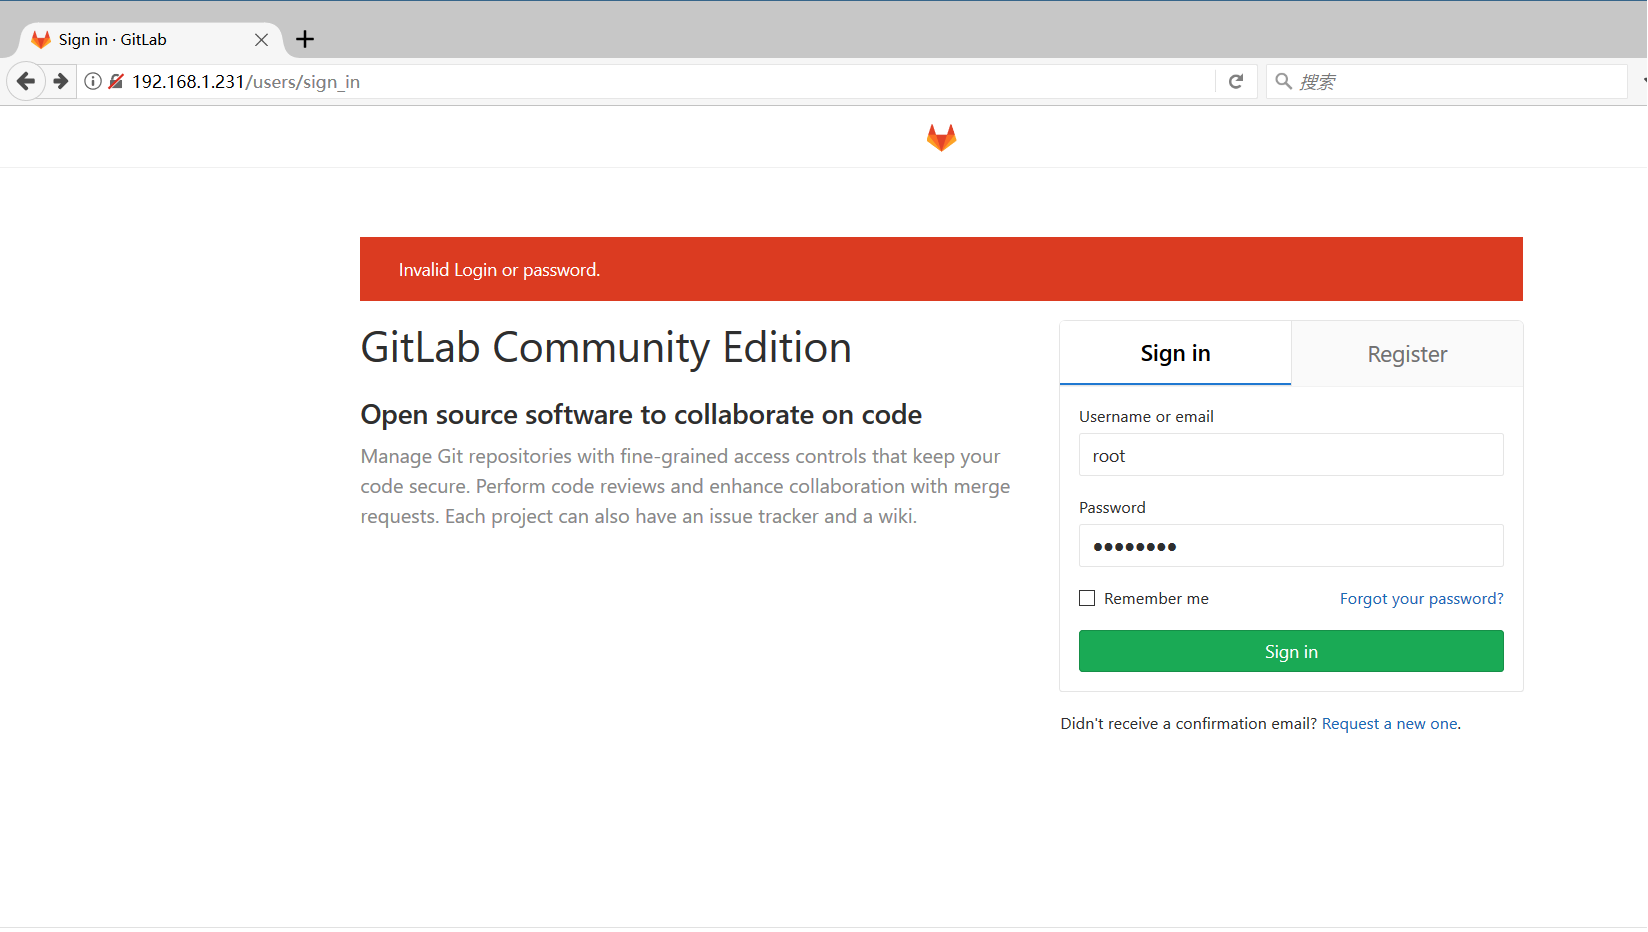
默认用户是:root
密码是:12345678
我们在后面的页面设置用户名