本篇详细介绍tornado应用部署到阿里云服务器上的全过程。
Tornado程序地址:github https://github.com/ddong8/ihasy.git
准备工作:阿里云服务器CentOS7.4系统+PuTTY远程登录
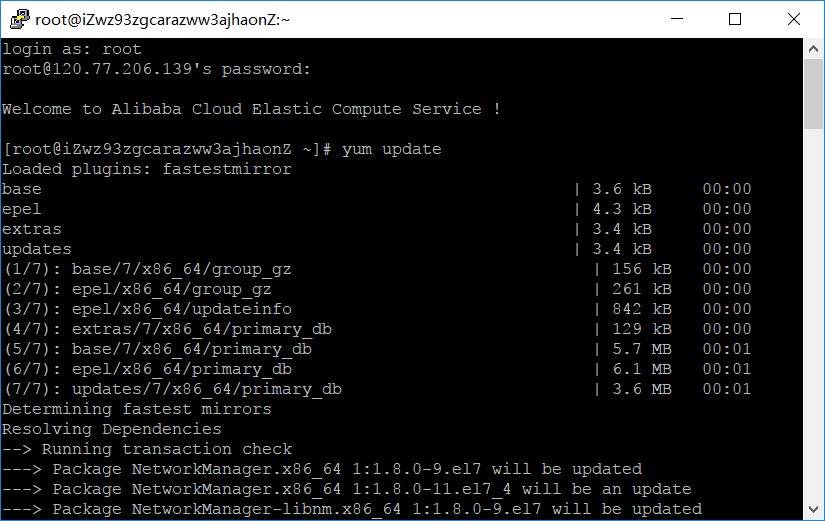
一.更新CentOS系统
安装完CentOS7.4后惯例更新下系统:
yum update
二.安装MySQL
然后安装MySQL:
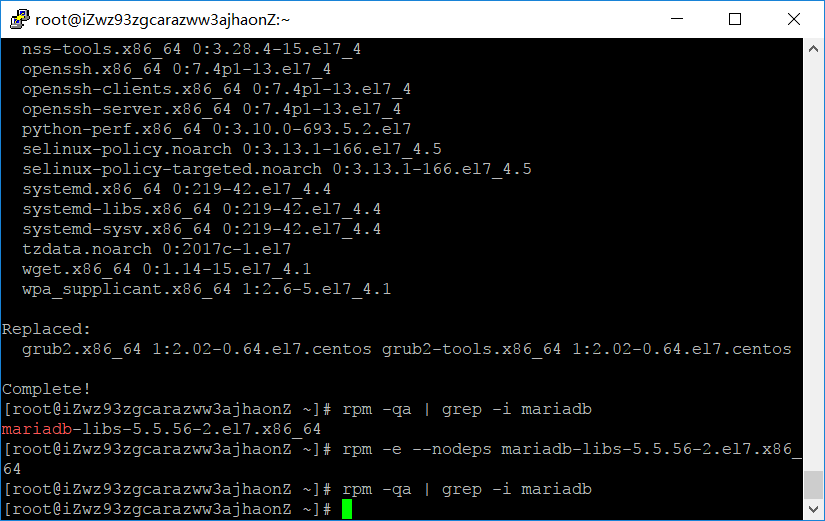
卸载MariaDB
CentOS7默认安装MariaDB而不是MySQL,而且yum服务器上也移除了MySQL相关的软件包。因为MariaDB和MySQL可能会冲突,故先卸载MariaDB。
1、安装新版mysql之前,我们需要将系统自带的mariadb-lib卸载
查找mariadb:
[root@iZwz94qazh62gk5ewl4ei2Z home]# rpm -qa | grep -i mariadb
mariadb-libs-5.5.52-1.el7.x86_64
rpm -qa | grep -i mariadb
卸载mariadb
[root@iZwz94qazh62gk5ewl4ei2Z home]# rpm -e --nodeps mariadb-libs-5.5.52-1.el7.x86_64
rpm -e --nodeps mariadb-libs-5.5.56-2.el7.x86_64
2、到mysql的官网下载最新版mysql的rpm集合包:mysql-5.7.20-1.el7.x86_64.rpm-bundle.tar
wget https://cdn.mysql.com//Downloads/MySQL-5.7/mysql-5.7.20-1.el7.x86_64.rpm-bundle.tar
然后解压:
tar -xvf mysql-5.7.20-1.el7.x86_64.rpm-bundle.tar
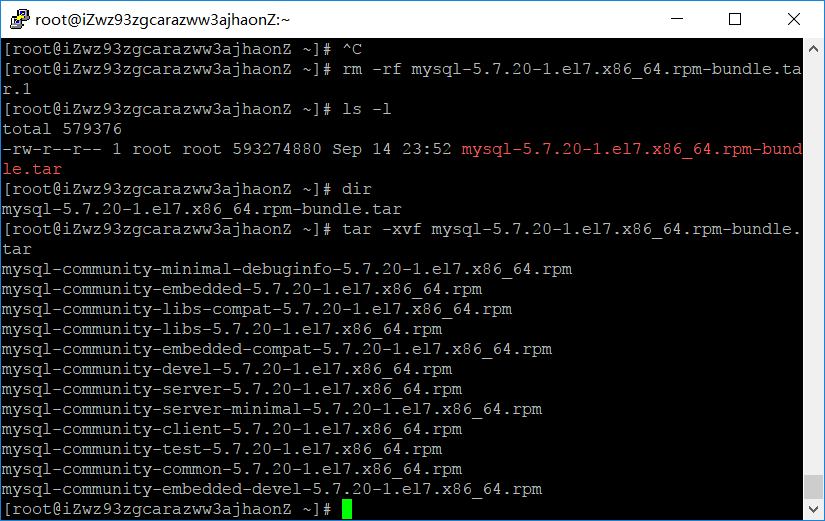
然后安装:
rpm -ivh mysql-community-common-5.7.20-1.el7.x86_64.rpm
rpm -ivh mysql-community-libs-5.7.20-1.el7.x86_64.rpm
rpm -ivh mysql-community-devel-5.7.20-1.el7.x86_64.rpm
rpm -ivh mysql-community-client-5.7.20-1.el7.x86_64.rpm
安装mysql-community-server会报错提示缺少libaio.so.1
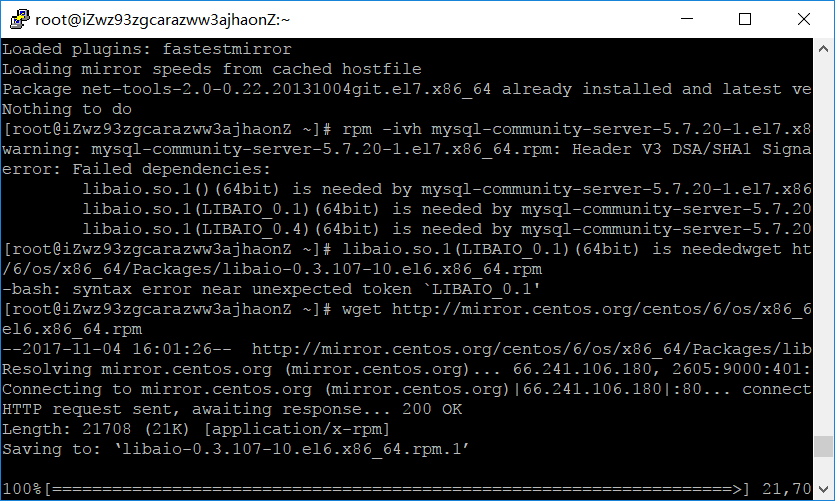
报错如上图,需要安装libaio.so.1
64位系统安装:
wget http://mirror.centos.org/centos/6/os/x86_64/Packages/libaio-0.3.107-10.el6.x86_64.rpm
rpm -ivh libaio-0.3.107-10.el6.x86_64.rpm
32位系统现在很少了,yum似乎默认安装32位的:
yum install libaio.so.1
再安装即可成功:
rpm -ivh mysql-community-server-5.7.20-1.el7.x86_64.rpm
5、 数据库初始化
为了保证数据库目录为与文件的所有者为 mysql 登陆用户,如果你的linux系统是以 root 身份运行 mysql 服务,需要执行下面的命令初始化
|
1
|
[root@iZwz94qazh62gk5ewl4ei2Z mysql]# mysqld --initialize --user=mysql |
如果是以 mysql 身份登录运行,则可以去掉 --user 选项。
另外 --initialize 选项默认以“安全”模式来初始化,则会为 root 用户生成一个密码并将该密码标记为过期,登陆后你需要设置一个新的密码,
而使用 --initialize-insecure 命令则不使用安全模式,则不会为 root 用户生成一个密码。
这里演示使用的 --initialize 初始化的,会生成一个 root 账户密码,密码在log文件里,红色区域的就是自动生成的密码
|
1
2
3
4
5
6
7
|
[root@iZwz94qazh62gk5ewl4ei2Z mysql]# cat /var/log/mysqld.log2017-06-05T14:30:52.709474Z 0 [Warning] TIMESTAMP with implicit DEFAULT value is deprecated. Please use --explicit_defaults_for_timestamp server option (see documentation for more details).2017-06-05T14:30:55.590590Z 0 [Warning] InnoDB: New log files created, LSN=457902017-06-05T14:30:56.000269Z 0 [Warning] InnoDB: Creating foreign key constraint system tables.2017-06-05T14:30:56.109868Z 0 [Warning] No existing UUID has been found, so we assume that this is the first time that this server has been started. Generating a new UUID: 960c533e-49fb-11e7-91f2-00163e089fd2.2017-06-05T14:30:56.116186Z 0 [Warning] Gtid table is not ready to be used. Table 'mysql.gtid_executed' cannot be opened.2017-06-05T14:30:56.116777Z 1 [Note] A temporary password is generated for root@localhost: :Wu?2QQutQwj |
现在启动mysql数据库systemctl start mysqld.service(Centos7特有的启动方式)
可以使用下面两个命令对mysql进行停止,启动和重启:
启动:
使用 service 启动:service mysqld start
使用 mysqld 脚本启动:/etc/inint.d/mysqld start
使用 safe_mysqld 启动:safe_mysqld&
停止:
使用 service 启动:service mysqld stop
使用 mysqld 脚本启动:/etc/inint.d/mysqld stop
mysqladmin shutdown
重启:
使用 service 启动:service mysqld restart
使用 mysqld 脚本启动:/etc/inint.d/mysqld restart
连接数据库
[root@iZwz94qazh62gk5ewl4ei2Z mysql]# mysql -u root -p
Enter password:
密码输入: :Wu?2QQutQwj
修改密码:
set password = password('你的密码');
三.安装nginx
安装所需环境
Nginx 是 C语言 开发,建议在 Linux 上运行,当然,也可以安装 Windows 版本,本篇则使用 CentOS 7 作为安装环境。
一. gcc 安装
安装 nginx 需要先将官网下载的源码进行编译,编译依赖 gcc 环境,如果没有 gcc 环境,则需要安装:
yum install gcc-c++
二. PCRE pcre-devel 安装
PCRE(Perl Compatible Regular Expressions) 是一个Perl库,包括 perl 兼容的正则表达式库。nginx 的 http 模块使用 pcre 来解析正则表达式,所以需要在 linux 上安装 pcre 库,pcre-devel 是使用 pcre 开发的一个二次开发库。nginx也需要此库。命令:
yum install -y pcre pcre-devel
三. zlib 安装
zlib 库提供了很多种压缩和解压缩的方式, nginx 使用 zlib 对 http 包的内容进行 gzip ,所以需要在 Centos 上安装 zlib 库。
yum install -y zlib zlib-devel
四. OpenSSL 安装
OpenSSL 是一个强大的安全套接字层密码库,囊括主要的密码算法、常用的密钥和证书封装管理功能及 SSL 协议,并提供丰富的应用程序供测试或其它目的使用。
nginx 不仅支持 http 协议,还支持 https(即在ssl协议上传输http),所以需要在 Centos 安装 OpenSSL 库。
yum install -y openssl openssl-devel
官网下载
1.直接下载.tar.gz安装包,地址:https://nginx.org/en/download.html

2.使用wget命令下载(推荐)。
wget -c https://nginx.org/download/nginx-1.12.2.tar.gz
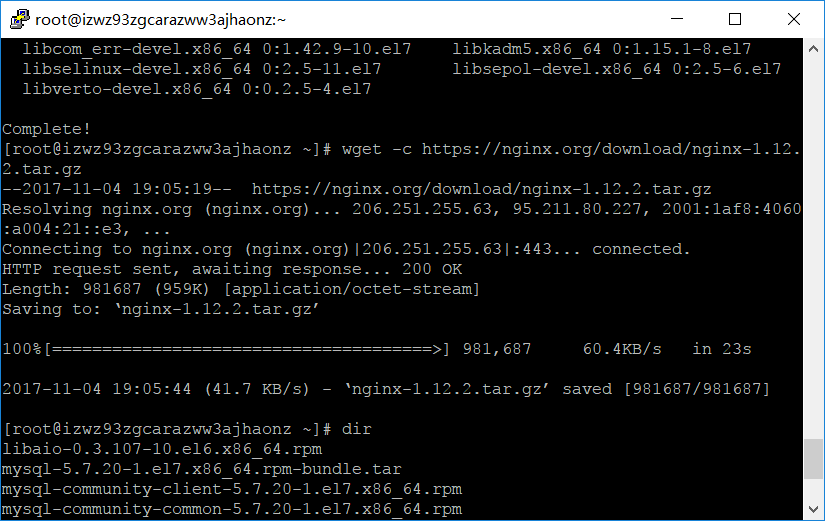
我下载的是1.12.2版本,这个是目前的稳定版。
解压
依然是直接命令:
tar -zxvf nginx-1.12.2.tar.gz
cd nginx-1.12.2
配置
其实在 nginx-1.12.2 版本中你就不需要去配置相关东西,默认就可以了。当然,如果你要自己配置目录也是可以的。
1.使用默认配置
./configure
编译安装
make
make install
查找安装路径:
whereis nginx

启动、停止nginx
cd /usr/local/nginx/sbin/
./nginx
./nginx -s stop
./nginx -s quit
./nginx -s reload
./nginx -s quit:此方式停止步骤是待nginx进程处理任务完毕进行停止。./nginx -s stop:此方式相当于先查出nginx进程id再使用kill命令强制杀掉进程。
查询nginx进程:
ps aux|grep nginx重启 nginx
1.先停止再启动(推荐):
对 nginx 进行重启相当于先停止再启动,即先执行停止命令再执行启动命令。如下:
./nginx -s quit
./nginx
2.重新加载配置文件:
当 ngin x的配置文件 nginx.conf 修改后,要想让配置生效需要重启 nginx,使用-s reload不用先停止 ngin x再启动 nginx 即可将配置信息在 nginx 中生效,如下:
./nginx -s reload
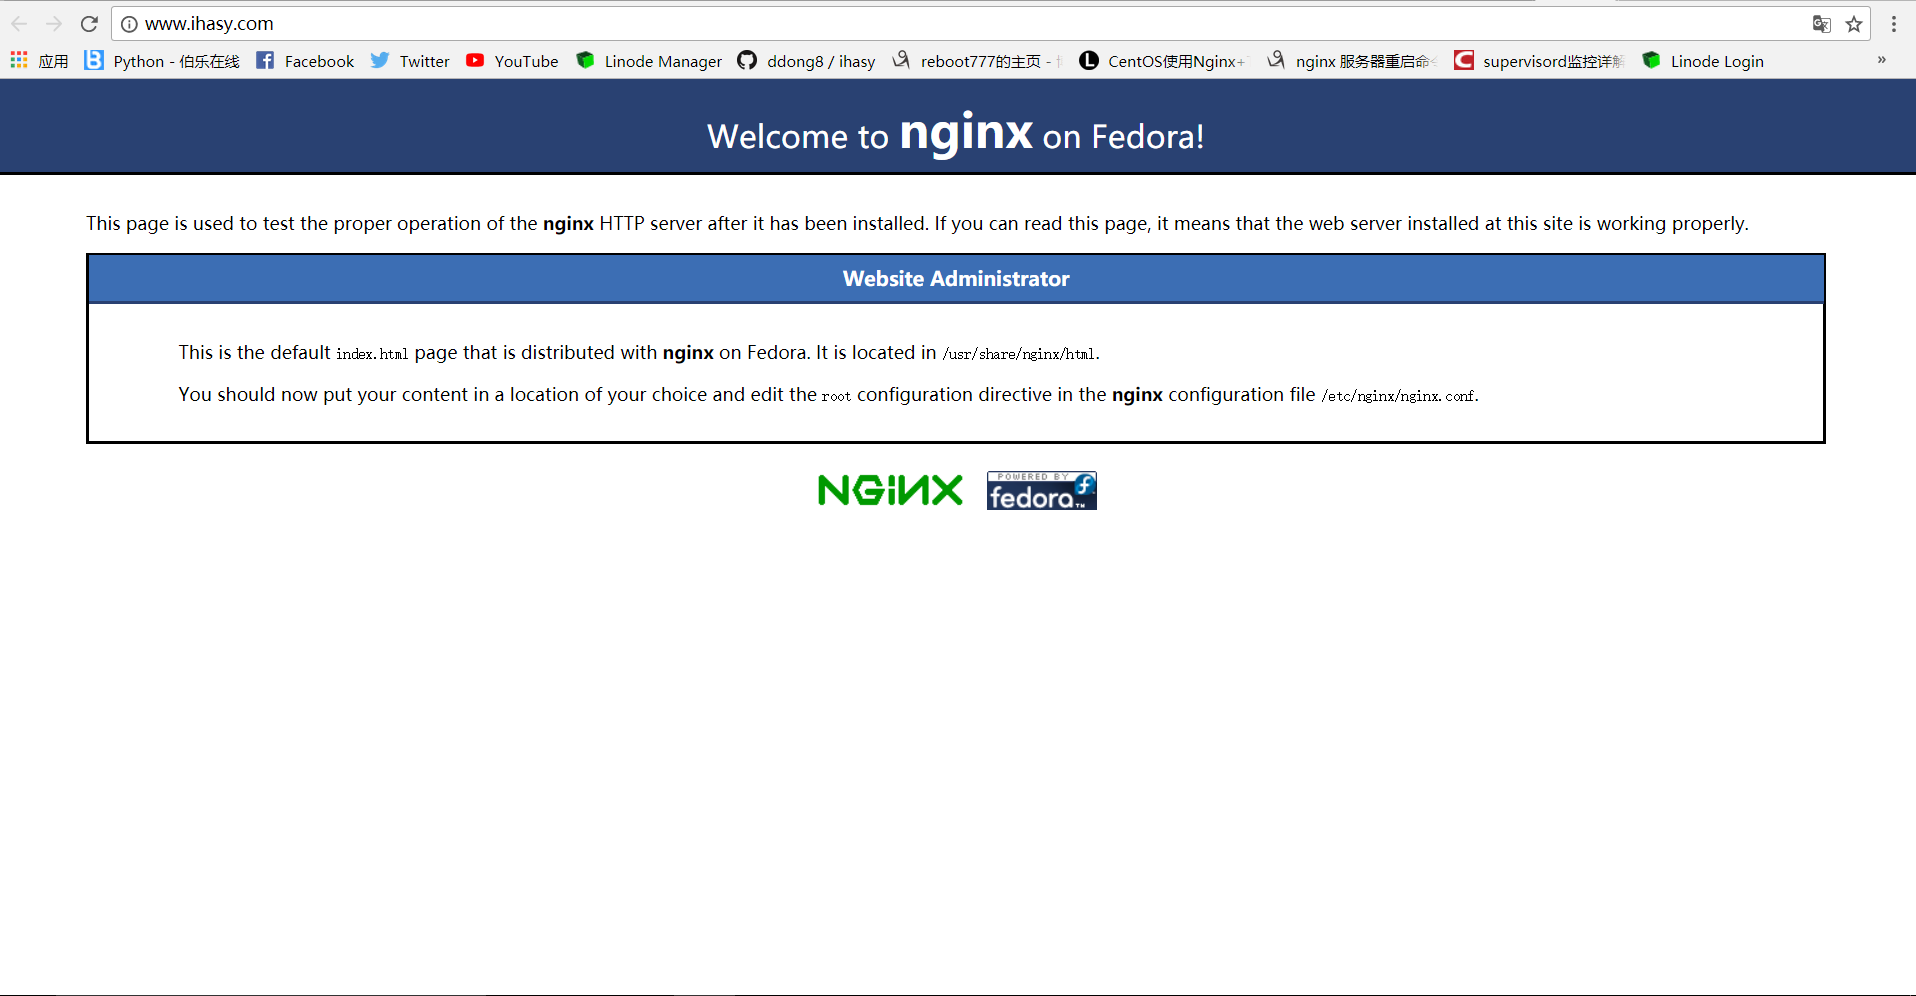
启动成功后,在浏览器可以看到这样的页面:
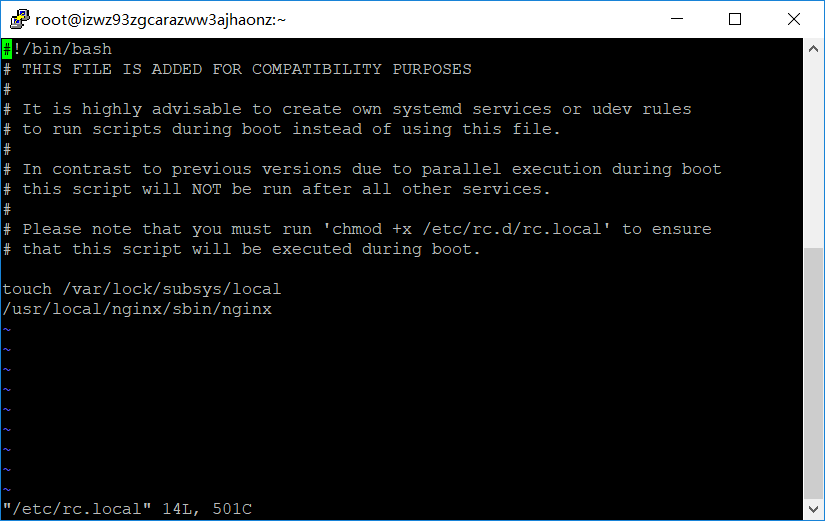
开机自启动
即在rc.local增加启动代码就可以了。
vi /etc/rc.local
增加一行
/usr/local/nginx/sbin/nginx
设置执行权限:
chmod 755 /etc/rc.local
到这里,nginx就安装完毕了,启动、停止、重启操作也都完成了。
反向代理
cd /usr/local/nginx/conf/
使用vi或nano编辑器在该目录下新建一个ihasy.conf文件输入以下内容:
vi ihasy.conf
upstream ihasy  {
    server 127.0.0.1:9001; #Tornado
}

## Start www.ihasy.com ##
server {
    listen 80;
    server_name  www.ihasy.com ihasy.com;

    #root   html;
    #index  index.html index.htm index.py index;

    ## send request back to Tornado ##
    location / {
        proxy_pass  http://ihasy;

        #Proxy Settings
        proxy_redirect     off;
        proxy_set_header   Host             $host;
        proxy_set_header   X-Real-IP        $remote_addr;
        proxy_set_header   X-Forwarded-For  $proxy_add_x_forwarded_for;
        proxy_next_upstream error timeout invalid_header http_500 http_502 http_503 http_504;
        proxy_max_temp_file_size 0;
        proxy_connect_timeout      90;
        proxy_send_timeout         90;
        proxy_read_timeout         90;
        proxy_buffer_size          4k;
        proxy_buffers              4 32k;
        proxy_busy_buffers_size    64k;
        proxy_temp_file_write_size 64k;
   }
}
## End www.ihasy.com ##
再使用vi或nano打开 /usr/local/nginx/conf/nginx.conf
vi /usr/local/nginx/conf/nginx.conf
在http下添加一行
include ihasy.conf;
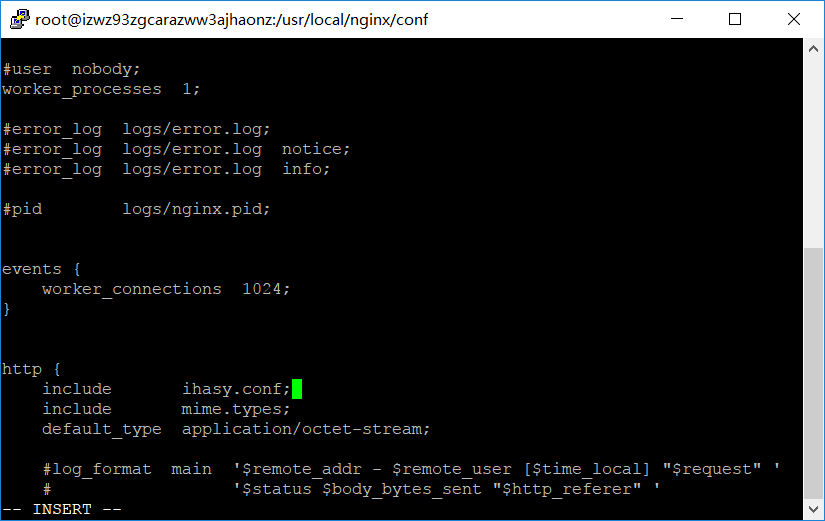
保存,重启nginx,即可实现反向代理。
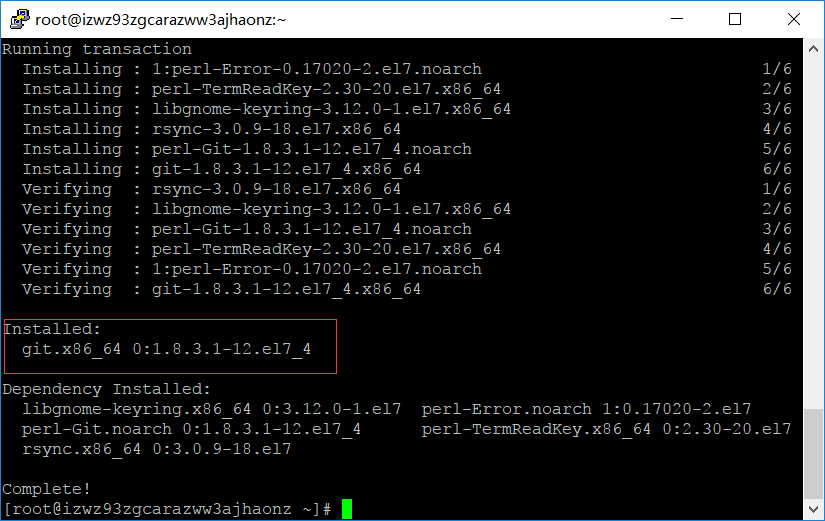
四.安装git
直接通过yum安装
yum install git
获取tornado应用ihasy.com
git clone https://github.com/ddong8/ihasy.git
进入ihasy目录
cd ihasy
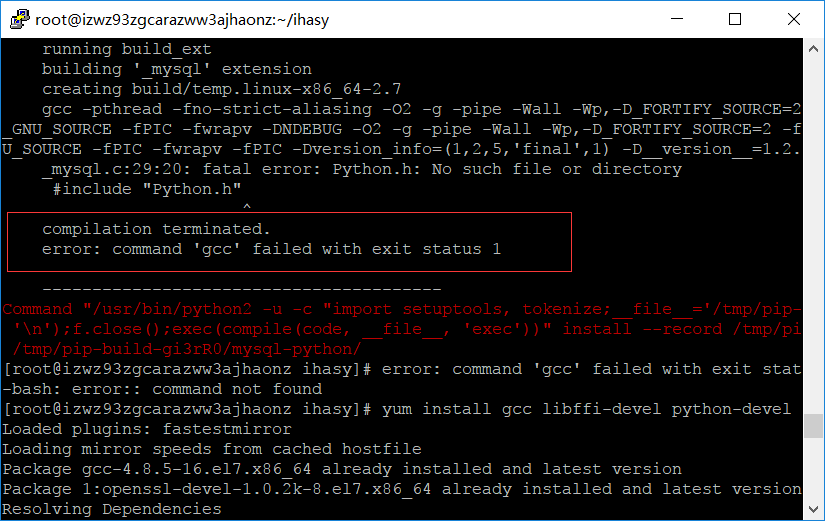
使用PIP安装模块之前,要先安装 libffi-devel python-devel,不然会报错
yum install libffi-devel python-devel
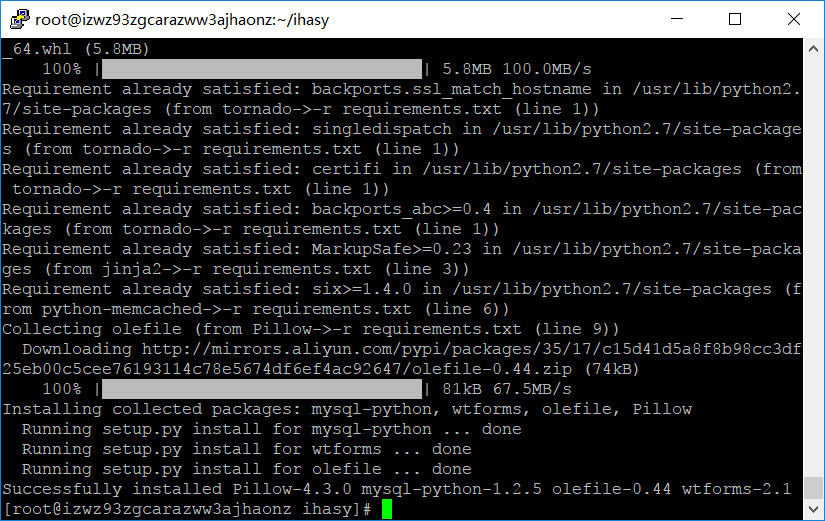
再使用
pip install -r requirements.txt
安装模块完毕
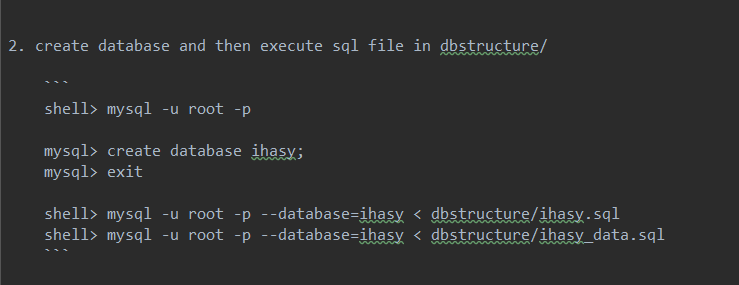
按照下图创建db,建表
五.安装supervisor
supervisor是用python写的一个进程管理工具,用来启动,重启,关闭进程。
pip install supervisor
supervisor的配置文件
supervisor安装完毕后,会有一个配置文件supervisord.conf
运行
echo_supervisord_conf
命令,可输出文件详细
我们使用重定向运算符将配置文件定向到/etc路径下(方便管理)
echo_supervisord_conf>/etc/supervisord.conf
在supervisord.conf的末尾添加如下代码:
vi /etc/supervisord.conf
[program:ihasy]
command=python /root/ihasy/application.py --port=9001 --mysql_database=ihasy --mysql_host=localhost --mysql_password=764895 --mysql_user=root
directory=/root/ihasy
autorestart=true
redirect_stderr=true
supervisor服务启动
运行命令
supervisord -c /etc/supervisord.conf
supervisor开机启动
即在rc.local增加启动代码就可以了。
vi /etc/rc.local
增加一行:
supervisord -c /etc/supervisord.conf
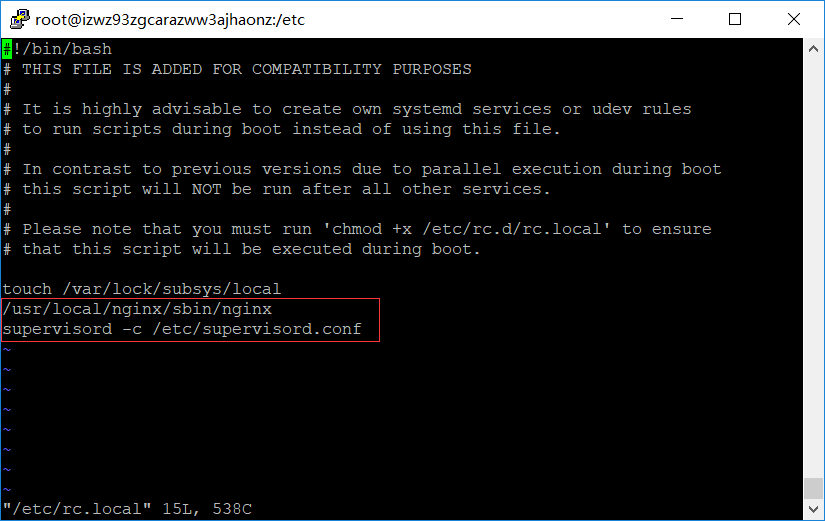
设置执行权限:
chmod 755 /etc/rc.local
然后重启就可以自动运行nginx,supervisor了。