(实现一个自己的启动器)
命名规约
官方命名:
-
前缀:spring-boot-starter-xxx
-
比如:spring-boot-starter-web....
自定义命名:
-
xxx-spring-boot-starter
-
比如:mybatis-spring-boot-starter
开搞
新建一个空项目spring-boot-starter-diy
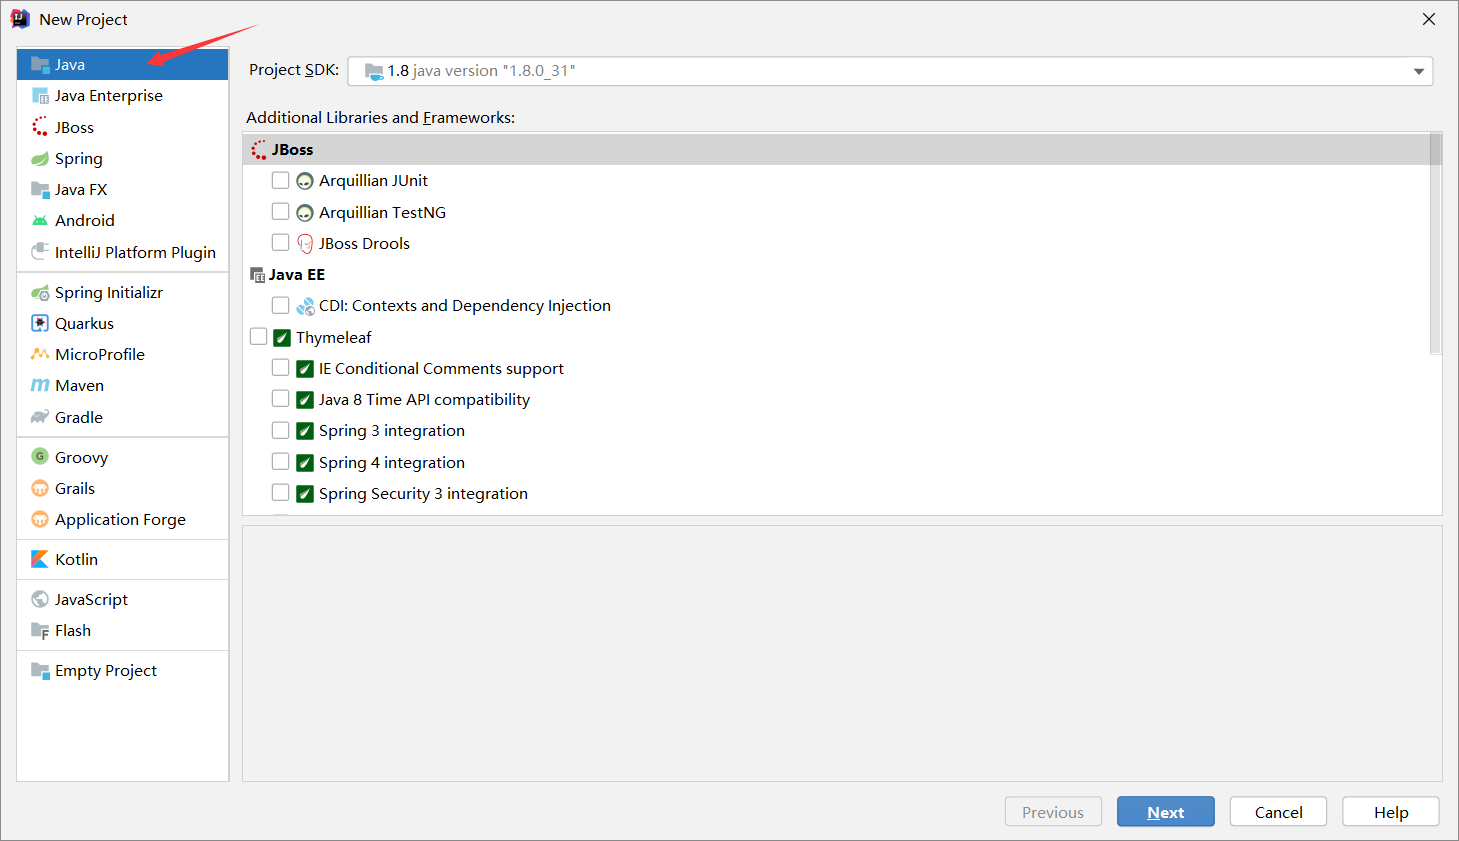
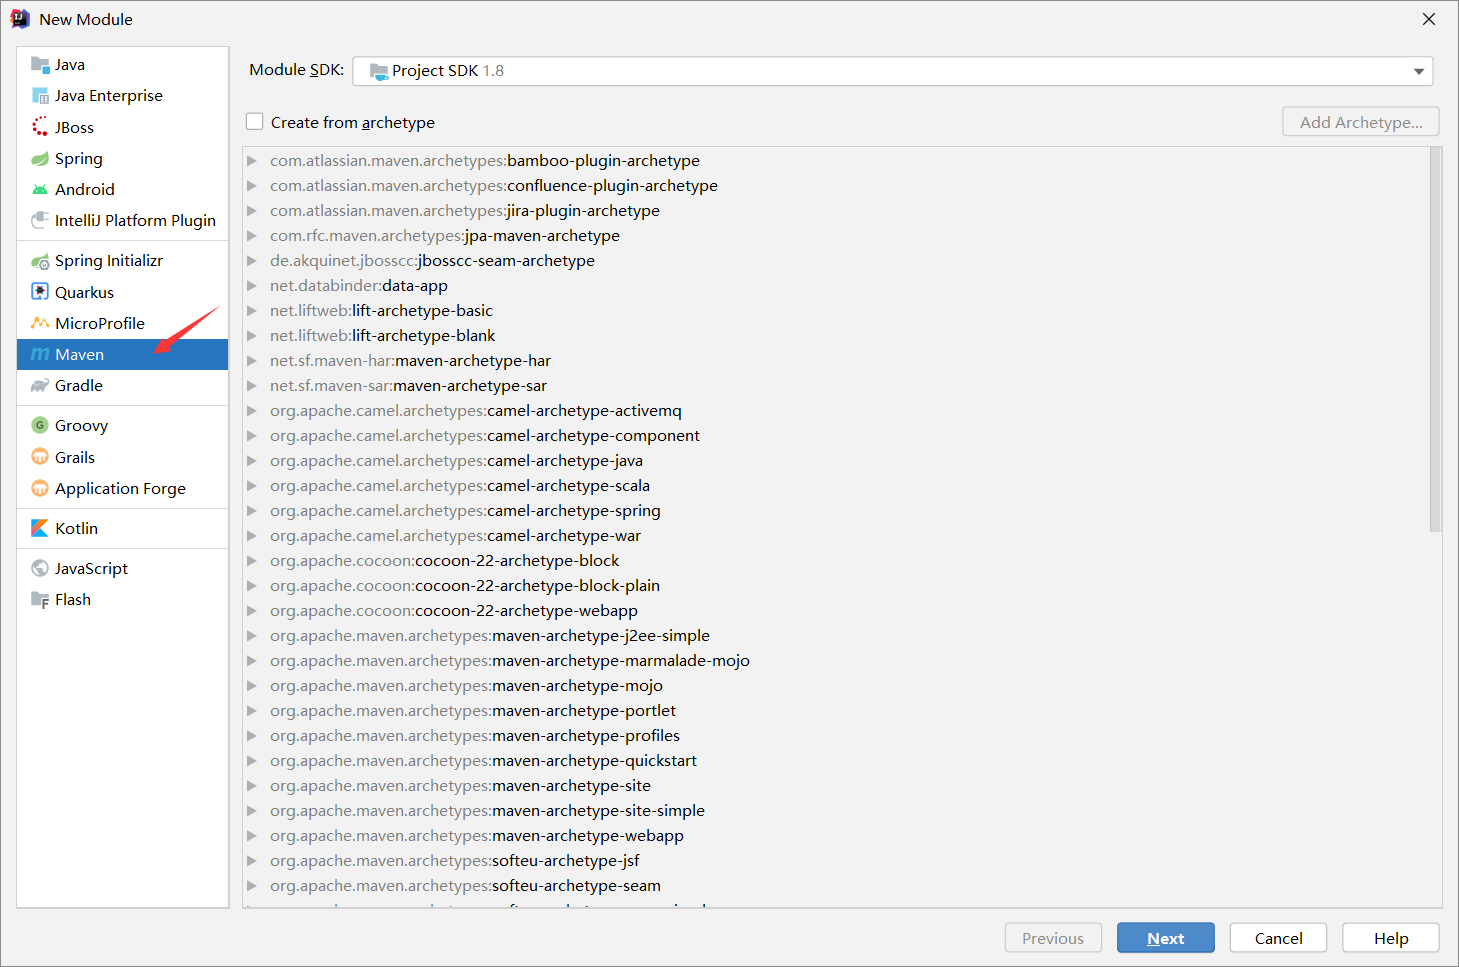
新建maven模块 xiaoming-spring-boot-starter
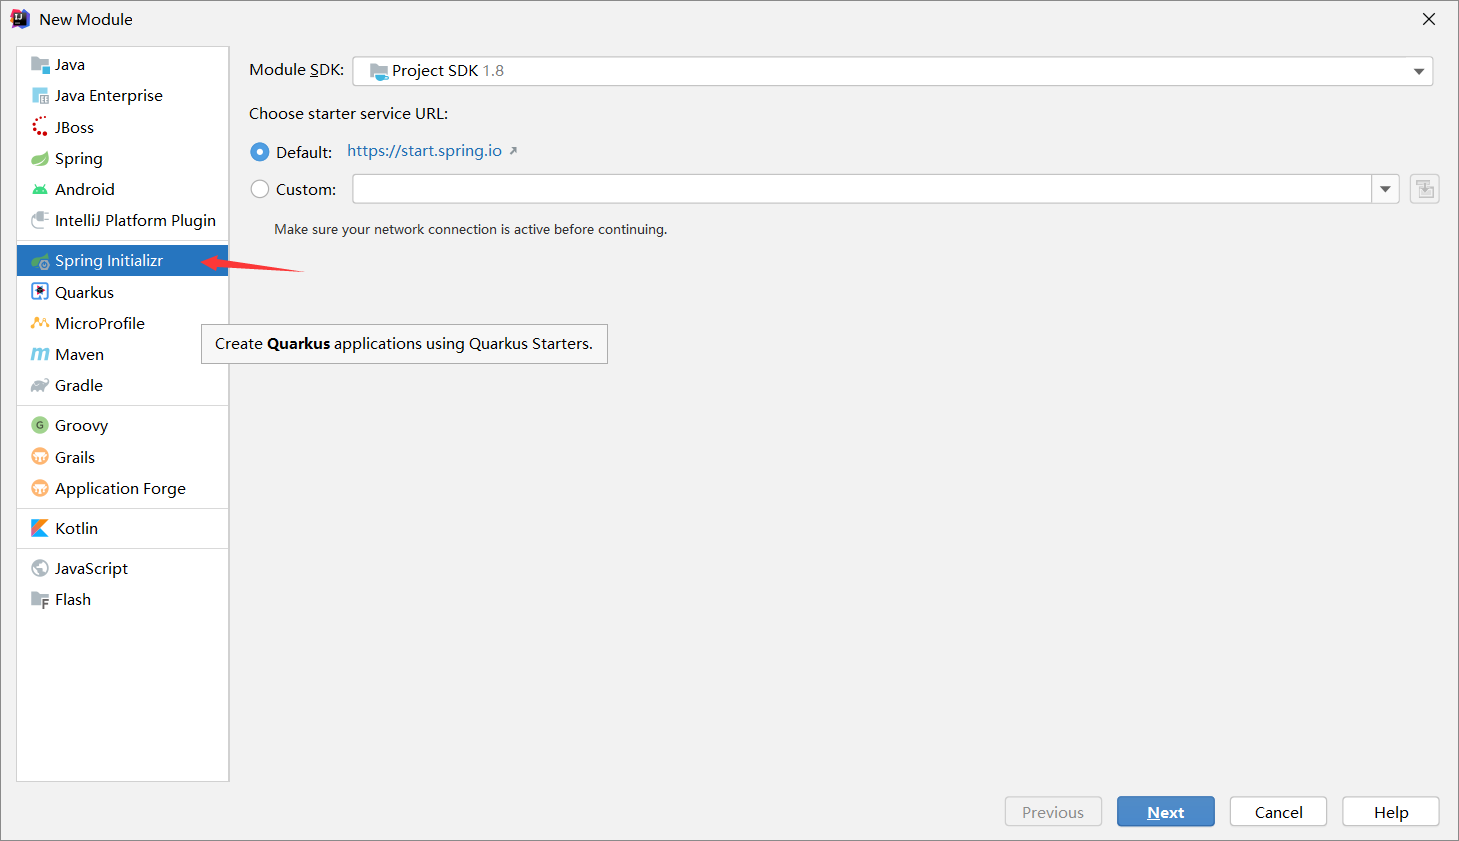
新建一个Springboot模块 xiaoming-spring-boot-starter-autoconfigure
在 starter 中导入 autoconfigure 的依赖
<!-- 启动器 -->
<dependencies>
    <!-- 聚合jar 不暴露太多 引入自动配置模块 -->
    <dependency>
        <groupId>com.example</groupId>
        <artifactId>xiaoming-spring-boot-starter-autoconfigure</artifactId>
        <version>0.0.1-SNAPSHOT</version>
    </dependency>
</dependencies>
将 autoconfigure 项目下多余的文件都删掉

pom.xml中只留下spring-boot-starter
<dependencies>
    <dependency>
        <groupId>org.springframework.boot</groupId>
        <artifactId>spring-boot-starter</artifactId>
    </dependency>
</dependencies>
接口HelloService
public class HelloService {

    HelloProperties helloProperties;

    public HelloProperties getHelloProperties() {
        return helloProperties;
    }

    public void setHelloProperties(HelloProperties helloProperties) {
        this.helloProperties = helloProperties;
    }

    public String sayHello(String name){
        return helloProperties.getPrefix() + name + helloProperties.getSuffix();
    }

}
HelloProperties(和配置文件绑定)
// 前缀 xiaoming.hello
@ConfigurationProperties(prefix = "xiaoming.hello")
public class HelloProperties {

    private String prefix;
    private String suffix;

    public String getPrefix() {
        return prefix;
    }

    public void setPrefix(String prefix) {
        this.prefix = prefix;
    }

    public String getSuffix() {
        return suffix;
    }

    public void setSuffix(String suffix) {
        this.suffix = suffix;
    }
}
HelloServiceAutoConfiguration容器处理整合绑定
@Configuration
@ConditionalOnWebApplication //web应用生效
@EnableConfigurationProperties(HelloProperties.class)
public class HelloServiceAutoConfiguration {

    @Autowired
    HelloProperties helloProperties;

    @Bean
    public HelloService helloService(){
        HelloService service = new HelloService();
        service.setHelloProperties(helloProperties);
        return service;
    }
}
resources下新建 META-INF/spring.factories交给容器
# Auto Configure
org.springframework.boot.autoconfigure.EnableAutoConfiguration=
com.example.xiaomingspringbootstarterautoconfigure.HelloServiceAutoConfiguration
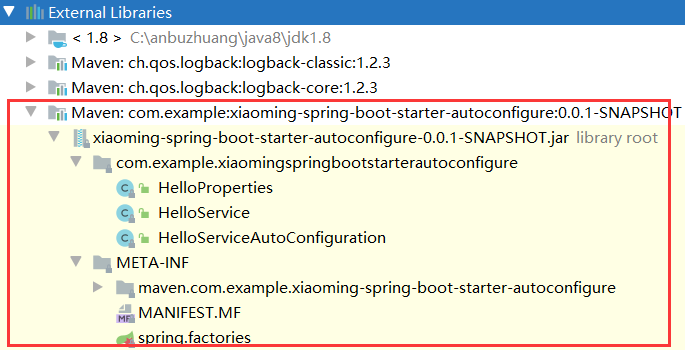
打包/安装

新建项目测试写好的启动器
新建一个SpringBoot 项目,导入上文写好的启动器
<dependency>
    <groupId>org.example</groupId>
    <artifactId>xiaoming-spring-boot-starter</artifactId>
    <version>1.0-SNAPSHOT</version>
</dependency>
编写一个 HelloController 测试上文的接口
@RestController
public class HelloController {

    @Autowired
    HelloService helloService;

    @RequestMapping("/hello")
    public String hello(){
        return helloService.sayHello("zxc");
    }

}
配置文件 application.properties
xiaoming.hello.prefix="ppp"
xiaoming.hello.suffix="sss"
启动项目进行测试 http://localhost:8080/hello
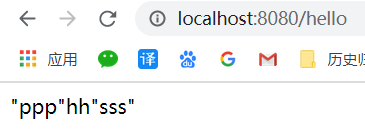
测试成功丶
关于HelloService/HelloProperties/HelloServiceAutoConfiguration这三个类,还需要再项目中理解丶