一、Nginx 安装
更新软件源
sudo apt-get update
安装 Nginx
sudo apt-get install nginx
配置 Nginx
1.安装 sysv-rc-con
sudo apt-get install sysv-rc-conf
若未报错即安装成功,若出现以下报错
E: Unable to locate package sysv-rc-conf
打开软件源列表 sources.list 文件
sudo vim /etc/apt/sources.list
按 i 进入insert模式,在文本末尾添加如下内容:
deb http://archive.ubuntu.com/ubuntu/ trusty main universe restricted multiverse
按键盘 esc 退出输入模式
按 :wq 保存退出
(后续涉及vim命令的操作方式均同上)
更新软件源
sudo apt-get update
重新安装 sysv-rc-con
sudo apt-get install sysv-rc-conf
2.设置 Nginx 开机启动
sudo sysv-rc-conf nginx on
3.允许 Nginx 通过防火墙
sudo ufw status
sudo ufw allow 'Nginx HTTP'
4.启动 Nginx
service nginx start
5.测试 Nginx 服务正常运行
浏览器中输入服务器公网IP,页面显示如下图,即表示 Nginx 配置成功

二、MySQL安装
安装MySQL服务
sudo apt-get install mysql-server
初始无密码进入MySQL
mysql -u root -p
配置MySQL密码
# 查看初识密码策略
SHOW VARIABLES LIKE 'validate_password%';
# 设置密码等级全局参数为LOW
set global validate_password_policy=LOW;
# 设置密码长度为4
set global validate_password_length=4;
# 选择数据库mysql
use mysql;
# 修改root账户的密码为root
update mysql.user set authentication_string=password('root') where user='root' and Host ='localhost';
# 保存信息并退出
update user set plugin="mysql_native_password";
flush privileges;
quit;
三、PHP安装
安装PHP服务
sudo apt-get install php-fpm php-mysql
查看安装的PHP版本号(后续涉及到版本号的地方,需要修改为你当前的PHP版本)
# 进入PHP安装位置
cd /etc/php/
# 查看安装的PHP版本
ls
# 显示 7.2
# 表示我电脑当前安装的PHP版本是 7.2
修改PHP配置文件(注意版本号)
sudo vim /etc/php/7.2/fpm/php.ini
找到773行左右
;cgi.fix_pathinfo=1
修改为
cgi.fix_pathinfo=0
重启PHP服务(注意版本号)
sudo systemctl restart php7.2-fpm
四、配置Nginx
修改nginx配置
第一步
sudo vim /etc/nginx/sites-available/default
修改内容为(注意版本号):
server {
	listen 80 default_server;
	listen [::]:80 default_server;

	# SSL configuration
	#
	# listen 443 ssl default_server;
	# listen [::]:443 ssl default_server;
	#
	# Note: You should disable gzip for SSL traffic.
	# See: https://bugs.debian.org/773332
	#
	# Read up on ssl_ciphers to ensure a secure configuration.
	# See: https://bugs.debian.org/765782
	#
	# Self signed certs generated by the ssl-cert package
	# Don't use them in a production server!
	#
	# include snippets/snakeoil.conf;

	root /var/www/html;

	# Add index.php to the list if you are using PHP
	index index.php index.html index.htm index.nginx-debian.html;

	server_name server_domain_or_IP;

	location / {
		# First attempt to serve request as file, then
		# as directory, then fall back to displaying a 404.
		try_files $uri $uri/ =404;
	}

	# pass PHP scripts to FastCGI server
	#
	location ~ .php$ {
		include snippets/fastcgi-php.conf;

		# With php-fpm (or other unix sockets):
		fastcgi_pass unix:/var/run/php/php7.2-fpm.sock;
		# With php-cgi (or other tcp sockets):
		#fastcgi_pass 127.0.0.1:9000;
	}

	# deny access to .htaccess files, if Apache's document root
	# concurs with nginx's one
	#
	location ~ /.ht {
		deny all;
	}
}
第二步
sudo vim /etc/nginx/conf.d/default.conf
输入以下内容:
server {
    listen       80;
    root         /usr/share/nginx/html;
    server_name  localhost;

    #charset koi8-r;
    #access_log  /var/log/nginx/log/host.access.log  main;

    location / {

        index index.php index.html index.htm;

    }

    #error_page  404              /404.html;

    #redirect server error pages to the static page /50x.html#
    error_page   500 502 503 504  /50x.html;
    location = /50x.html {

        root   /usr/share/nginx/html;

    }

    #pass the PHP scripts to FastCGI server listening on 127.0.0.1:9000#
    location ~ .php$ {

        fastcgi_pass   127.0.0.1:9000;
        fastcgi_index  index.php;
        fastcgi_param  SCRIPT_FILENAME  $document_root$fastcgi_script_name;
        include        fastcgi_params;

    }
}
重启Nginx服务
sudo nginx -s reload
五、环境测试
创建PHP文件
sudo vim /var/www/html/info.php
输入以下内容:
<?php
	phpinfo();

?>
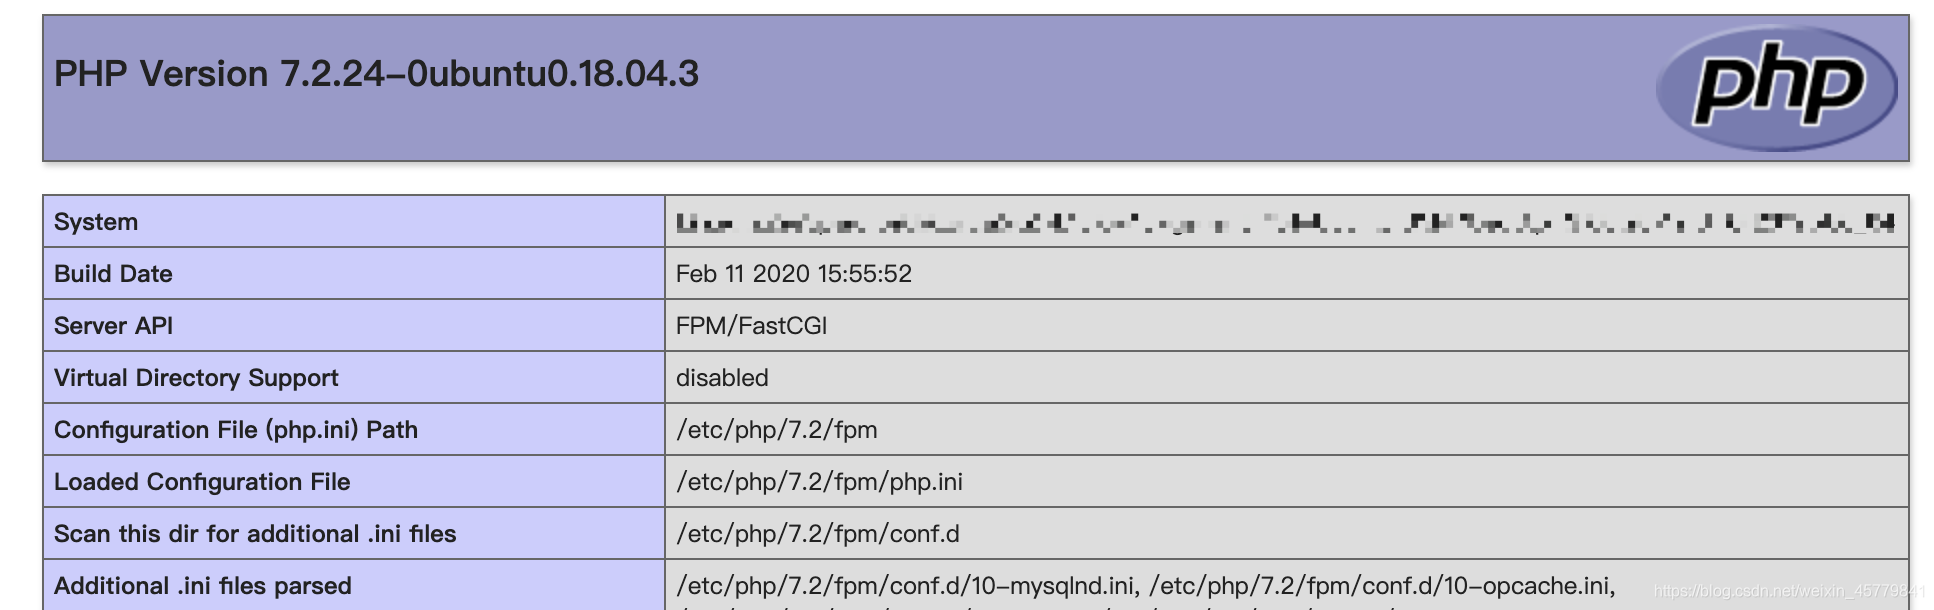
浏览器中输入地址访问该文件
公网IP/info.php
或
域名/info.php
页面显示如下图,即表示LNMP环境搭建完毕
六、服务器常用路径
网页项目文件放置目录: /var/www/html
Nginx安装配置目录: /etc/nginx
PHP安装配置目录: /etc/php
Mysql安装配置目录: /etc/mysql