先看效果:
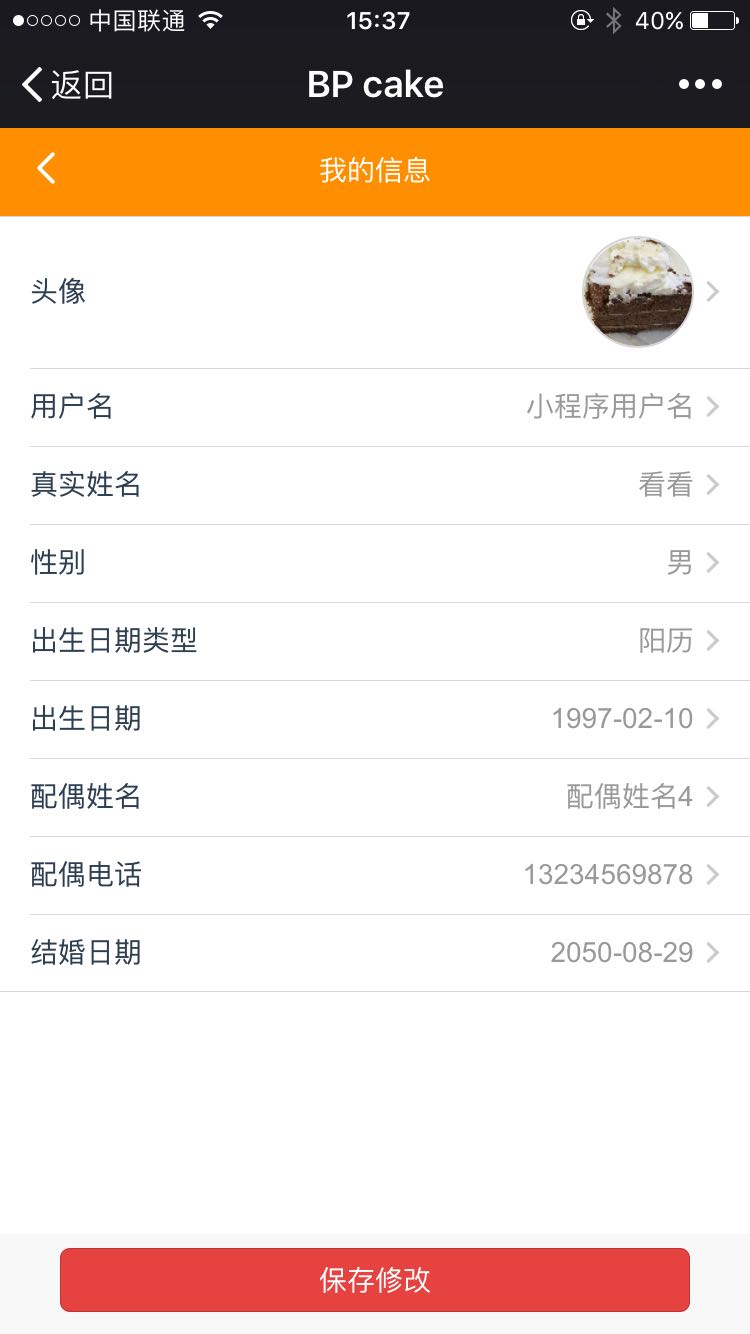
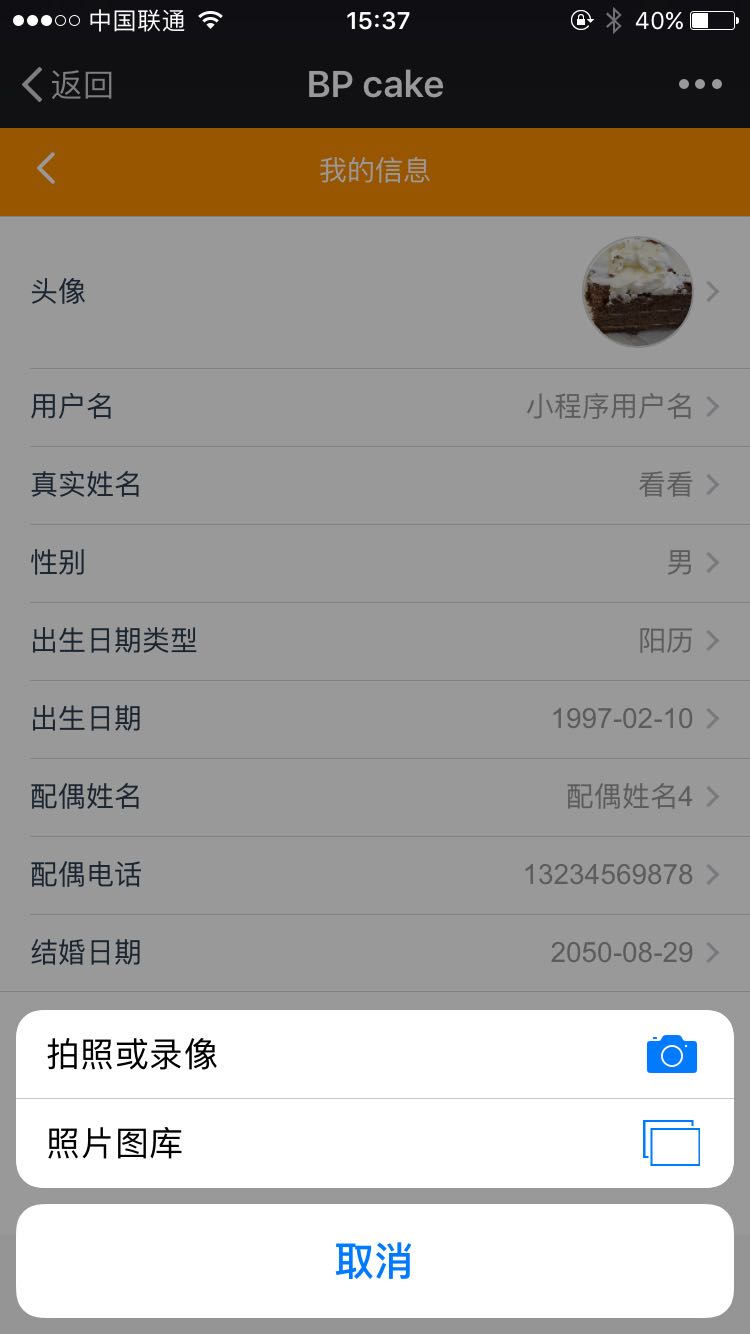
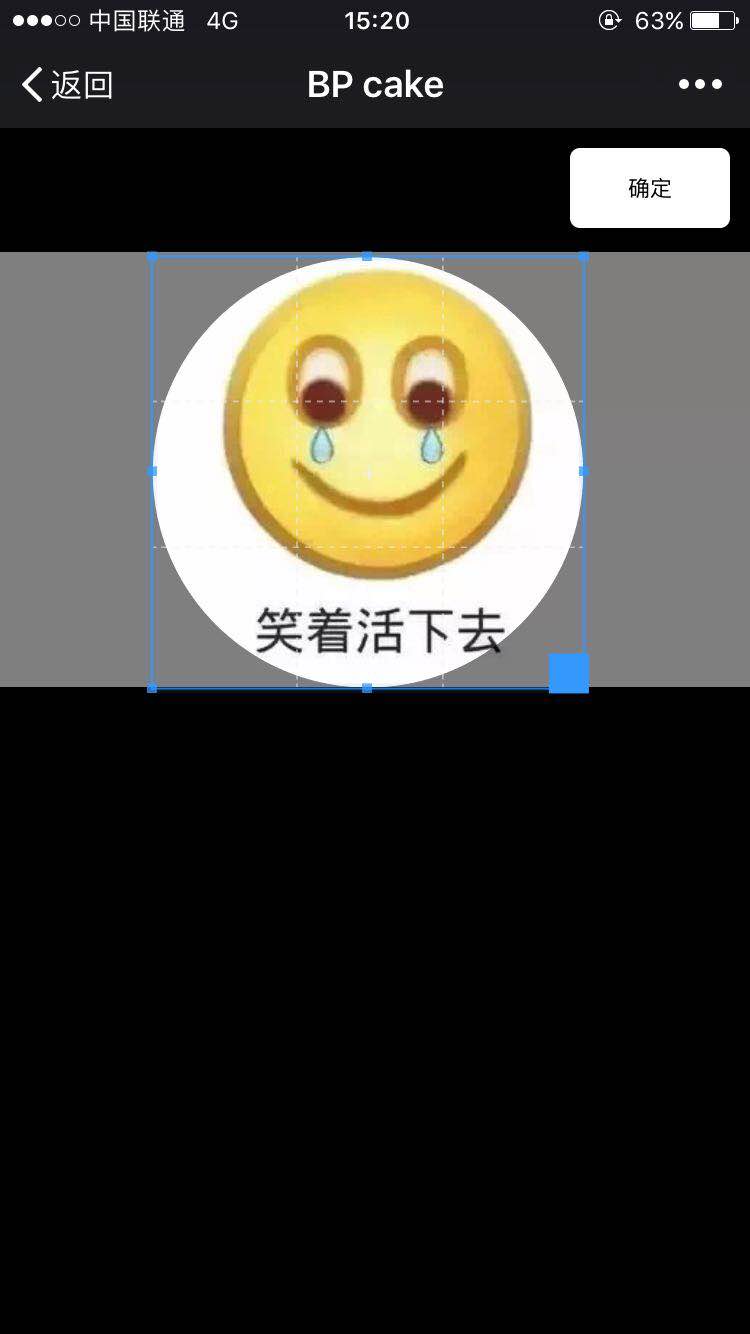

稍加说明一下:第一张图是user.vue,第二张图是点击头像出现的系统自带上传文件格式(安卓和IOS不一样),第三张图是cropper组件(我单独设置的),第四张图是上传完成的user.vue。
其实插件不难,只不过为了契合项目和移动端,做了些修改。
官方介绍:https://www.npmjs.com/package/cropperjs
第一步:安装插件
cnpm install cropperjs --save
第二步:分离设置成插件cropper.vue
<template>
  <div id="demo" class="cropperImg">
    <!-- 遮罩层 -->
    <div class="container" v-show="panel">
      <div>
        <img id="image" :src="url" alt="Picture">
      </div>
      <button type="button" id="button" @click="crop">确定</button>
    </div>
    <div>
        <div class="show" style="height:56px;56px;">
          <div class="picture" :style="'backgroundImage:url('+headerImage+')'" style="height:56px;56px;">
          </div>
        </div>
        <div style="opacity:0;360px;position:absolute;top:0;right:0;height:56px;">
          <input type="file" id="change" accept="image" @change="change" style="height:56px;">
          <label for="change"></label>
        </div>
    </div>
  </div>
</template>

<script>
import Cropper from 'cropperjs'  //引入插件
export default {
  props:{
    headerImage:{   //从user.vue父组件传过来数据库图片,即用户从本地上传的图片
      type:String,
      default:''
    }
  },
  data () {
    return {
      picValue:'',
      cropper:'',
      croppable:false,
      panel:false,
      url:'',
      postHeaderImg:''
    }
  },
  mounted () {
    //初始化这个裁剪框
    var self = this;
    var image = document.getElementById('image');
    this.cropper = new Cropper(image, {
      aspectRatio: 1,
      viewMode: 1,
      background:false,
      zoomable:false,
      ready: function () {
        self.croppable = true;
      }
    });
  },
  methods: {
    getObjectURL (file) {
      var url = null ;
      if (window.createObjectURL!=undefined) { // basic
        url = window.createObjectURL(file) ;
      } else if (window.URL!=undefined) { // mozilla(firefox)
        url = window.URL.createObjectURL(file) ;
      } else if (window.webkitURL!=undefined) { // webkit or chrome
        url = window.webkitURL.createObjectURL(file) ;
      }
      return url ;
    },
    change (e) {
      let files = e.target.files || e.dataTransfer.files;
      if (!files.length) return;
      this.panel = true;
      this.picValue = files[0];

      this.url = this.getObjectURL(this.picValue);
      //每次替换图片要重新得到新的url
      if(this.cropper){
        this.cropper.replace(this.url);
      }
      this.panel = true;
    },
    crop () {
        this.panel = false;
        var croppedCanvas;
        var roundedCanvas;

        if (!this.croppable) {
          return;
        }
        // Crop
        croppedCanvas = this.cropper.getCroppedCanvas();
        console.log(this.cropper)
        // Round
        roundedCanvas = this.getRoundedCanvas(croppedCanvas);

        this.postHeaderImg = roundedCanvas.toDataURL();
        //传递给父组件
        this.$emit('getHeaderImage',roundedCanvas.toDataURL());

        this.postImg()//上传图片

    },
    getRoundedCanvas (sourceCanvas) {

      var canvas = document.createElement('canvas');
      var context = canvas.getContext('2d');
      var width = sourceCanvas.width;
      var height = sourceCanvas.height;
      //为了每张图片的大小不超过50k,所以不论裁剪多大,最后上传的,最大宽度不超过90。
      if(width > 90){
        width = 90
      }
      if(height > 90){
        height = 90
      }

      canvas.width = width;
      canvas.height = height;

      context.imageSmoothingEnabled = true;
      context.drawImage(sourceCanvas, 0, 0, width, height);
      context.globalCompositeOperation = 'destination-in';
      context.beginPath();
      context.arc(width / 2, height / 2, Math.min(width, height) / 2, 0, 2 * Math.PI, true);
      context.fill();

      return canvas;
    },
    postImg () {
      this.$http.post(
        this.http_h + "bp/user/uploadHeadImage",
        {
          fieldName:this.postHeaderImg
        },
      ).then((res)=>{
        let response = res.body;
        if(response.code == 200){
          this.$vux.toast.show({
            type:"success",
            text: "上传头像成功",
            time:1000
          })
        }else{
          this.$vux.toast.show({
            type:"text",
            text: response.message,
            time:1000
          })
        }
      });
    }
  }
}
</script>
第三步:设置父组件
首先:引入组件
import cropper from "@/components/cropper"
然后:在父组件你需要设置头像的地方,
<cropper :headerImage="headerImage" @getHeaderImage="newHeaderImage"></cropper>
小小解释一下::headerImage="headerImage"(传递给子组件)
组件通过emit 事件方式上传给父组件更改之后的图片,然后父组件通过newHeaderImage事件来接收。
newHeaderImage(newImg){
  this.headerImage = newImg;
}
第四步:测试

总结:cropper在移动端,可能会有图片偏移现象,这就需要你来根据你的项目修改css了,我也是做了修改才符合我们UI的效果。在vue-cli 项目中node_modules文件中,直接就可以找到。希望能帮到你!加油