1、http://www.erlang.org/downloads 下载一个比教新的版本(otp_win64_20.2.exe)
2、http://www.rabbitmq.com/install-windows.html(安装时候路径里面不要包含空格)(rabbitmq-server-3.7.3.exe)

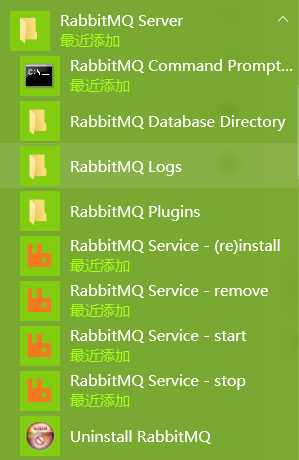
这样就是安装完成后的开始菜单的效果 都是一些工具,输入
rabbitmq-plugins enable rabbitmq_management
稍等会会发现出现plugins安装成功的提示,默认是安装6个插件(实测安装了3个插件),如果你在安装插件的过程中出现了下面的错误:
解决方法:首先在RabbitMQ Command命令行
1、输入:rabbitmq-service stop,
2、输入rabbitmq-service remove,
3、输入rabbitmq-service install,
4、输入rabbitmq-service start,
5、输入rabbitmq-plugins enable rabbitmq_management
C# 代码版本调用(rabbitmq-dotnet-client-3.6.14-dotnet-4.5.zip 下载地址:https://github.com/rabbitmq/rabbitmq-dotnet-client):
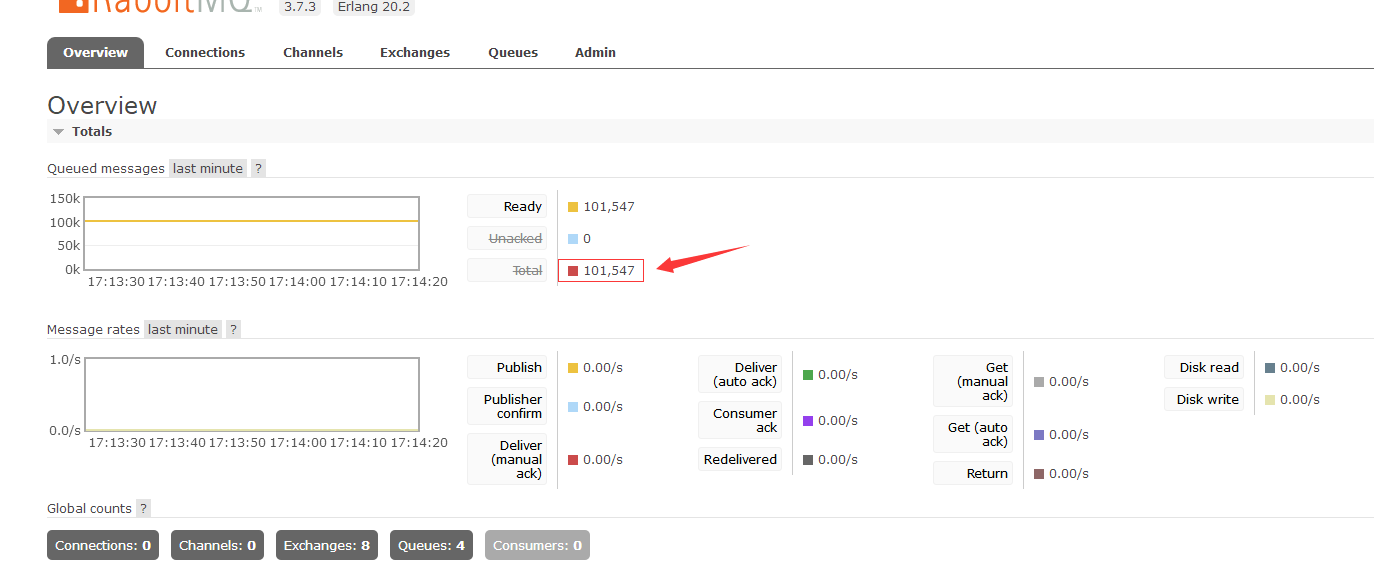
目前采用单向路由设置。
发送端:
public static void Sender()
{
//创建连接连接到MabbitMQ
ConnectionFactory factory = new ConnectionFactory();
factory.HostName = "localhost";
factory.UserName = "guest";
factory.Password = "guest";
using (var connection = factory.CreateConnection())
{
using (var channel = connection.CreateModel())
{
channel.ExchangeDeclare("mq_test", ExchangeType.Direct);
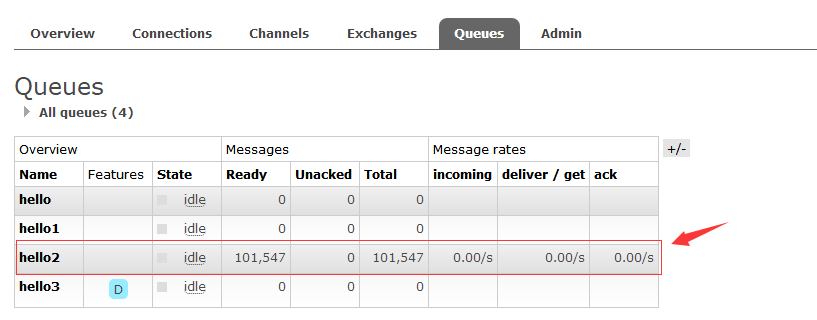
channel.QueueDeclare("hello2", false, false, false, null);
channel.QueueBind("hello2", "mq_test", "MQ");
byte[] messageBodyBytes = System.Text.Encoding.UTF8.GetBytes("Hello, world 001!");
channel.BasicPublish("mq_test", "MQ", null, messageBodyBytes);
for (int i = 0; i < 100000; i++)
{
byte[] message = Encoding.UTF8.GetBytes("Hello Lv_"+i);
channel.BasicPublish("mq_test", "MQ", null, message);
Console.WriteLine("send:" + i);
}
Console.ReadLine();
}
}
}


接收端:
public static void Get()
{
ConnectionFactory factory = new ConnectionFactory { HostName = "localhost", UserName = "guest", Password = "guest" };
using (IConnection conn = factory.CreateConnection())
{
using (IModel im = conn.CreateModel())
{
while (true)
{
BasicGetResult res = im.BasicGet("hello2", true);
if (res != null)
{
Console.WriteLine("receiver:" + UTF8Encoding.UTF8.GetString(res.Body));
}
Thread.Sleep(2000);
}
}
}
}