公司业务平台进行整体迁移,当前SVN所使用的操作系统为Windows Server,为延续熟悉、便捷的管理方式,因此选择将SVN服务迁移至Linux上,此外,Subverion的版本也由1.6升级至1.8,操作分为5部分,详见下文。

图1
1 前提
1.1 版本说明:
表1
|
|
操作系统版本 |
SVN版本 |
|
原SVN |
Windows Server 2003 |
Subversion-1.6.15 32bit |
|
新SVN |
CentOS 6.6 x64 |
Subversion-1.8.19 64bit |
1.2 需要下载安装的软件
apr-1.6.3.tar.gz http://apr.apache.org/download.cgi
apr-util-1.6.1.tar.gz http://apr.apache.org/download.cgi
sqlite-amalgamation-3071501.zip http://www.sqlite.org/sqlite-amalgamation-3071501.zip
subversion-1.8.19.tar.gz http://subversion.apache.org/download.cgi#supported-releases
2 原SVN服务器导出项目
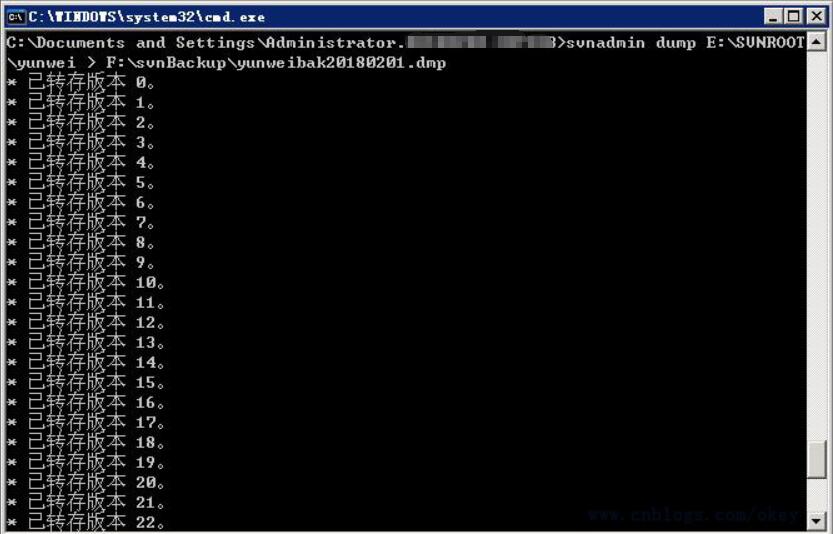
在CMD执行以下命令:
svnadmin dump E:SVNROOTyunwei > F:svnBackupyunweibak20180201.dmp

图2
3 编译安装Subversion
3.1 安装SVN依赖软件
# yum -y install zlib zlib-devel openssl openssl-devel gcc expat-devel

# pwd
/opt/software
# ls
apr-1.6.3.tar.gz  apr-util-1.6.1.tar.gz  sqlite-amalgamation-3071501.zip  subversion-1.8.19.tar.gz
# mkdir /usr/local/product

# tar -zxvf apr-1.6.3.tar.gz
# cd apr-1.6.3
# vi configure
--将$RM "$cfgfile"注释掉,位置在30976行,如图2
# ./configure --prefix=/usr/local/product/apr
# make && make install

图3
# cd ..
# tar -zxvf apr-util-1.6.1.tar.gz
# cd apr-util-1.6.1
# ./configure --prefix=/usr/local/product/apr-util --with-apr=/usr/local/product/apr
# make && make install

# cd ..
# unzip sqlite-amalgamation-3071501.zip
3.2 安装SVN软件-Subversion
# tar -zxvf subversion-1.8.19.tar.gz
# mv sqlite-amalgamation-3071501 subversion-1.8.19/sqlite-amalgamation
# cd subversion-1.8.19
# ./configure --prefix=/usr/local/product/svn --with-apr=/usr/local/product/apr --with-apr-util=/usr/local/product/apr-util
# make && make install
3.3 添加环境变量
# echo "export PATH=/usr/local/product/svn/bin:$PATH" >> /etc/profile
# source /etc/profile
3.4 验证版本信息
# svnserve --version
svnserve, version 1.8.19 (r1800620)
   compiled Feb  2 2018, 13:40:26 on x86_64-unknown-linux-gnu

Copyright (C) 2017 The Apache Software Foundation.
This software consists of contributions made by many people;
see the NOTICE file for more information.
Subversion is open source software, see http://subversion.apache.org/

The following repository back-end (FS) modules are available:

* fs_fs : Module for working with a plain file (FSFS) repository.
4 创建SVN项目并导入数据
4.1 创建SVN项目
# mkdir /SVNROOT
# svnserve -d -r /SVNROOT
# svnadmin create /SVNROOT/yunwei
# cd /SVNROOT/yunwei/conf
# mkdir backup
--将该路径下文件都剪切至backup中,然后将原SVN配置文件拷贝至此
# ls
authz  backup  passwd  svnserve.conf
4.2 上传dmp文件
将导出的dmp文件上传至新SVN服务器,执行导入操作:
# ls /opt/dmpfile/
yunweibak20180201.dmp
4.3 导入dmp文件
# nohup svnadmin load  /SVNROOT/yunwei < /opt/dmpfile/yunweibak20180201.dmp &
--输出部分内容省略
------- Committed revision 315 >>>
5 验证
数据已导入完毕,接下来要通过TortoiseSVN执行检出操作,需在客户端提前安装TortoiseSVN,安装过程依次下一步即可,过程略。
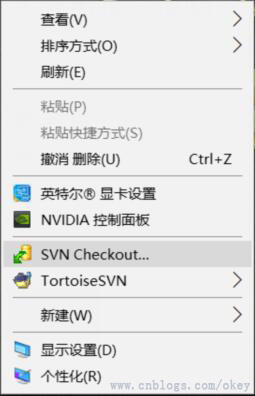
右键,点击“SVN Checkout”,如图4。

图4
在URL地址栏中填写SVN服务器的地址及工程路径,如图5。

图5
输入账号口令,如图6。

图6
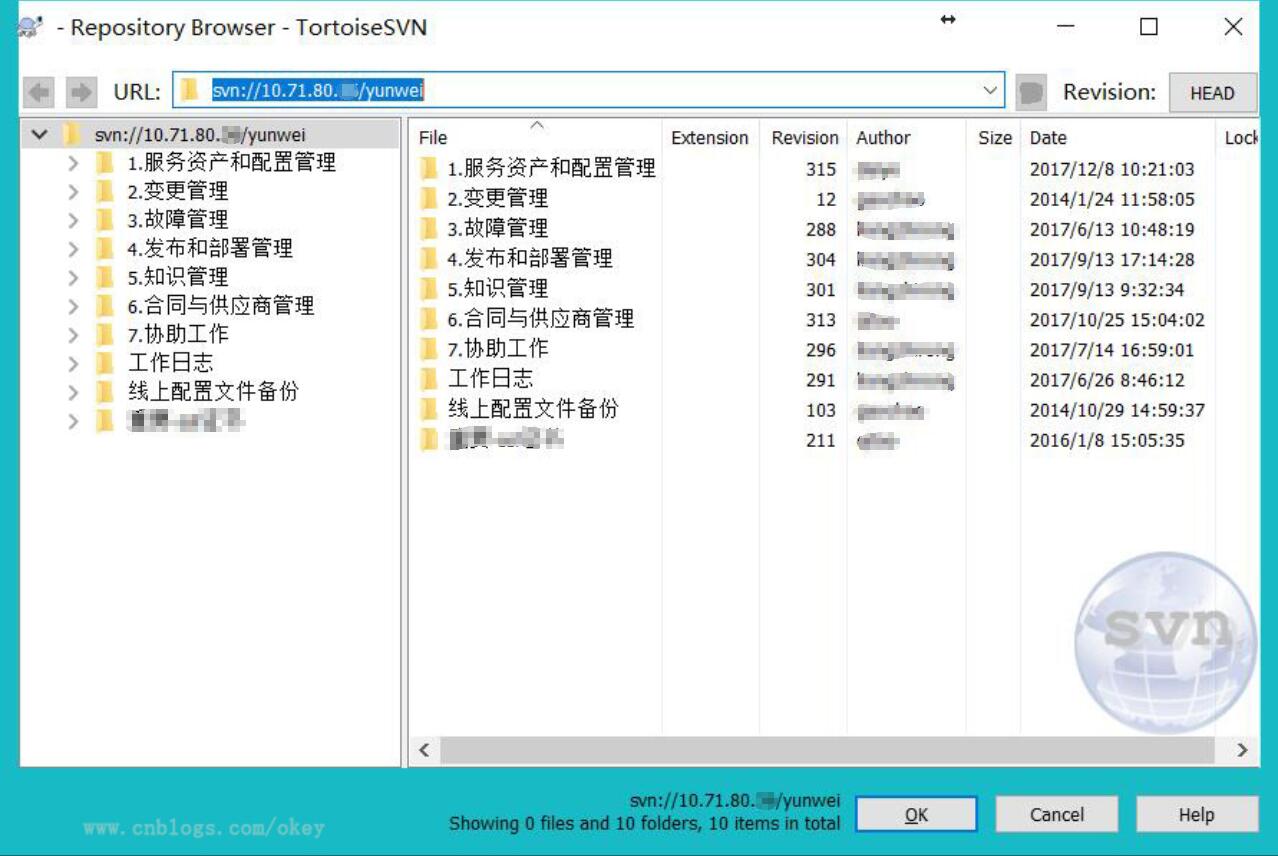
验证权限后会见到如下项目列表内容,迁移已完成,可通过提交操作再次验证。

图7
排错分享:
在执行检出操作时,可能会遇到“Unable to connect to a repository at URL 'svn://xx.xx.xx.xx/example' Invalid authz configuration”,从字面意思上理解就是authz文件配置有问题了,如果authz内容较多则可借助于svnauthz-validate工具来校验文件,位置在subversion-1.8.19/tools/server-side下,使用方式如下:
# /opt/software/subversion-1.8.19/tools/server-side/svnauthz-validate /SVNROOT/example/conf/authz
总结:
迁移过程涉及的操作不是特别多,注意下Subversion的版本,把SVN软件安装好之后,其他步骤按部就班完成就可以了,如果SVN导出的文件较大,最好提前上传到新SVN服务器上。
参考文档:
-The End-
Tank
20180202