一,下载并在终端中运行脚本编译ffmpeg
脚本参考git上的:https://github.com/kewlbear/FFmpeg-iOS-build-script;
终端进入刚刚下载后的脚本文件夹下,运行sh:build-ffmpeg.sh 自动编译,有缺少yasm的按照提示操作,安装yasm
编译的是ffmpeg2.5.3版本,Xcode6下iOS8.1。
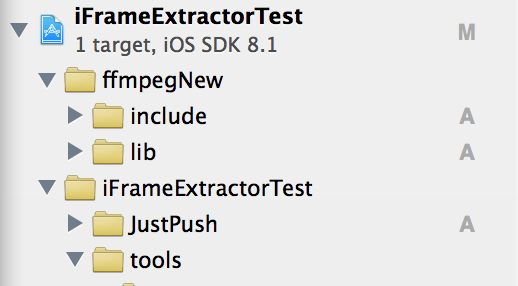
按照脚本编译完后的静态库目录如下:
其中的.a文件为静态库文件,include文件夹内的是头文件
二,将编译好的ffmpeg文件拖人工程,并设置相应的路径
新建工程,将编译好后包含include和lib文件夹拖进工程

我这里先将FFmpeg-iOS文件夹copy了一分放在工程目录下,并重新命名为ffmpegNew,路径如下图:

到这里要修改工程的Header Search Paths ,要不然会报
include“libavformat/avformat.h” file not found 错误
根据Library Search Paths 中的lib的路径:

复制路径,添加一份到Header Search Paths 中,再将lib改为include
改好如下:

三,导入其他库文件
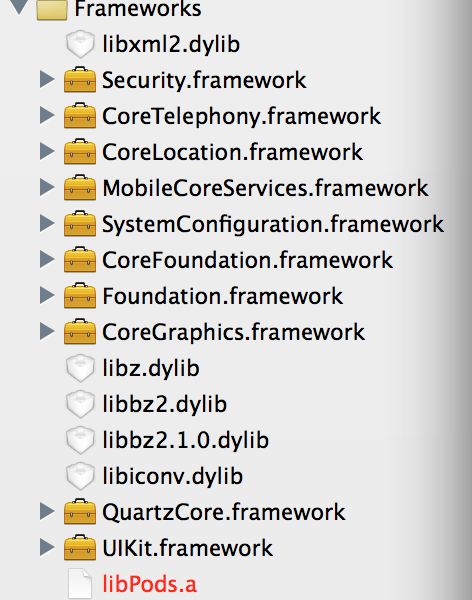
其中libz.dylib libbz2.dylib libiconv.dylib 貌似是必须要导入的,其他的按照需求配置
个人配置好后的如下供参考:

四,将第三方代码导入工程
根 据工程的定制化需求,这里选择了iFrameExtractor,git代码参考:https://github.com/lajos /iFrameExtractor 或者 RTSPPlayer https://github.com/SutanKasturi/RTSPPlayer
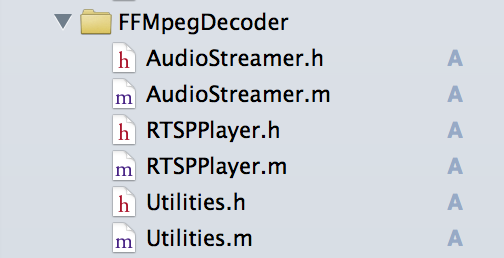
我这里用的后者的demo里面的代码,直接将(AudioStreamer RTSPPlayer Utilities)六个文件拖入工程使用

五,实现播放,实现方法可以参考demo中的代码
其中的self.playUrl为视频流的地址本工程用的是RTSP 数据流 示例:
self.playUrl = @"rtsp://xxx.xxx.xxx.xxx/xxx.sdp";
实现播放的代码:
self.videoView = [[RTSPPlayer alloc] initWithVideo:self.playUrl usesTcp:YES];
self.videoView.outputHeight = self.playImage.frame.size.height;
self.videoView.outputWidth = self.playImage.frame.size.width;
__weak TestViewController *weakself = self;
dispatch_async(dispatch_get_main_queue(), ^{
weakself.playTimer = [NSTimer scheduledTimerWithTimeInterval:1/30.0
target:weakself
selector:@selector(displayNextFrame:)
userInfo:nil
repeats:YES];
});
-(void)displayNextFrame:(NSTimer *)timer {
if (![self.videoView stepFrame]) {
[timer invalidate];
return;
}
if (startframecount < 48) {
startframecount++;
} else {
startframecount++;
[self playVideo];
}
}
-(void)playVideo
{
// NSLog(@"%p,%d",__FUNCTION__,__LINE__);
//主线程更改视图
//视频源尺寸为352*288
__weak TestViewController *weakself = self;
dispatch_async(dispatch_get_main_queue(), ^{
weakself.playImage.image = weakself.videoView.currentImage;
// NSLog(@"%d,%d",self.videoView.sourceWidth,self.videoView.sourceHeight);
});
}