搭建后的代码(Keep updated):
https://github.com/lirongfei123/read-react
欢迎将源码阅读遇到的问题提到issue
环境搭建思路:
搭建一个webpack的demo, 对react的引用直接访问其源码
关键源码

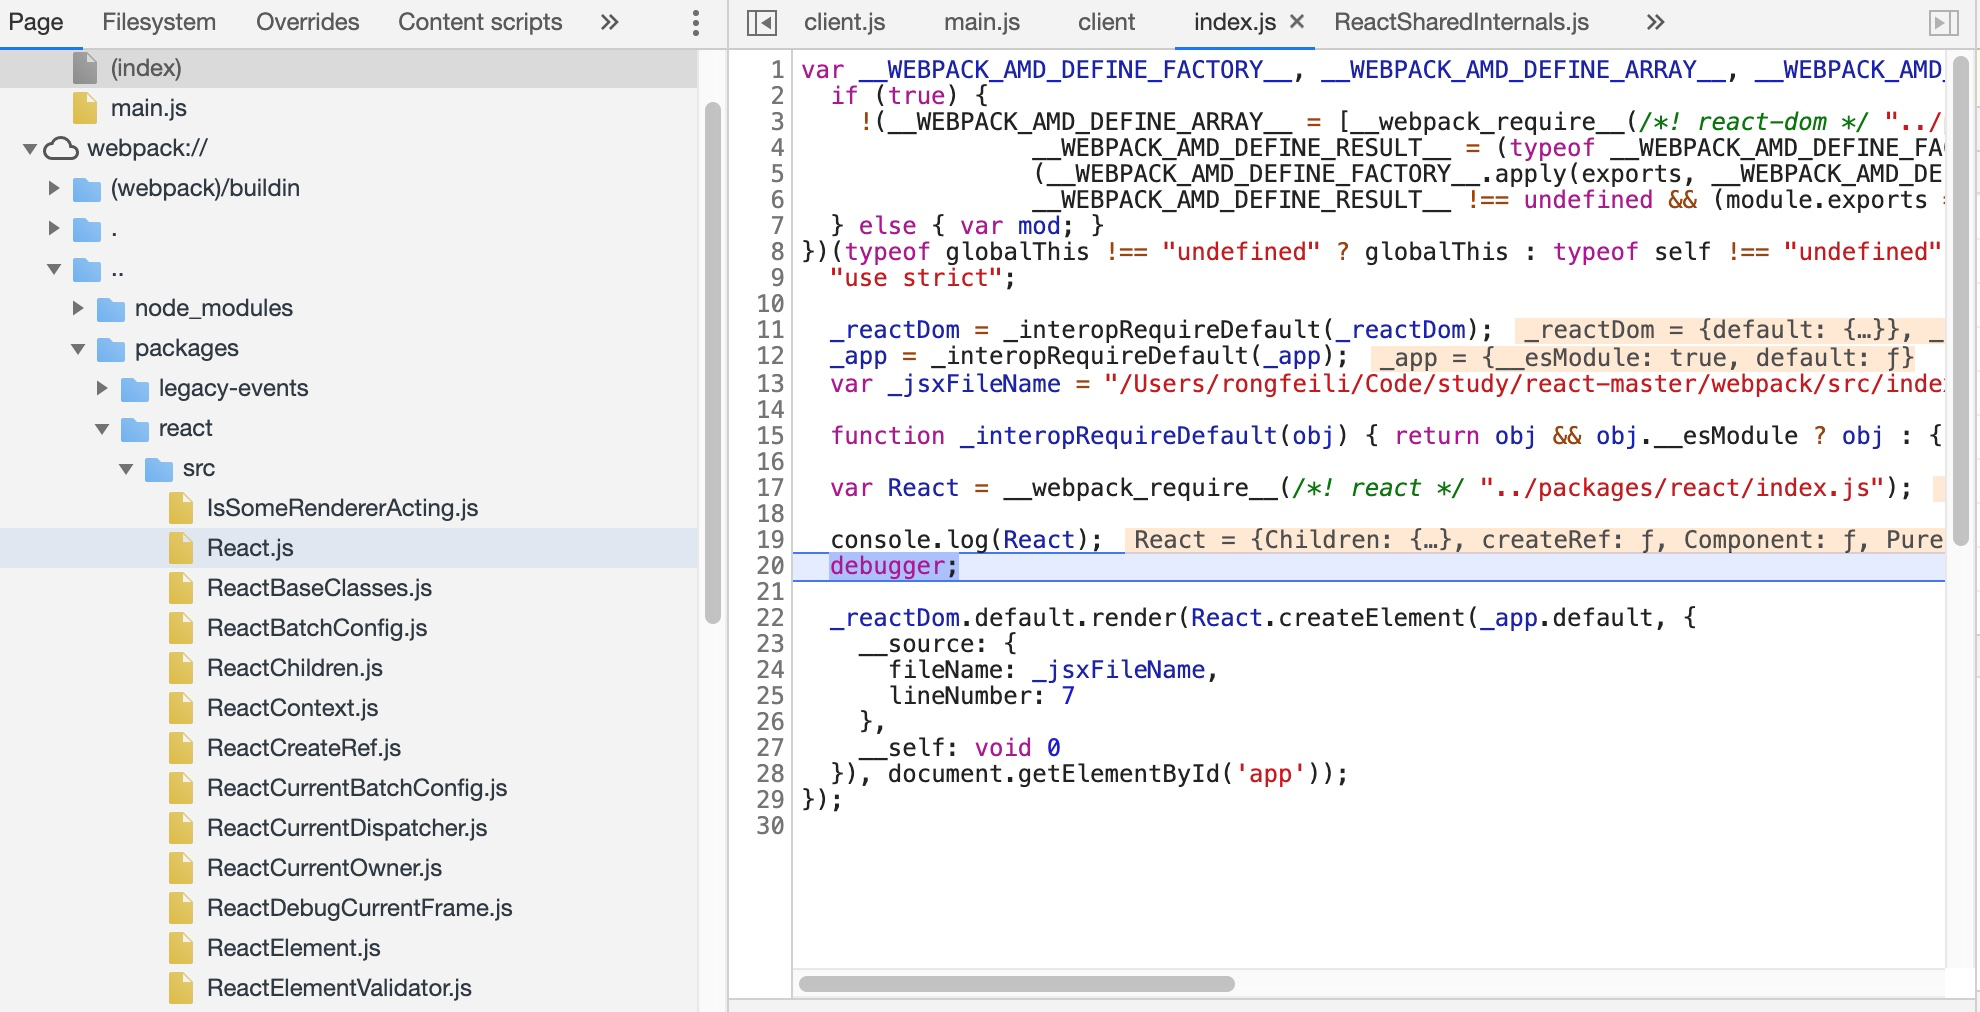
然后通过webpack的sourceMap查看react的源码
效果如下:
步骤
Fork源码
https://github.com/facebook/react
然后执行yarn(yarn 命令会自动执行packages里面的所有依赖安装)
如果太慢, 可以用阿里的源:
yarn config set registry 'https://registry.npm.taobao.org'理解官方rollup打包
关键文件说明:
scripts/rollup/bundles.js
这个文件用来告诉打包器, 要打包出多少种版本, 这里因为咱们在web下阅读源码, 只需要用到UMD_DEV, 可以把其他的场景注释掉, 这里我直接替换变量

然后执行npm run build
scripts/rollup/build.js
这个是真正的打包文件, 这里我们需要将rollup打包的一些特殊设置找出来, 然后转化为webpack的配置
- 打包会替换一些动态内容, 比如: 报错信息, 只会在dev环境存在, prod不存在
- 这个主要是通过babel动态替换, 所以我们需要将babel插件提取出来
- 可以通过getBabelConfig获取, 建议看下这个函数, 引用了那几个本机插件即可, 主要引用了scripts/babel下面两个, 以及scripts/error-codes中一个

- 实际真正需要的是两个plugin
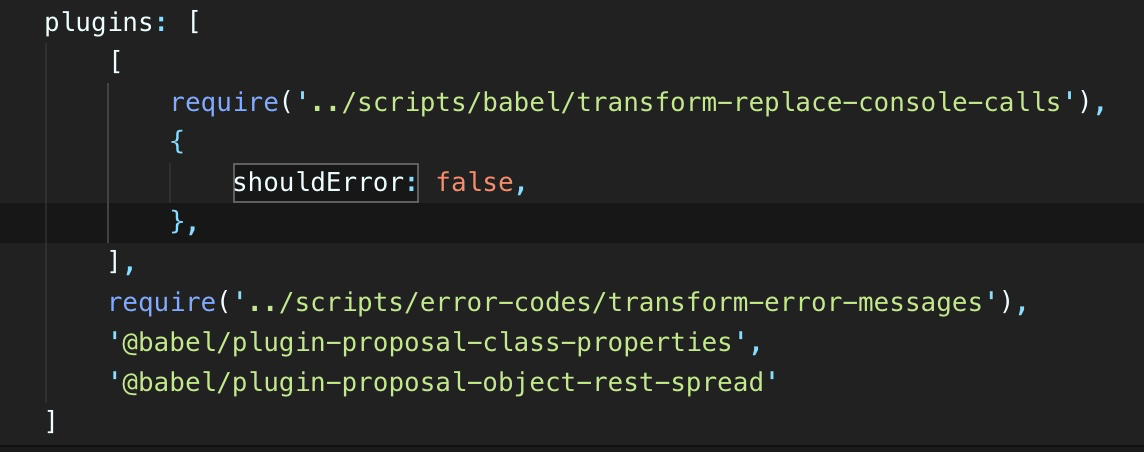
- 所以只需要将这两个插件引用到webpack的babel里面即可
- 替换一些不同环境的文件, 比如: react-native 和 react 中用到的一些东西, 肯定是不一样的, 但是接口一样, 就会根据打包类似动态替换
- 这个主要是通过动态替换模块的源路径实现的
- 这个可以通过getForks来获取
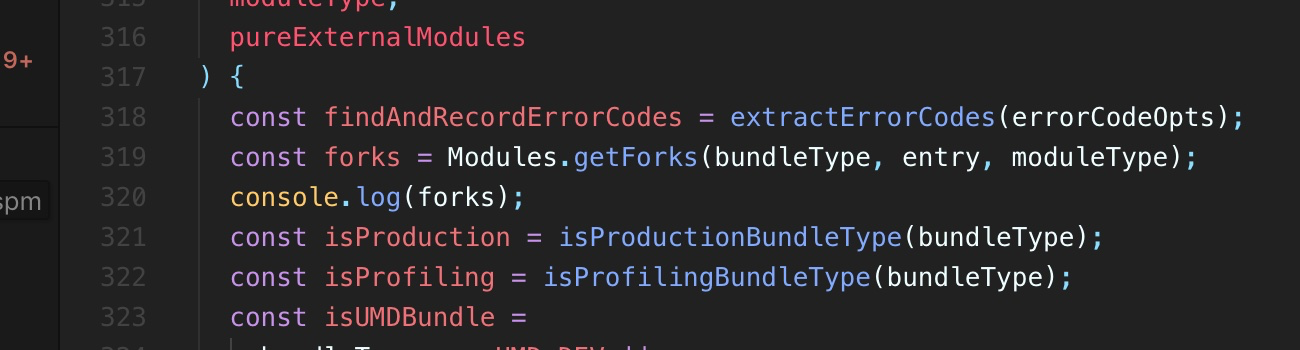
- 这里我已经提取出来, 并通过一个简单的webpack配置进行处理(见: webpack/replace.js)
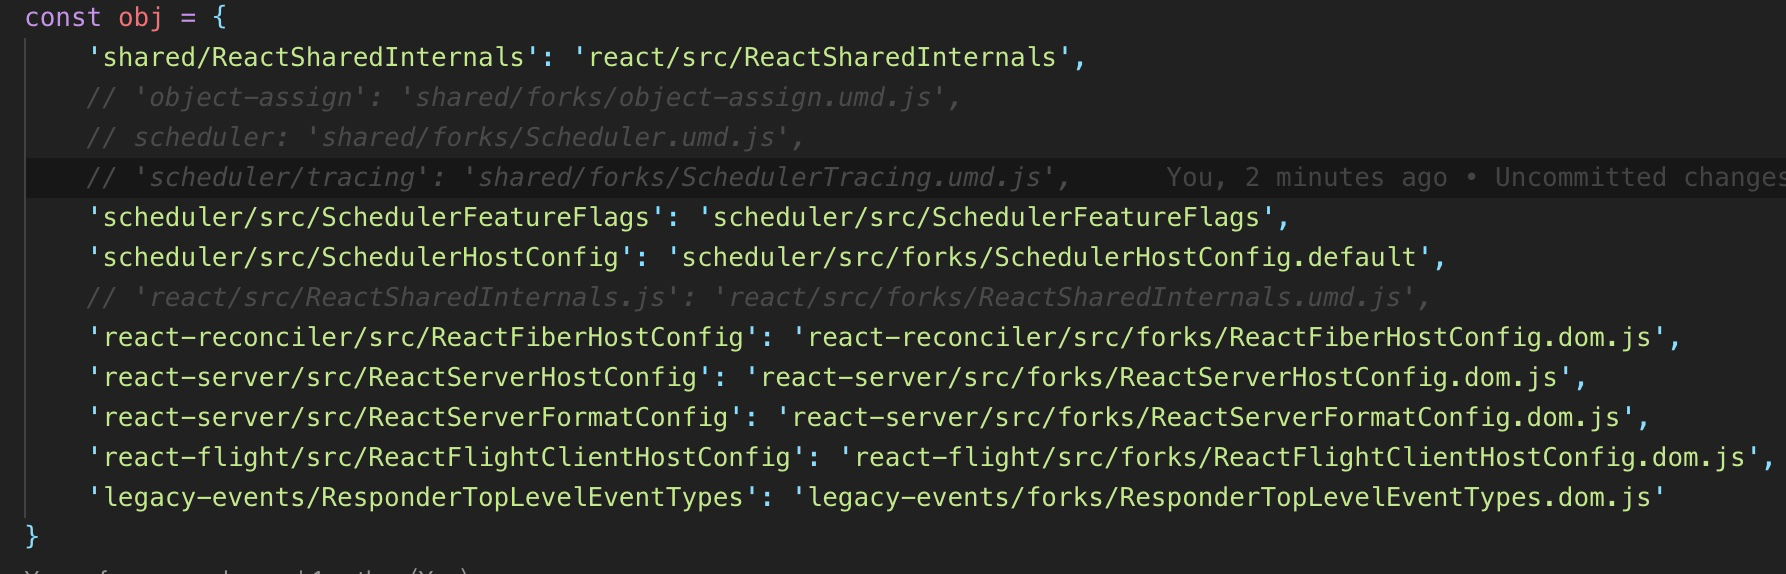 这里需要将umd相关的东西删除, 具体原因未知
 - 主要是这些文件
- 替换一些打包变量, 基本都设置为debug模式即可, 根据scripts/jest/setupEnvironment.js 进行设置
构建webpack, 阅读环境
基本和平时的项目一样, 区别在于react的代码从源码直接引用, 详细查看webpack/webpack.config.js
这里简单贴下源码
const path = require('path');
const webpack = require('webpack');
const __debug= true;
const replacePlugin = require('./replace');
module.exports = {
    entry: {
        main: './src/index.js',
    },
    output: {
        path: path.join(__dirname, 'build'),
        filename: '[name].js'
    },
    resolve: {
        modules: [
            path.join(__dirname, '../packages'),
            'node_modules',
        ]
    },
    module: {
        rules: [
            {
                loader: "babel-loader",
                options: {
                    babelrc: false,
                    presets: [
                        [
                            "@babel/preset-env",
                            {
                                targets: {
                                    esmodules: true,
                                    browsers: "> 0.25%, not dead"
                                },
                                debug: __debug,
                                modules: 'umd',
                                forceAllTransforms: !__debug,
                                useBuiltIns: false
                            }
                        ],
                        [
                            "@babel/preset-react",
                            {
                                development: false
                            }
                        ],
                        '@babel/preset-flow'
                    ],
                    plugins: [
                        require('../scripts/error-codes/transform-error-messages'),
                        // Wrap warning() calls in a __DEV__ check so they are stripped from production.
                        require('../scripts/babel/wrap-warning-with-env-check'),
                        '@babel/plugin-proposal-class-properties',
                        '@babel/plugin-proposal-object-rest-spread'
                    ]
                }
            },
        ]
    },
    mode: 'development',
    plugins: [
        new webpack.DefinePlugin({
            __DEV__: 'true',
            __PROFILE__: 'true',
            __UMD__: 'true',
            __EXPERIMENTAL__: true,
            'process.env.NODE_ENV': "'development'"
        }),
        new replacePlugin()
    ],
    devServer: {
        port: 3100
    }
}
然后npm start即可开始
在ReactDOM.render前面加个debugger即可进入所有的react源码, 并可以实时修改