系统版本:Ubuntu 16.04.5 LTS
软件版本:无
硬件要求:无
1、创建过滤器
可以先使用"fail2ban-regex"命令测试正则表达式是否可以匹配到日志行,"fail2ban-regex"会自动匹配到日志的时间部分,若能自动匹配到则无需在正则表达式中添加时间部分的匹配,若不能自动匹配到则需要自己手动匹配。
root@ubuntu:~# vim /etc/fail2ban/filter.d/sshd.conf
[INCLUDES]

###
# 定义过滤器
###
[Definition]
failregex = [a-zA-Z-_]+ sshd[[0-9]+]: Failed password for root from <HOST> port [0-9]+ ssh2
# 定义要禁止的IP,使用正则表达式匹配日志行,使用关键字"<HOST>"表示要禁止的IP。
ignoreregex =
# 定义要忽略禁止的IP,使用正则表达式匹配日志行,使用关键字"<HOST>"表示要忽略的IP。

###
# 初始化过滤器
###
[Init]
maxlines = 10
# 设置过滤器每次读取日志的行数,每次读取10行做匹配。
# 过滤器每次从日志中缓冲多少行,进行匹配处理,如果一次读取大量的行,程序会崩溃,系统内存将会不够用
journalmatch =
2、创建动作
"<关键字>"表示在监禁引用动作要传入的参数。
"
root@ubuntu:~# vim /etc/fail2ban/action.d/iptables.conf
[INCLUDES]

###
# 定义动作
# 使用"<关键字>"声明变化的值
# "<ip>"关键字等于过滤器正则表达式中的"<HOST>"
###
[Definition]
actionstart = <iptables> -N f2b-<name>
              <iptables> -A f2b-<name> -j <returntype>
              <iptables> -I <chain> -p <protocol> -m multiport --dports <port> -j f2b-<name>
actionstop = <iptables> -D <chain> -p <protocol> -m multiport --dports <port> -j f2b-<name>
             <iptables> -F f2b-<name>
             <iptables> -X f2b-<name>
actioncheck = <iptables> -n -L <chain> | grep -q 'f2b-<name>[ 	]'
actionban = <iptables> -I f2b-<name> 1 -s <ip> -j <blocktype>
actionunban = <iptables> -D f2b-<name> -s <ip> -j <blocktype>

###
# 初始化动作
# 声明在监禁中关联动作允许传入的参数等于上面的"<关键字>",若未传入则使用默认值
###
[Init]
chain = INPUT
name = default
port = ssh
protocol = tcp
blocktype = REJECT --reject-with icmp-port-unreachable
returntype = RETURN
lockingopt = -w
iptables = iptables <lockingopt>
3、创建监禁
root@ubuntu:~# vim /etc/fail2ban/jail.d/sshd.conf
###
# 创建名叫sshd的监禁(jail)
###
[sshd]
ignoreip = 127.0.0.1/8
# 要忽略的IP。
bantime  = 600
# 设置IP被禁止的持续时间,单位为秒。
findtime  = 600
# 设置匹配时间间隔,单位为秒,即从日志中匹配条目,若指定时间内匹配到"maxretry"项设置的条目数量时,将会
# 执行封禁IP动作。
maxretry = 3
# 设置从日志中匹配到IP的最大数量,即尝试次数。
# 我这边设置失败三次就被禁止600秒。
logpath = /var/log/auth.log
# 设置提供给过滤器所使用的日志文件路径。
enabled = true
# 启动该监禁项
filter = sshd
# 关联过滤器,等于"filter.d"目录下过滤器配置文件的名字。
action = iptables-multiport[name="sshd", bantime="%(bantime)s", port="0:65535", protocol="tcp", chain="INPUT"]
# 关联动作,"iptables"等于"action.d"目录下动作配置文件的名字,"[]"中表示要传入的参数。
4、重启fail2ban服务
该操作会自动加载读取配置创建监禁项。
root@ubuntu:~# systemctl restart fail2ban.service
root@ubuntu:~# systemctl status fail2ban.service
● fail2ban.service - Fail2Ban Service
   Loaded: loaded (/lib/systemd/system/fail2ban.service; enabled; vendor preset: enabled)
   Active: active (running) since Mon 2020-10-19 19:57:51 PDT; 18s ago
     Docs: man:fail2ban(1)
  Process: 80997 ExecStop=/usr/bin/fail2ban-client stop (code=exited, status=0/SUCCESS)
  Process: 81005 ExecStart=/usr/bin/fail2ban-client -x start (code=exited, status=0/SUCCESS)
 Main PID: 81013 (fail2ban-server)
   CGroup: /system.slice/fail2ban.service
6、测试一下
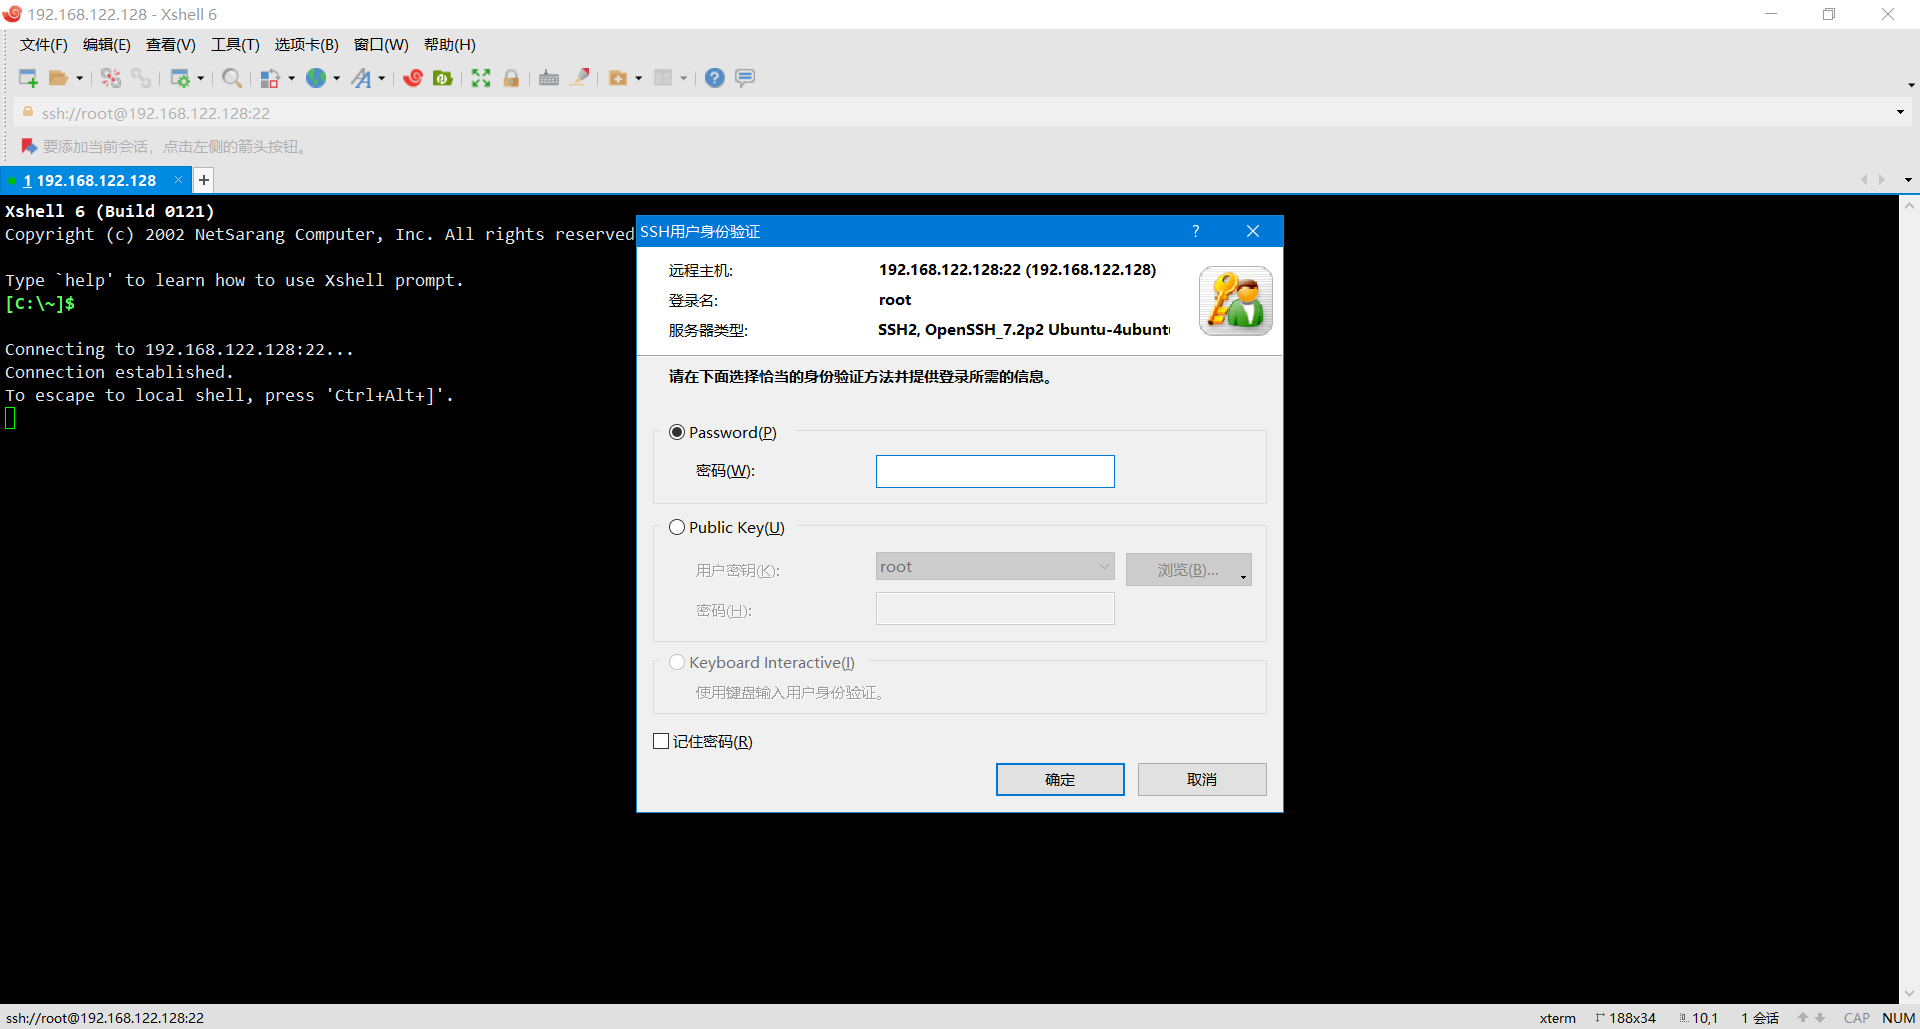
输入密码错误三次!可以看到已经无法连接到服务器了!

等待过600秒又可以登录了!
