需要spring jar的朋友加QQ2393469413
1、下载好jar包,使用myeclipse创建一个web project项目,然后再将jar包复制粘贴到项目的WEB-INF目录下的lib中,一般比较新的ide都能自动加载jar。
2、然后创建一个org.util.test包(名字可以任意取),再包中创建一个类UnitTestBase(使用Junit4进行测试的基类,其他测试类都要继承该类)。该类用来加载spring相关配置信息,如果不使用Junit工具进行测试就不用创建该类
3、UnitTestBase类的具体代码
package org.util.test;

import org.springframework.beans.BeansException;
import org.springframework.context.support.ClassPathXmlApplicationContext;
import org.springframework.util.StringUtils;
import org.junit.*;

public class UnitTestBase {
    private ClassPathXmlApplicationContext context;
    private String springXmlpath;//就是配置spring的bean容器的路径字符串,通过构造器获得

    public UnitTestBase(){}

    public UnitTestBase(String springXmlpath){
        this.springXmlpath = springXmlpath;
    }

    @Before
    public void before(){
        if(StringUtils.isEmpty(springXmlpath)){
            /**
             * classpath*是当前jar包目录下的所有的jar包下进行的操作,
             * 比如扫描等,classpath只是当前单独一个jar包里的操作。比如在扫描器中,
             * classpath只扫描当前包里的class,classpath*则扫描的是当前包目录下所有的包里的class.
             */
            springXmlpath = "classpath*:spring-*.xml";/*spring-*表示spring的bean配置文件,可以任意命名,*表示任意匹配字符*/
        }
        try{
            /**
             * str.split(String regex)作用:根据正则表达式regex,将字符串str,
             * 分割成字符串数组。"[,\s]+" 是一个正则表达式,\s表示各种空白符,+表示匹配多个。
             * StringUtils是org.apache.commons.lang下的一个用于操作Java.lang.String的工具类,
             * 使用可能需要手工导入commons-lang-xx.jar
             * 把SpringXmlpath路径拆分开来,
             * 因为springXmlpath路径可能是多个路径的拼接,拆分过之后每个路径下的xml都会被扫描识别
             */
            context = new ClassPathXmlApplicationContext(springXmlpath.split("[,\s]+"));
            context.start();//通过扫描xml文件获取并启动容器
        }catch(BeansException e){
            e.printStackTrace();
        }
    }

    @After
    public void after(){
        context.destroy();
    }

    @SuppressWarnings("unchecked")
    protected <T extends Object> T getBean(String beanId){
        /**
         * T 这是泛型,在你不确定使用什么类型参数的时候,泛型可以代表任意一种类型参数,比较灵活方便
      *第一个方法是用bean的ID到容器中查找bean对象,相当于byName配置
      *第二个方式是用bean的类型到容器中查找bean对象,相当于byType配置
         */
        return (T)context.getBean(beanId);
    }
    protected <T extends Object> T getBean(Class<T> clazz) {
        return context.getBean(clazz);
    }
}
4、在创建一个org.bean.example包,然后创建下面的OneInterface接口
1 package org.bean.example;
2
3 public interface OneInterface {
4
5     public String save(String s);
6 }
5、创建OneInterface接口的 实现类OneInterfaceImp类
package org.bean.example;

public class OneInterfaceImp implements OneInterface{
    @Override
    public String save(String s) {
        System.out.println("hello OneInterfaceImp");
        return s;
    }
}
6、选中src右击创建一个spring-ioc.xml文件,该文件是spring的bean配置文件,文件名可以自己创建。该xml文件的头部信息,myeclipse不会自动生成需要手动添加,可以添加下面的代码
<?xml version="1.0" encoding="UTF-8"?>
<beans
    xmlns="http://www.springframework.org/schema/beans"
    xmlns:xsi="http://www.w3.org/2001/XMLSchema-instance"
    xmlns:p="http://www.springframework.org/schema/p"
    xsi:schemaLocation="http://www.springframework.org/schema/beans http://www.springframework.org/schema/beans/spring-beans-3.1.xsd http://www.springframework.org/schema/tx http://www.springframework.org/schema/tx/spring-tx.xsd" xmlns:tx="http://www.springframework.org/schema/tx">
<!-- 上面是xmL的头部信息--!>
<!-- 下面是bean属性的配置信息--!>
    <bean id="oneInterface" class="org.bean.example.OneInterfaceImp"> </bean>
</beans>
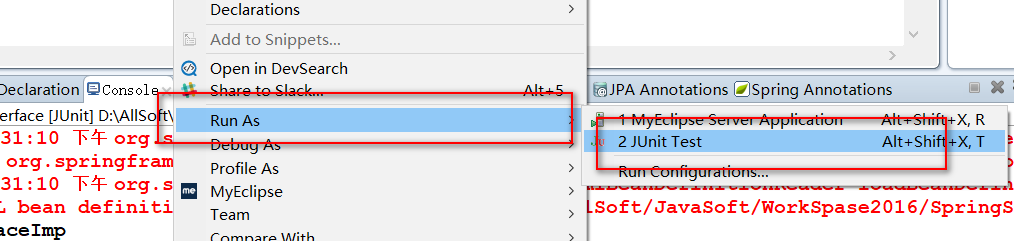
7、最后创建一个测试类TestOneInterface.java,该类必须继承最开始的那个UnitTestBase.java
package org.bean.example;

import org.junit.Test;
import org.junit.runner.RunWith;
import org.junit.runners.BlockJUnit4ClassRunner;
import org.util.test.UnitTestBase;

@RunWith(BlockJUnit4ClassRunner.class)
public class TestOneInterface extends UnitTestBase{

    public TestOneInterface(){
        super("classpath*:spring-ioc.xml");
    }
    //@Test注解和类上面的注解必须写,这是Junit的测试的一种方式
    @Test
    public void testHello(){
        OneInterface oneInterface = super.getBean("oneInterface");
        System.out.println(oneInterface.save("hello spring"));
    }

}
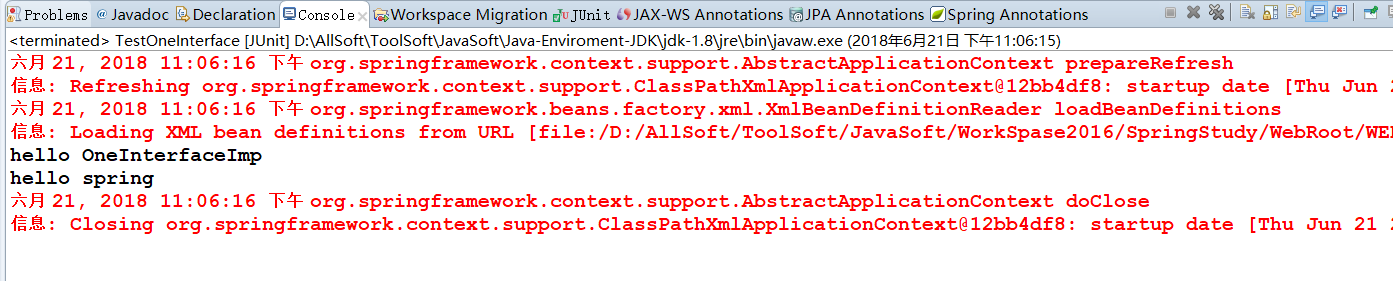
8、在TestOneInterface.java中
如果出现如下结果就表示你搭建成功