Vue.nextTick
在下次 DOM 更新循环结束之后执行延迟回调。在修改数据之后,立即使用这个回调函数,获取更新后的 DOM
应用场景
在Vue生命周期的created()钩子函数进行的DOM操作一定要放在Vue.nextTick()的回调函数中
<template>
  <div>
    <span ref="hello">111</span>
  </div>
</template>
<script>
export default {
  created(){
    this.$nextTick(()=>{
      console.log(this.$refs.hello) // <span>111</span>
    })
    console.log(this.$refs.hello) // undefined
  }
}
</script>
    this.$nextTick().then(()=>{

      })

    this.$nextTick(()=>{

      }).then(()=>{
        console.log(111)  // TypeError: Cannot read property 'then' of undefined
      })
如果nextTick没有传入回调函数,则会返回Promise,如果传入回调函数,就不会返回Promise
Vue.set
Vue 不能检测到对象属性的添加或删除。由于 Vue 会在初始化实例时对属性执行 getter/setter 转化过程,所以属性必须在 data 对象上存在才能让 Vue 转换它,这样才能让它是响应的。
<template>
  <div>
    我叫{{obj.name}},今年{{obj.age}}
  </div>
</template>

<script>
export default {
  data(){
    return {
      obj:{
        name:'haha'
      }
    }
  },
  mounted(){
    this.obj.age=14
  }

}
</script>

<template>
  <div>
    我叫{{obj.name}},今年{{obj.age}}
  </div>
</template>

<script>
export default {
  data(){
    return {
      obj:{
        name:'haha'
      }
    }
  },
  mounted(){
    this.$set(this.obj,'age',14)
  }

}
</script>

为什么会这样呢?
当去查对应文档时,你会发现**响应系统 **,把一个普通 Javascript 对象传给 Vue 实例来作为它的 data 选项,Vue 将遍历它的属性,用 Object.defineProperty 将它们转为 getter/setter,如上示例,将data在控制台打印出来会发现:
-
没有使用$set

-
使用$set

Vue.delete
它可以传两个参数,第一个是要删除的对象,第二个是演删除的属性
<template>
  <div>
    我叫{{obj.name}},今年{{obj.age}}
    <button @click="deleteAge">-</button>
  </div>
</template>

<script>
export default {
  data(){
    return {
      obj:{
        name:'haha',
      }

    }
  },
  mounted(){
    this.$set(this.obj,'age',14)
  },
  methods:{
    deleteAge(){
      delete this.obj.age  // 在这里十四用delete删除obj的属性是不起作用的
      this.$delete(this.obj,'age') // 这是我们可以使用this.$delete进行删除
    }
  }

}
</script>
Vue.mixin
全局注册一个混入,影响注册之后所有创建的每个 Vue 实例。插件作者可以使用混入,向组件注入自定义的行为。不推荐在应用代码中使用。
我们可以在组件内使用mixins
mixins选项接受一个混合对象的数组。这些混合实例对象可以向正常的实例对象一样包含选项,他们将在Vue.extend()里选择使用相同的选项合并逻辑合并。举例:如果你混合包含一个钩子而创建组件本身也有一个,两个函数将被调用。Mixin钩子按照传入顺序依次调用,并在调用组件自身的钩子之前被调用。
// 组件
<template>
  <div>
    {{name}}
    <button @click="button">-</button>
  </div>
</template>

<script>
import Mixins from '../mixins/mixins.js'
export default {
  data(){
    return {
      name:'我是组件'
    }
  },
  mounted(){
    console.log('我是组件钩子')
  },
  mixins:[Mixins],
  methods:{
    button(){
      console.log('我是自己的函数')
    }
  }
}
</script>


// 混入
export default {
    data(){
        return{
            name:'我是混入'
        }
    },
    mounted(){
        console.log('我是混入钩子')
    },
    methods:{
        button(){
            console.log('我是混入函数')
        }
    }
}
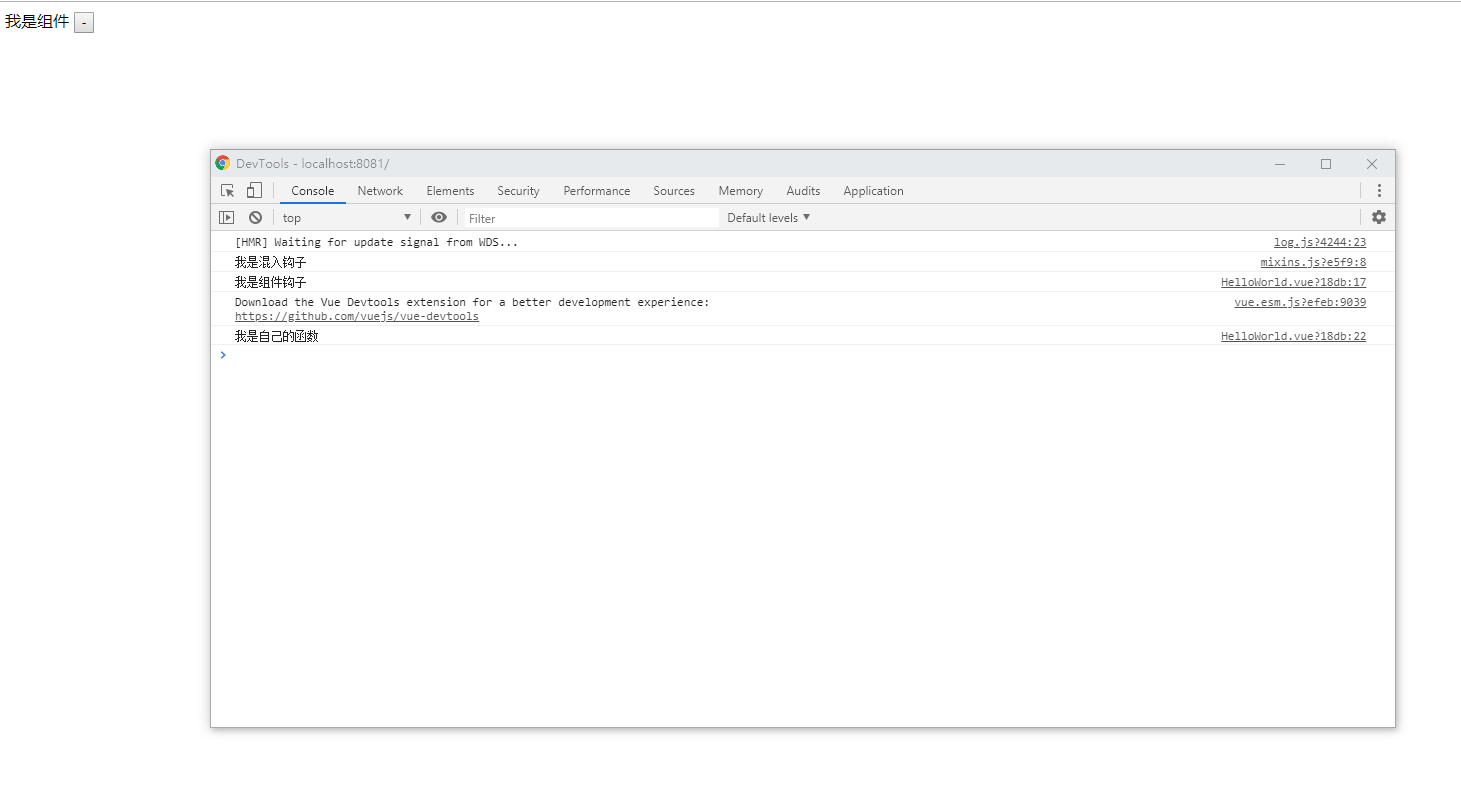
上面这种情况,两个生命周期钩子函数都会执行,但是data里的属性会使用组件自己的,方法也会使用组件自己的
$watch
它用于观察 Vue 实例上的数据变动。当一些数据 需要根据其它数据变化 时,可使用$watch
<template>
  <div>
    我叫{{name}},今年{{age}}
    <button @click="add">+</button>
  </div>
</template>

<script>
export default {
  data(){
    return {
        name:'haha',
        age:14
    }
  },
  mounted(){
    this.$watch('age',function(val){
        console.log(val)
        this.name=val
      })
  },
  methods:{
    add(){
      this.age++
    }
  }

}
</script>
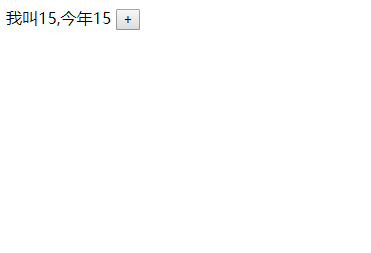
上面代码中mounted()钩子函数中的this.$watch在页面加载的时候时不会执行的,只会在age属性改变的情况下它才会执行
这个是我没点击之前的

这个是我点击之后的

第二种用法
<template>
  <div>
    我叫{{name}},今年{{age}}
    <button @click="add">+</button>
  </div>
</template>

<script>
export default {
  data(){
    return {
        name:'haha',
        age:14
    }
  },
  mounted(){
   this.$watch(
    function () {
    return this.age
  },
  function (newVal, oldVal) {
    console.log(newVal, oldVal)
  }
)
  },
  methods:{
    add(){
      this.age++
    }
  }

}
</script>
$children $parent
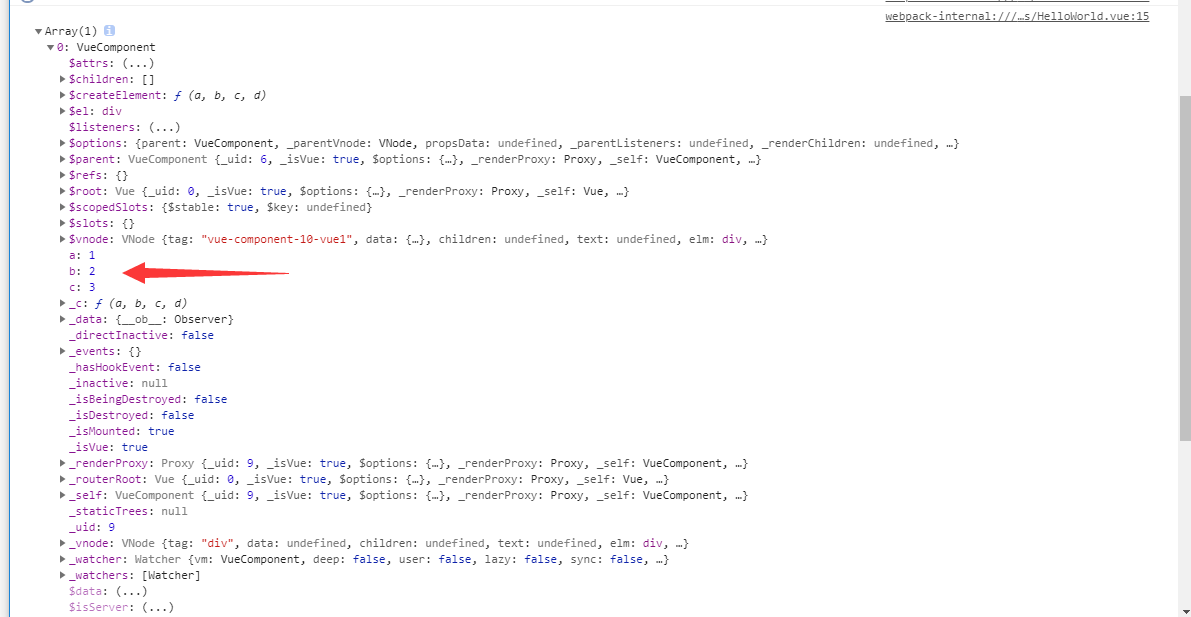
指定已创建的实例之父实例,在两者之间建立父子关系。子实例可以用 this.$parent 访问父实例,子实例被推入父实例的 $children 数组中。
节制地使用 $parent 和 $children - 它们的主要目的是作为访问组件的应急方法。更推荐用 props 和 events 实现父子组件通信
// 父组件
<template>
  <div>
    <vue1></vue1>
  </div>
</template>
<script>
import vue1 from './1.vue'
export default {
  mounted(){
    console.log(this.$children)
  },
  components:{
    vue1
  }
}
</script>


// 子组件
<template>
    <div>

    </div>
</template>
<script>
export default {
    mounted(){
        console.log(this.$parent)
    },
    data(){
        return {
            a:1,
            b:2,
            c:3
        }
    }
}
</script>


VUE.component
全局注册组件
// main.js

import Vue from 'vue'
import App from './App'
import router from './router/index'
import './components/index.scss'
Vue.config.productionTip = false
Vue.component('my-component',{
  template:'<div>my component!</div>',
  data(){
    return {
      name:'my-component'
    }
  }
})
new Vue({
  el: '#app',
  router,
  components: { App},
  template: '<App/>'
})


// 父组件

<template>
  <div>
    <my-component></my-component>
  </div>
</template>
<script>
export default {
  mounted(){
    console.log(this.$children[0].name) // my-component
  }

}
</script>
通过使用Vue.component注册一个全局组件
局部注册组件
// 子组件

<template>
    <div>
        hello
    </div>
</template>
<script>
export default {

}
</script>

// 父组件

<template>
  <div>
    <my-component></my-component>
  </div>
</template>
<script>
import MyComponent from './MyComponent'
export default {
  components:{
    MyComponent
  }
}
</script>
Vue.propsData
他用在全局扩展时进行传递数据。先回顾一下全局扩展的知识,作一个
的扩展标签出来。实际我们并不推荐用全局扩展的方式作自定义标签,我们学了组件,完全可以使用组件来做,这里只是为了演示propsData的用法。
<body>
    <div id="app">
         <header></header> // 我叫小明:今年20
    </div>
</body>
</html>

<script>
    let app = Vue.extend({
    	template : `<p>我叫{{name}}:今年{{age}}</p>`,
    	data(){
    	    return {
    	        name : "小明"
            }
        },
    props:['age']
    })
    new app({propsData:{'age':'20'}}).$mount('header')
</script>
