参考文档
https://segmentfault.com/a/1190000023924668
http://nodejs.cn/
https://www.runoob.com/nodejs/nodejs-install-setup.html
ubuntu 安装nodejs, 源码包
tar -xvf node-v14.15.4-linux-x64.tar.xz
mv node-v14.15.4-linux-x64 ~/Downloads/
lizejun@ubuntu:~/Downloads/node-v14.15.4-linux-x64/bin$ sudo ln -s /home/lizejun/Downloads/node-v14.15.4-linux-x64/bin/node /usr/local/bin/node
[sudo] password for lizejun:
lizejun@ubuntu:~/Downloads/node-v14.15.4-linux-x64/bin$ sudo ln -s /home/lizejun/Downloads/node-v14.15.4-linux-x64/bin/npm /usr/local/bin/npm
lizejun@ubuntu:~$ npm -v
6.14.10
lizejun@ubuntu:~$ node -v
v14.15.4
npm加速
一、修改成淘宝镜像源
1. 命令
npm config set registry https://registry.npm.taobao.org
2. 验证命令
npm config get registry
如果返回https://registry.npm.taobao.org,说明镜像配置成功。
二、修改成华为云镜像源
1. 命令
npm config set registry https://mirrors.huaweicloud.com/repository/npm/
2. 验证命令
npm config get registry
如果返回https://mirrors.huaweicloud.com/repository/npm/,说明镜像配置成功。
三、通过使用淘宝cnpm安装
1. 安装cnpm
npm install -g cnpm --registry=https://registry.npm.taobao.org
2. 使用cnpm
cnpm install xxx
github 搭建博客
izejun@ubuntu:~$ git version
git version 2.17.1
lizejun@ubuntu:~$ node -v
v14.15.4
lizejun@ubuntu:~$ npm -v
6.14.10
lizejun@ubuntu:~$ npm config set registry https://registry.npm.taobao.org
lizejun@ubuntu:~$ npm config get registry
https://registry.npm.taobao.org/
TypeError: Console expects a writable stream instance
升级nodejs
wget https://npm.taobao.org/mirrors/node/latest-v14.x/node-v14.1.0-linux-x64.tar.gz
https://npm.taobao.org/mirrors/node/v12.18.3/
sudo ln -s /home/lizejun/npmtest/node-v14.1.0-linux-x64/bin/node /usr/local/bin/node
sudo ln -s /home/lizejun/npmtest/node-v14.1.0-linux-x64/bin/npm /usr/local/bin/npm
lizejun@ubuntu:~/npmtest/blog$ npm config get registry
https://mirrors.huaweicloud.com/repository/npm/
lizejun@ubuntu:~$ npm install -g hexo-cli
cd blog
hexo init 初始化
hexo generate 创建文件
hexo server -p 9999 启动本地服务
访问:
localhost:9999

hexo generate ---> hexo g # 生成页面文件
hexo server ---> hexo s # 启动服务预览
hexo server -p 8080 # 指定端口运行
hexo deploy ---> hexo d # 部署
hexo clean # 清除缓存,若是网页正常情况下可以忽略这条命令
npm使用国内镜像加速的几种方法
2018-12-17
阅读 9.4K0
在使用npm过程中经常会遇到无法下载包的问题,本人在这里整理了几个npm使用国内镜像加速的方法,希望对大家有所帮助。
一、修改成淘宝镜像源
1. 命令
npm config set registry https://registry.npm.taobao.org
2. 验证命令
npm config get registry
如果返回https://registry.npm.taobao.org,说明镜像配置成功。
二、修改成华为云镜像源
1. 命令
npm config set registry https://mirrors.huaweicloud.com/repository/npm/
2. 验证命令
npm config get registry
如果返回https://mirrors.huaweicloud.com/repository/npm/,说明镜像配置成功。
三、通过使用淘宝cnpm安装
1. 安装cnpm
npm install -g cnpm --registry=https://registry.npm.taobao.org
2. 使用cnpm
cnpm install xxx
使用github创建项目仓库
注意: 仓库名必须是 <username>.github.io ,如果你的 github 名是 David,那么你的仓库名必须是 David.github.io 。
配置ssh-keygen
lizejun@ubuntu:~/npmtest/blog$ ssh-keygen -t rsa -C "m18611694189@163.com"
Generating public/private rsa key pair.
Enter file in which to save the key (/home/lizejun/.ssh/id_rsa):
/home/lizejun/.ssh/id_rsa already exists.
Overwrite (y/n)? y
Enter passphrase (empty for no passphrase):
Enter same passphrase again:
Your identification has been saved in /home/lizejun/.ssh/id_rsa.
Your public key has been saved in /home/lizejun/.ssh/id_rsa.pub.
The key fingerprint is:
SHA256:Qf9lWrG2/N9eQc1j6SYjzc+16lg6whJWz1zB4xVqv1E m18611694189@163.com
The key's randomart image is:
+---[RSA 2048]----+
| . . ...|
| . . +.=o|
| . . .oX=E|
| o .+X=.o|
| S +.+=o*.|
| o +. *.*|
| . o . =o|
| . o .+ . +|
| . .ooo .+|
+----[SHA256]-----+
lizejun@ubuntu:~/npmtest/blog$ cat ~/.ssh/id_rsa.pub
ssh-rsa AAAAB3NzaC1yc2EAAAADAQABAAABAQC08QuDRHwwEei4UCZKf7Mx/tu5y1ZREovqRNGlX59RXtMvmWt+dw1mhgp78T6tjLKomMIxxaSBpa2g/z5xk625Xs01PmtCEGcyZMMr9LIPL1mLIUQHlpXCrKbkemCnZc6vQQ4A4icu9/NyaInSeymJT7cFFHq+OE3ImQQl3BygAS1hvwnnO3aK0+UjQ75ayxJCKn/jiygCHEqiPI2Nxcb7ra0WKPgnA/DvaRxNeYZgovae5MPBr/p9sDjByqX7ZkUYaaFCEnt6atfkyhK5v5rAKRtR/aI4d/OHvFUWjDT1an8+Mbm7w5vBKkVorbuwfBw+JRYAyoSPCCFqj1KdprJB m18611694189@163.com
vim _config.yml 配置本地文件
deploy:
type: git
repo: https://github.com/LIZEJU/LIZEJU.github.io.git
branch: master
-- INSERT --
安装部署插件
sudo npm install -g hexo-deployer-git --save
下载仓库
git clone https://github.com/LIZEJU/LIZEJU.github.io.git
izejun@ubuntu:~/npmtest/blog$ cp -r public/* LIZEJU.github.io/
lizejun@ubuntu:~/npmtest/blog$ ls LIZEJU.github.io/
2021 archives css fancybox index.html js README.md
lizejun@ubuntu:~/npmtest/blog$ cd LIZEJU.github.io/
lizejun@ubuntu:~/npmtest/blog/LIZEJU.github.io$ git add .
lizejun@ubuntu:~/npmtest/blog/LIZEJU.github.io$ git commit -m "1"
[main 866888d] 1
17 files changed, 5166 insertions(+)
create mode 100644 2021/02/07/hello-world/index.html
create mode 100644 archives/2021/02/index.html
create mode 100644 archives/2021/index.html
create mode 100644 archives/index.html
create mode 100644 css/fonts/FontAwesome.otf
create mode 100644 css/fonts/fontawesome-webfont.eot
create mode 100644 css/fonts/fontawesome-webfont.svg
create mode 100644 css/fonts/fontawesome-webfont.ttf
create mode 100644 css/fonts/fontawesome-webfont.woff
create mode 100644 css/fonts/fontawesome-webfont.woff2
create mode 100644 css/images/banner.jpg
create mode 100644 css/style.css
create mode 100644 fancybox/jquery.fancybox.min.css
create mode 100644 fancybox/jquery.fancybox.min.js
create mode 100644 index.html
create mode 100644 js/jquery-3.4.1.min.js
create mode 100644 js/script.js
lizejun@ubuntu:~/npmtest/blog/LIZEJU.github.io$ git push origin master
error: src refspec master does not match any.
error: failed to push some refs to 'https://github.com/LIZEJU/LIZEJU.github.io.git'
lizejun@ubuntu:~/npmtest/blog/LIZEJU.github.io$ git push
Username for 'https://github.com': m18611694189@163.com
Password for 'https://m18611694189@163.com@github.com':
Counting objects: 31, done.
Compressing objects: 100% (25/25), done.
Writing objects: 100% (31/31), 882.21 KiB | 10.26 MiB/s, done.
Total 31 (delta 3), reused 0 (delta 0)
remote: Resolving deltas: 100% (3/3), done.
To https://github.com/LIZEJU/LIZEJU.github.io.git
e277532..866888d main -> main
lizejun@ubuntu:~/npmtest/blog/LIZEJU.github.io$ git config --global user.email "m18611694189@163.com"
lizejun@ubuntu:~/npmtest/blog/LIZEJU.github.io$ git config --global user.name "m18611694189@163.com"
lizejun@ubuntu:~/npmtest/blog/LIZEJU.github.io$ git commit -m "2"
On branch main
Your branch is up to date with 'origin/main'.
nothing to commit, working tree clean
lizejun@ubuntu:~/npmtest/blog/LIZEJU.github.io$ git push
Username for 'https://github.com': m18611694189@163.com
Password for 'https://m18611694189@163.com@github.com':
Everything up-to-date
lizejun@ubuntu:~/npmtest/blog/LIZEJU.github.io$ git push -u origin master
error: src refspec master does not match any.
error: failed to push some refs to 'https://github.com/LIZEJU/LIZEJU.github.io.git'
lizejun@ubuntu:~/npmtest/blog/LIZEJU.github.io$
github 修改其他分支为默认分支
https://jingyan.baidu.com/article/c843ea0b57105f36921e4a3e.html
在settings--branches中配置
git 强制拉取代码到本地
lizejun@ubuntu:~/npmtest/blog/LIZEJU.github.io$ git fetch --all
Fetching origin
lizejun@ubuntu:~/npmtest/blog/LIZEJU.github.io$ git reset --hard origin/master
HEAD is now at 0e4a1a2 Site updated: 2021-02-07 07:42:29
lizejun@ubuntu:~/npmtest/blog/LIZEJU.github.io$ git pull
Already up to date.
lizejun@ubuntu:~/npmtest/blog/LIZEJU.github.io$
创建文章
lizejun@ubuntu:~/npmtest/blog$ hexo new "linux1"
INFO Validating config
INFO Created: ~/npmtest/blog/source/_posts/linux1.md
lizejun@ubuntu:~/npmtest/blog$ hexo g -d 部署
INFO Validating config
设置主题
$ git clone https://github.com/iissnan/hexo-theme-next themes/next
主题:https://hexo.io/themes/

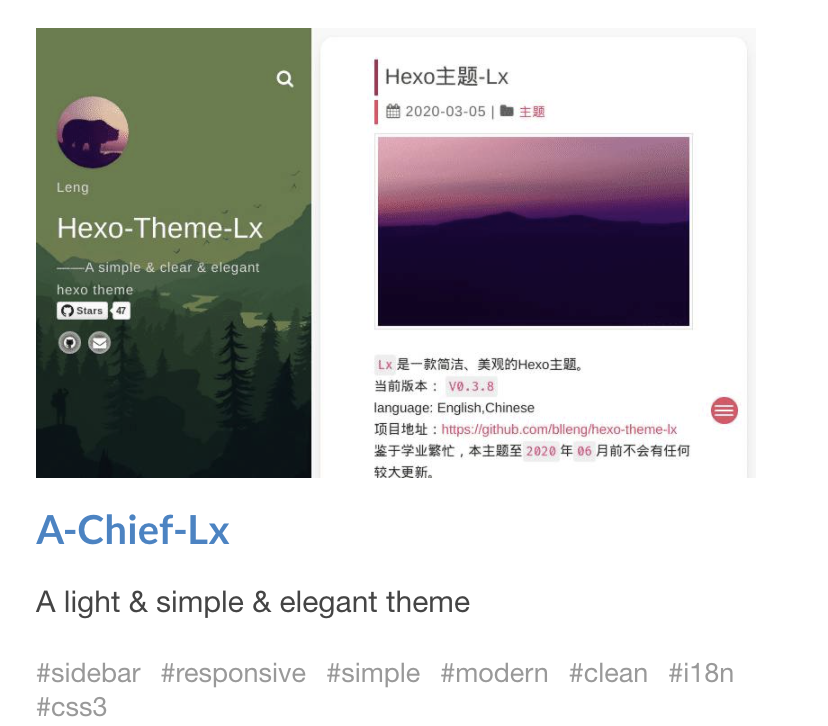
https://github.com/blleng/hexo-theme-lx
git clone https://github.com/blleng/hexo-theme-lx themes/lx
Edit _config.yml:
theme: lx

hexo g -d 部署,发布到github
需要等待一段时间,页面才能访问到
主题风格设置
menu_theme: black-grey
#menu_theme: greenish
# menu content
menu:
category: false #category
pages: #the page created by yourself
enable: false
links:
Guestbook: guestbook/
About: about/
friends:
enable: true
links:
Theme-Lx: https://www.cnblogs.com/lzjloveit/
本地搜索
At the blog root dir:
$ npm install hexo-generator-searchdb -s
Edit themes/lx/_config.yml:
local_search:
enable: true
修改头像
avatar: https://gss0.baidu.com/70cFfyinKgQFm2e88IuM_a/forum/w=580/sign=2b2314d0251f95caa6f592bef9167fc5/25220ef41bd5ad6e61ed754481cb39dbb7fd3cc5.jpg
修改文章
hexo new "xxx" 修改的文章在source/_posts这个目录下面,修改这里的文档内容
hexo -g d 发布到github上就可以了。

添加评论功能
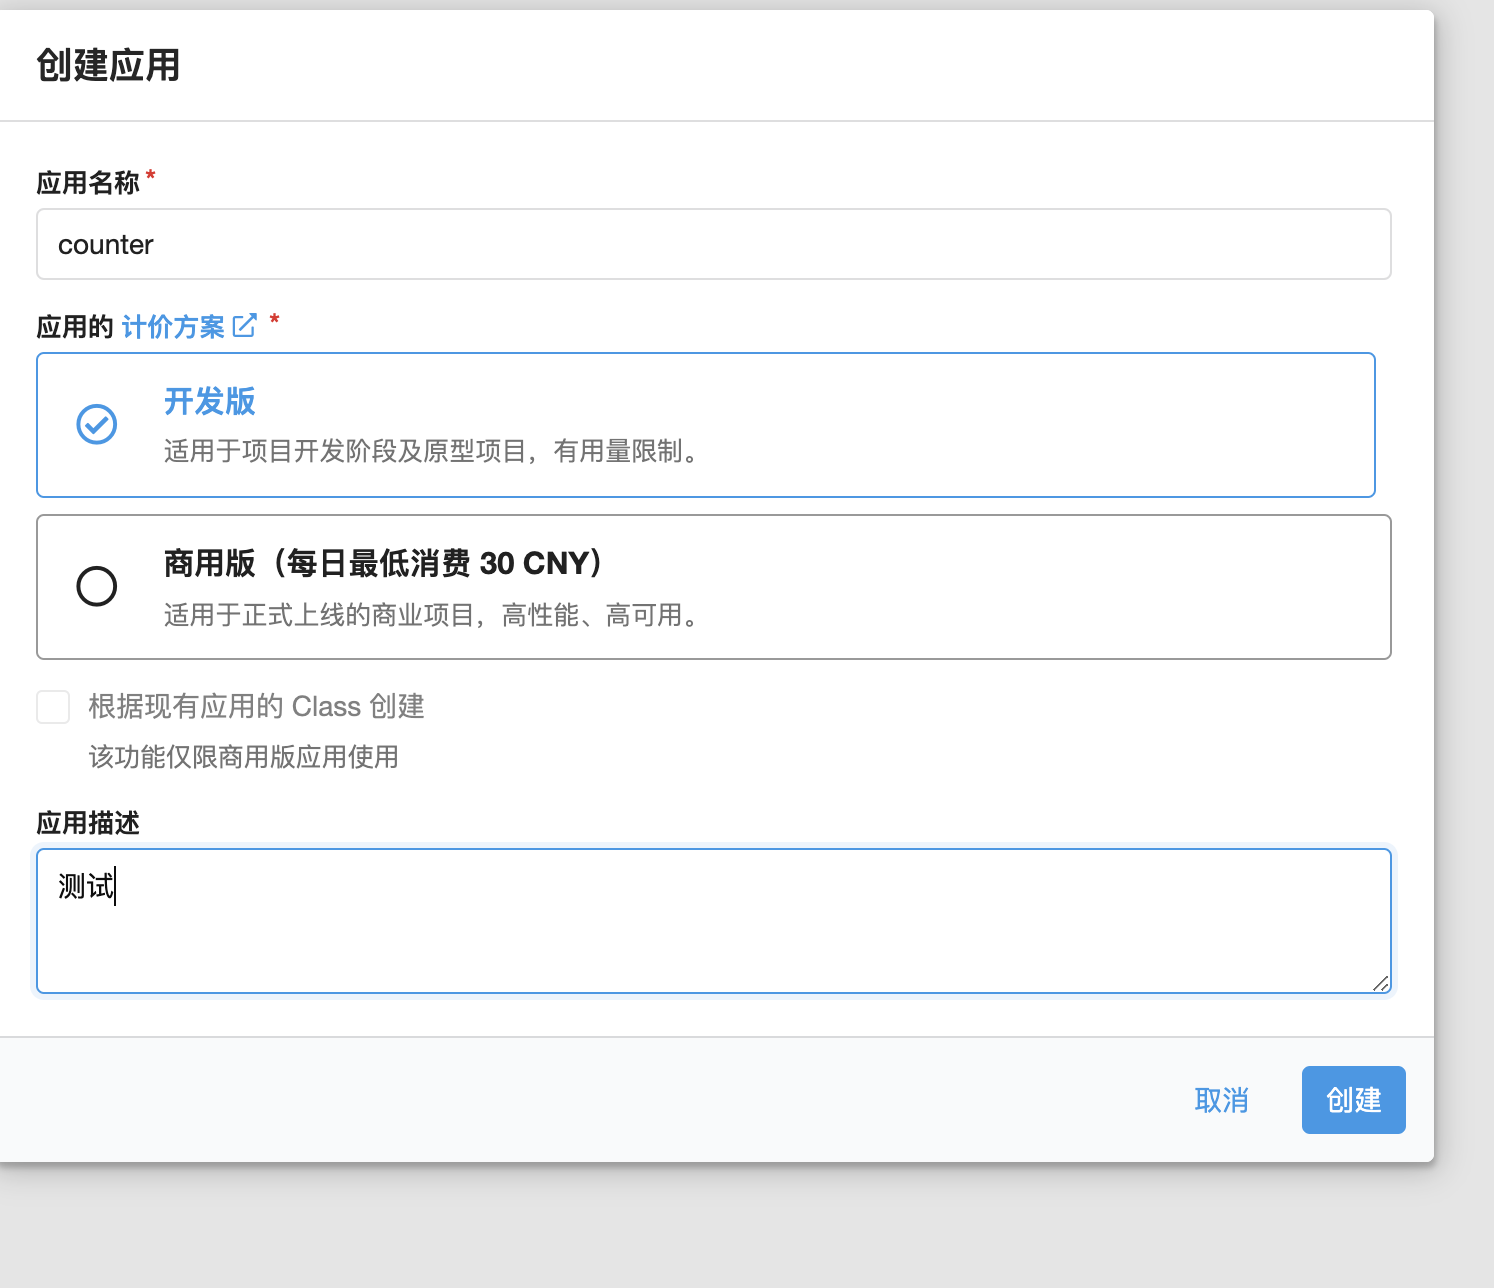
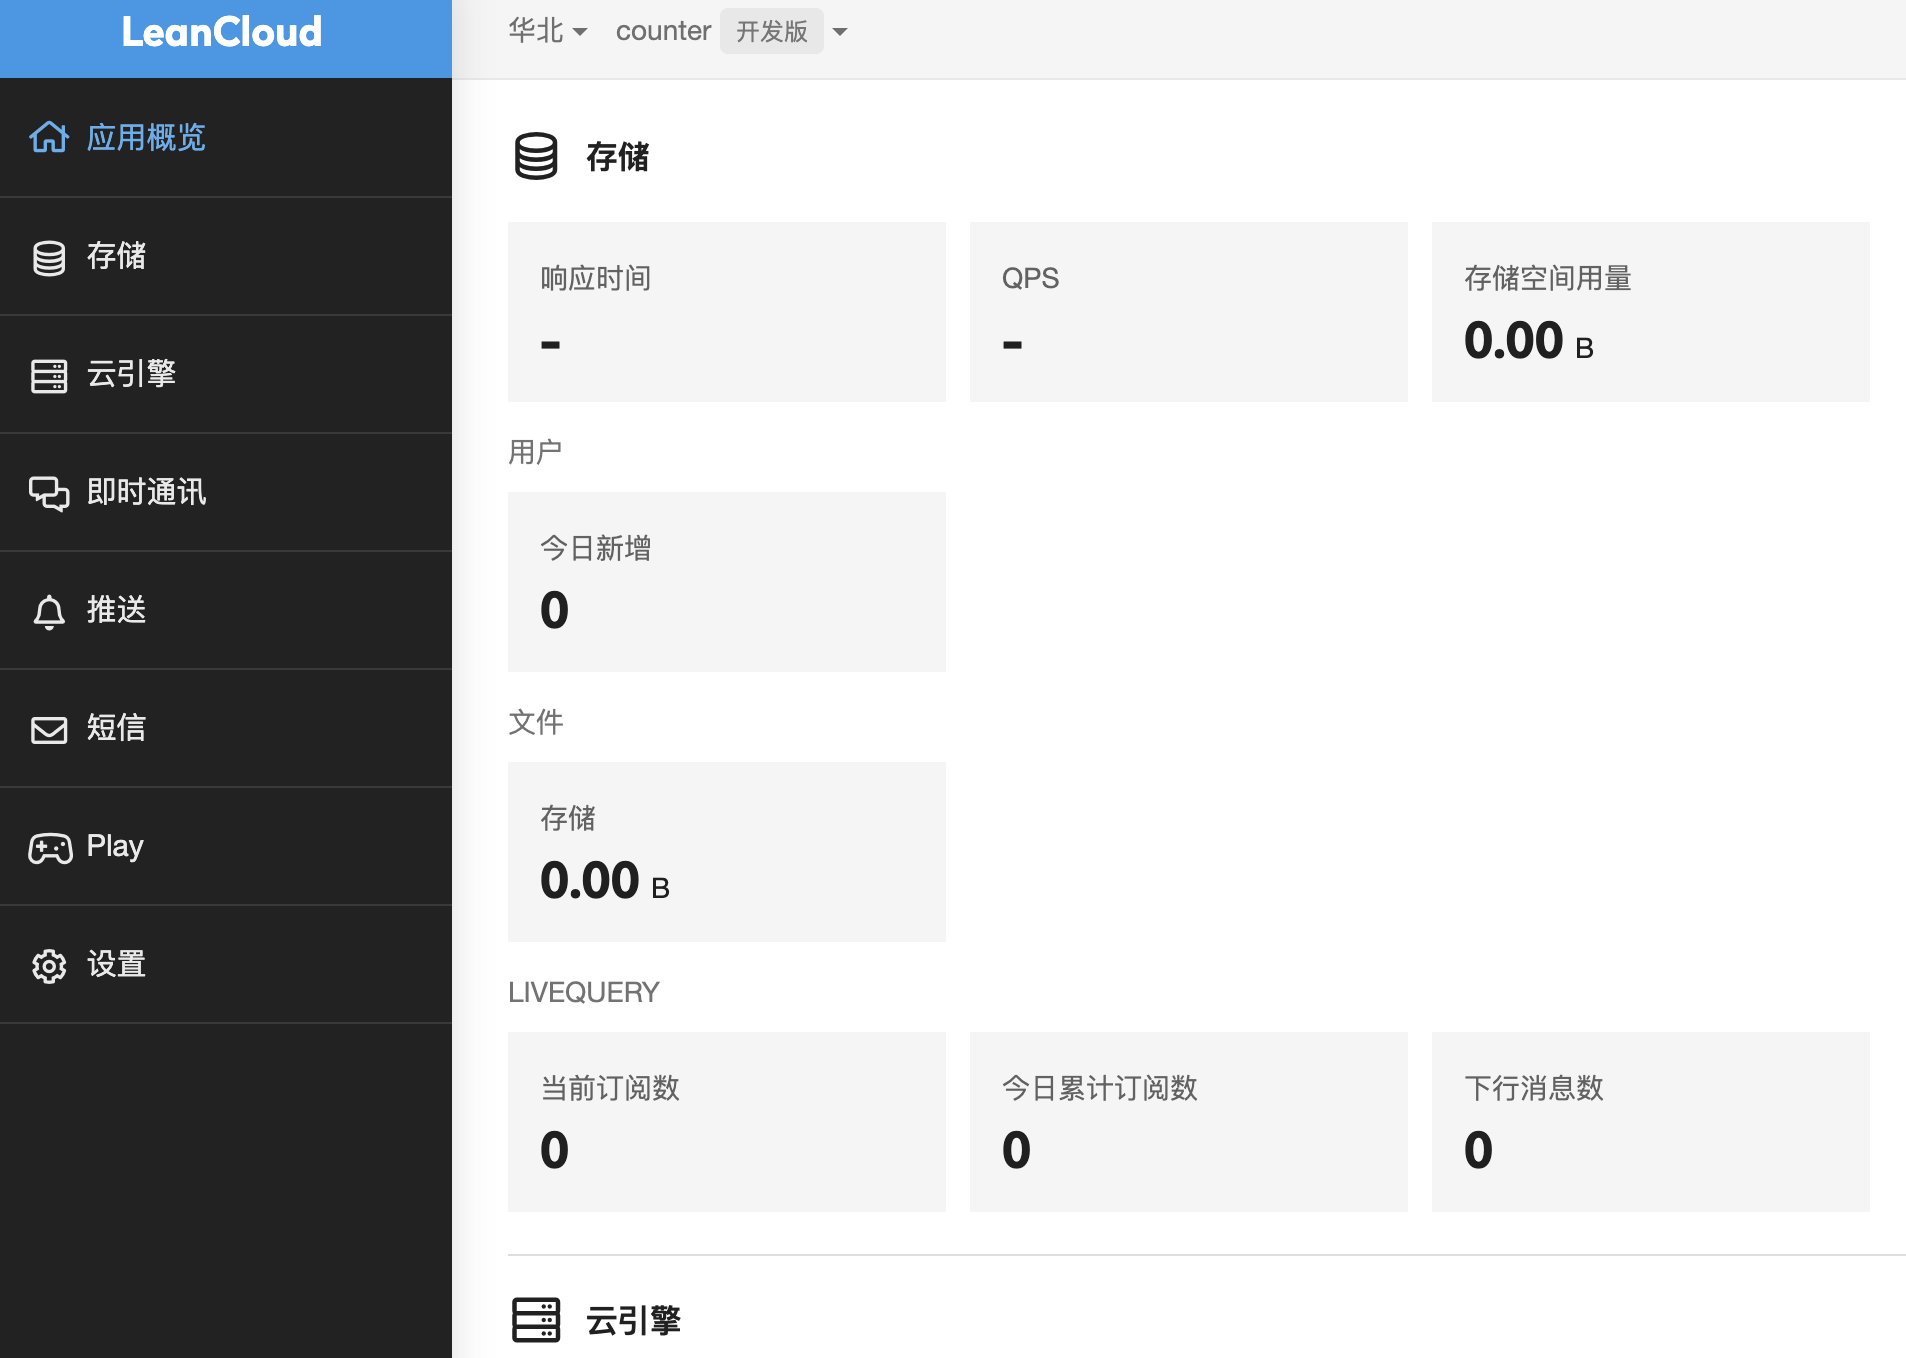
使用 LeanCloud 作为服务后台,先注册一个 LeanCloud 账号: Leancloud 官网。创建一个应用,名字自定义,在应用中的存储中创建一个 Class,名字叫做Counter,权限设置为无限制:
https://console.leancloud.cn/


在 LeanCloud 的设置 -> 应用 Key 可以找到 AppID 和 AppKey。
Credentials
在themes/next/_config.yml中修改配置,搜索 valine,开启 valine,设置 enable 为 true,填上 id 和 key。
# Lx use valine as comment system
# You should create an application in Leancloud to get the appid and appkey
comment:
enable: true
appid: a2sSWGO00y0zTpONCqEhLR8L-gzGzoHsz(AppID)
appkey: AppKeyW3XNj2LPF35yiFEn08LBeLPp
notify: false