Django REST framework认证、权限、频率
身份验证是将传入请求与一组标识凭据(例如请求来自的用户或其签名的令牌)相关联的机制。然后 权限 和 限制 组件决定是否拒绝这个请求。
认证:所谓认证就是身份的认证,是否登陆,确定你是谁
权限:确定你哪些接口可以访问
频率:就是访问接口的频率了
三个组件会一个,就都会了, 他们都的代码形式都一样
认证
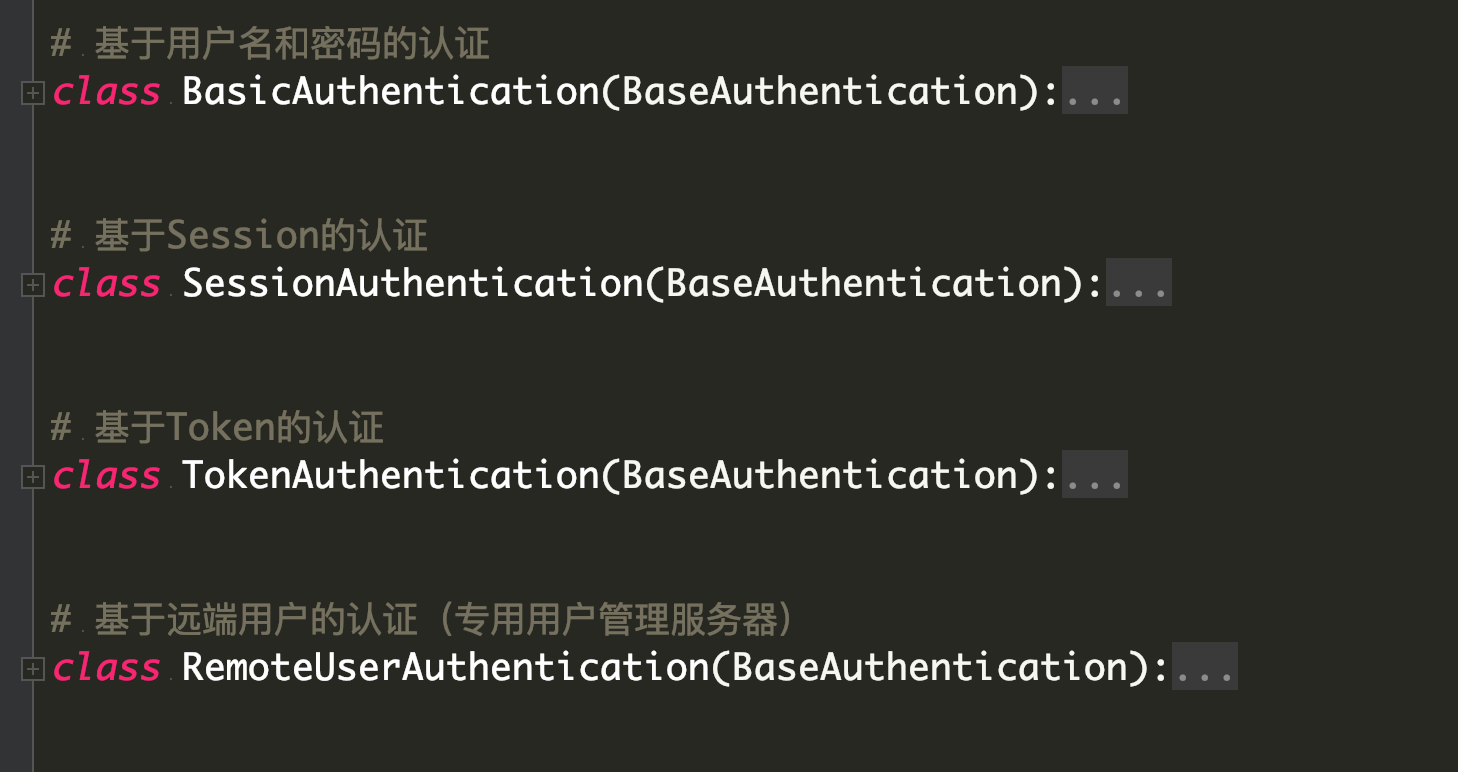
DRF自带认证方案
REST framework 提供了一些开箱即用的身份验证方案,并且还允许你实现自定义方案。
我们自己动手实现一个基于Token的认证方案:
自定义Token认证
流程大致就是,用户登陆成功,生成一个随机字符串也就是token,在数据库里生成那条token同时返回给用户,下次访问时用户拿着token和数据库里的做比对,这样就实现了验证功能
开始:
表
定义一个用户表和一个保存用户Token的表:
class UserInfo(models.Model):
    username = models.CharField(max_length=16)
    password = models.CharField(max_length=32)
    type = models.SmallIntegerField(
        choices=((1, '普通用户'), (2, 'VIP用户')),
        default=1
    )


class Token(models.Model):
    user = models.OneToOneField(to='UserInfo')
    token_code = models.CharField(max_length=128)
定义登陆视图
def get_random_token(username):
    """
    根据用户名和时间戳生成随机token
    :param username:
    :return:
    """
    import hashlib, time
    timestamp = str(time.time())
    m = hashlib.md5(bytes(username, encoding="utf8"))
    m.update(bytes(timestamp, encoding="utf8"))
    return m.hexdigest()


class LoginView(APIView):
    """
    校验用户名密码是否正确从而生成token的视图
    """
    def post(self, request):
        res = {"code": 0}
        print(request.data)
        username = request.data.get("username")
        password = request.data.get("password")

        user = models.UserInfo.objects.filter(username=username, password=password).first()
        if user:
            # 如果用户名密码正确
            token = get_random_token(username)
            models.Token.objects.update_or_create(defaults={"token_code": token}, user=user)
            res["token"] = token
        else:
            res["code"] = 1
            res["error"] = "用户名或密码错误"
        return Response(res)
定义认证的类
utils.py:
from rest_framework.authentication import BaseAuthentication
from rest_framework.exceptions import AuthenticationFailed


class MyAuth(BaseAuthentication):
    def authenticate(self, request):
        # 注意:这里只验证这几个请求方法,并且注意GET请求方法用GET或query_params
        if request.method in ["POST", "PUT", "DELETE"]:
            request_token = request.data.get("token", None)
            if not request_token:
                raise AuthenticationFailed('缺少token')
            token_obj = models.Token.objects.filter(token_code=request_token).first()
            if not token_obj:
                raise AuthenticationFailed('无效的token')
            return token_obj.user.username, None
        else:
            return None, None
视图(局部)级别认证
class CommentViewSet(ModelViewSet):

    queryset = models.Comment.objects.all()
    serializer_class = app01_serializers.CommentSerializer
    authentication_classes = [MyAuth, ]
全局级别认证
# 在settings.py中配置
REST_FRAMEWORK = {
    "DEFAULT_AUTHENTICATION_CLASSES": ["app01.utils.MyAuth", ]
}
权限
只有vip才能查看的内容
自定义一个权限类
utils.py:
# 自定义权限
from rest_framework.permissions import BasePermission
class MyPermission(BasePermission):
    message = 'VIP用户才能访问'

    def has_permission(self, request, view):
        """
        自定义权限只有VIP用户才能访问
        """
        # 因为在进行权限判断之前已经做了认证判断,所以这里可以直接拿到request.user
        if request.user and request.user.type == 2:  # 如果是VIP用户
            return True
        else:
            return False
视图级别配置
class CommentViewSet(ModelViewSet):

    queryset = models.Comment.objects.all()
    serializer_class = app01_serializers.CommentSerializer
    authentication_classes = [MyAuth, ]
    permission_classes = [MyPermission, ]
全局级别设置
# 在settings.py中设置rest framework相关配置项
REST_FRAMEWORK = {
    "DEFAULT_AUTHENTICATION_CLASSES": ["app01.utils.MyAuth", ],
    "DEFAULT_PERMISSION_CLASSES": ["app01.utils.MyPermission", ]
}
限制
DRF内置了基本的限制类,首先我们自己动手写一个限制类,熟悉下限制组件的执行过程。
自定义限制类
在throttles.py中:
from rest_framework.throttling import BaseThrottle
VISIT_RECORD = {}
# 自定义限制
class MyThrottle(BaseThrottle):

    def __init__(self):
        self.history = None

    def allow_request(self, request, view):
        """
        自定义频率限制60秒内只能访问三次
        """
        # 获取用户IP
        ip = request.META.get("REMOTE_ADDR")
        timestamp = time.time()
        if ip not in VISIT_RECORD:
            VISIT_RECORD[ip] = [timestamp, ]
            return True
        history = VISIT_RECORD[ip]
        self.history = history
        history.insert(0, timestamp)
        while history and history[-1] < timestamp - 60:
            history.pop()
        if len(history) > 3:
            return False
        else:
            return True

    def wait(self):
        """
        限制时间还剩多少
        """
        timestamp = time.time()
        return 60 - (timestamp - self.history[-1])
视图使用
class CommentViewSet(ModelViewSet):

    queryset = models.Comment.objects.all()
    serializer_class = app01_serializers.CommentSerializer
    throttle_classes = [MyThrottle, ]
全局使用
# 在settings.py中设置rest framework相关配置项
REST_FRAMEWORK = {
    "DEFAULT_AUTHENTICATION_CLASSES": ["app01.utils.MyAuth", ],
    "DEFAULT_PERMISSION_CLASSES": ["app01.utils.MyPermission", ]
    "DEFAULT_THROTTLE_CLASSES": ["app01.utils.MyThrottle", ]
}
使用内置限制类
from rest_framework.throttling import SimpleRateThrottle


class VisitThrottle(SimpleRateThrottle):

    scope = "xxx"

    def get_cache_key(self, request, view):
        return self.get_ident(request)
全局配置
# 在settings.py中设置rest framework相关配置项
REST_FRAMEWORK = {
    "DEFAULT_AUTHENTICATION_CLASSES": ["app01.utils.MyAuth", ],
    # "DEFAULT_PERMISSION_CLASSES": ["app01.utils.MyPermission", ]
    "DEFAULT_THROTTLE_CLASSES": ["app01.utils.VisitThrottle", ],
    "DEFAULT_THROTTLE_RATES": {
        "xxx": "5/m",
    }
}