作业一:nginx服务
二进制安装nginx包
作为web服务修改配置文件
让配置生效,验证配置
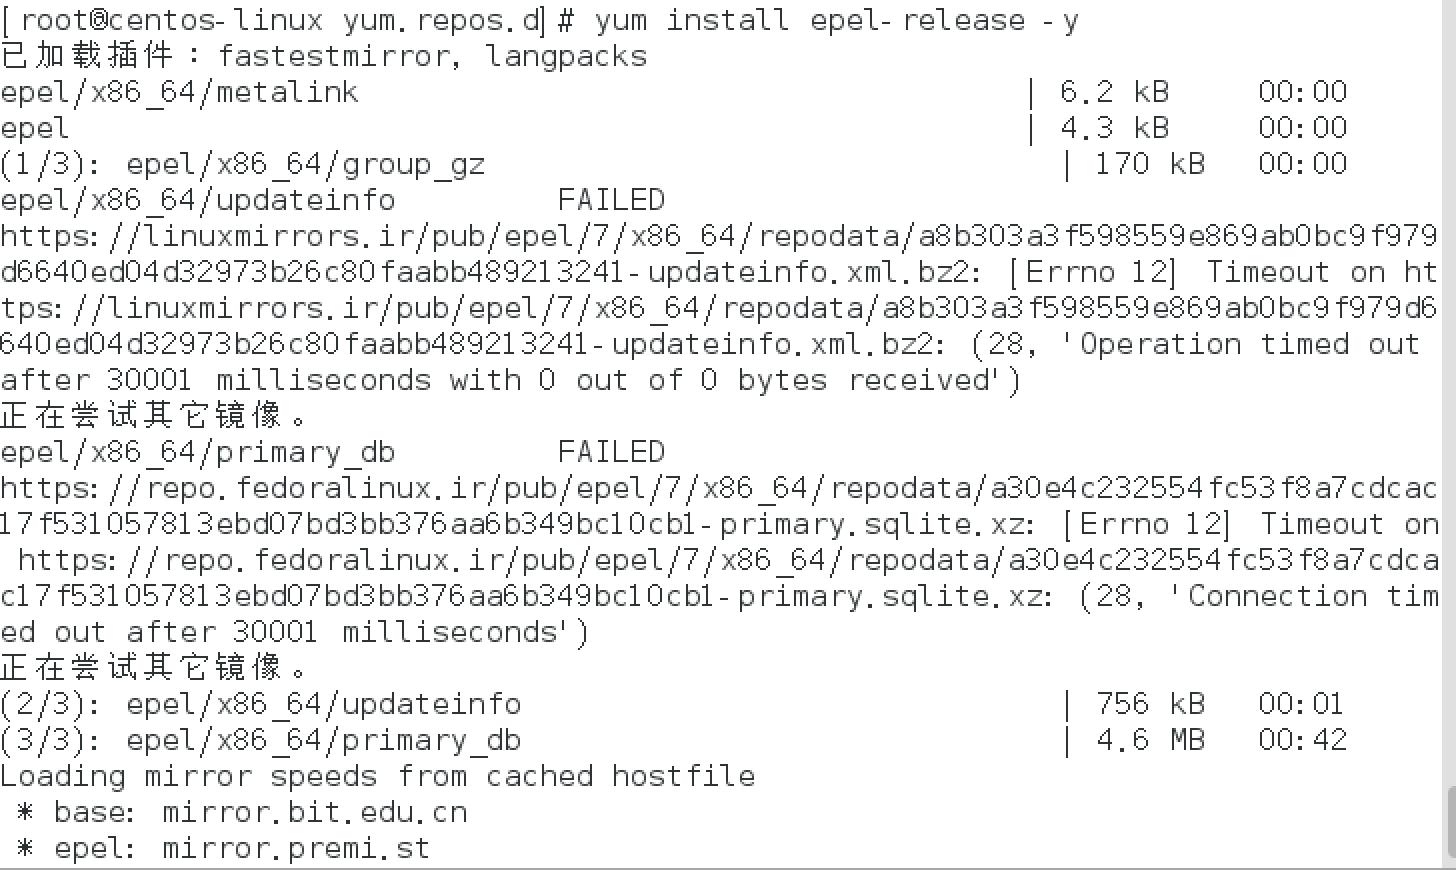
7.1.1安装需要的epel支持

7.1.2安装nginx

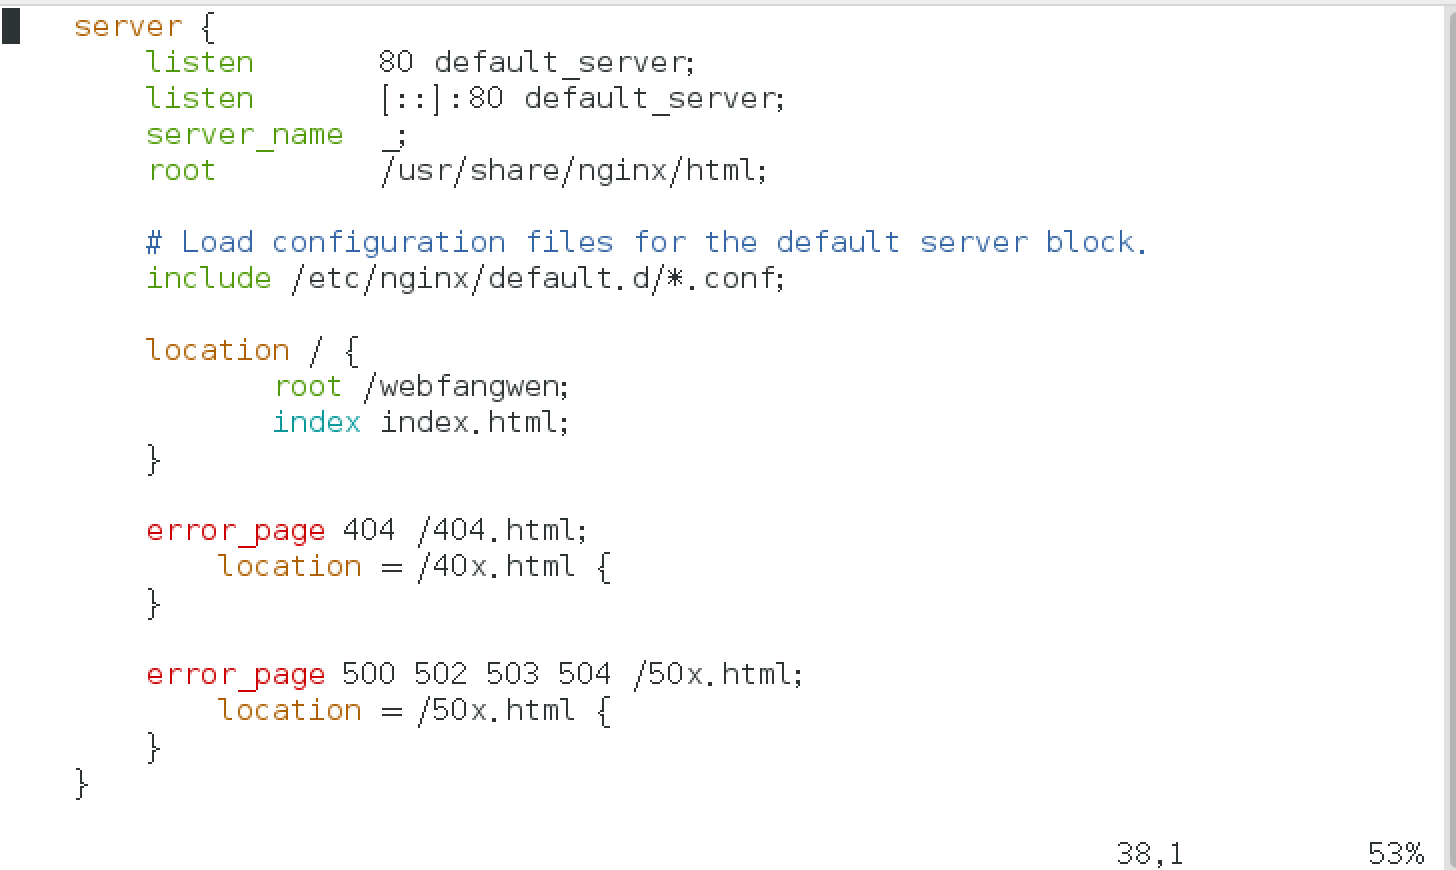
7.1.3更改配置文件

7.1.4创建index.html

7.1.5写入index.HTML内容

7.1.6启动nginx服务

7.1.7关闭防火墙

7.1.8关闭setenforce 0

7.1.9查看本机ip

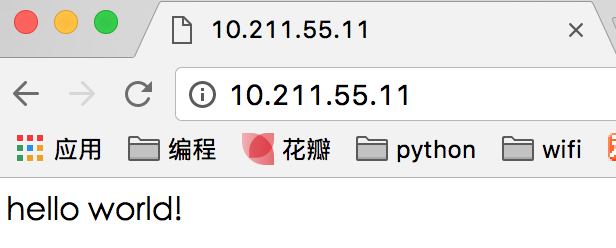
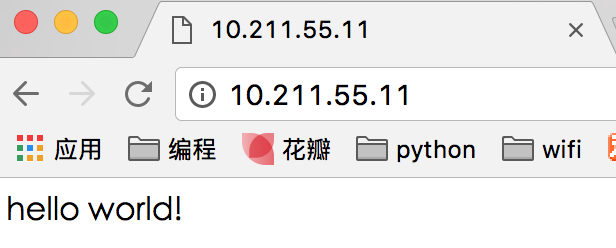
7.1.10访问网站成功

作业二:nfs服务
1)二进制安装nfs
[root@CentOS -linux /]# yum install rpcbind nfs-utils -y
作为共享存储挂载在三台web的网站根目录下
服务端:
[root@CentOS -linux /]# mkfs.ext4 /dev/sdb1
[root@CentOS -linux /]# mount /dev/sdb1 /share
[root@CentOS -linux /]# vim /etc/exports
/share 10.211.55.0/24(rw,sync,fsid=0)
[root@CentOS -linux /]# systemctl enable nfs-server.service
[root@CentOS -linux /]# systemctl enable rpcbind.service
[root@CentOS -linux /]# systemctl start nfs-server.service
[root@CentOS -linux /]# systemctl start rpcbind.service
[root@CentOS -linux /]# exportfs
/share 10.211.55.11/24
[root@CentOS -linux /]# chmod -R o+w /share
实现,在任意一台web上修改的结果,其余两台都可以看到
客户端1、2、3:
[root@CentOS -linux /]# showmount -e 10.211.55.11
![]()
[root@CentOS -linux /]# vim /etc/nginx/nginx.conf

[root@CentOS -linux /]# systemctl restart nginx
[root@CentOS -linux /]# mount -t nfs 10.211.55.3:/share /var/www/html
作业三:nginx反向代理三台web
实现基于轮询的方式调度三台web,并验证结果
客户端1、2、3:
root@xiaoming ~]# vim /etc/nginx/nginx.conf

[root@xiaoming ~]# systemctl restart nginx
[root@xiaoming ~]# echo 'web1' > /var/www/html/index.html
[root@xiaoming ~]# systemctl stop firewalld
[root@xiaoming ~]# setenforce 0
服务端:
[root@xiaoming ~]# vim /etc/nginx/nginx.conf
[root@xiaoming ~]# systemctl restart nginx
实现基于权重的方式调度三台web,并验证结果
[root@xiaoming ~]# vim /etc/nginx/nginx.conf
[root@xiaoming ~]# systemctl restart nginx
实现基于hash的方式调用三台web,并验证结果
[root@xiaoming ~]# vim /etc/nginx/nginx.conf
[root@xiaoming ~]# systemctl restart nginx
作业四:nginx反向代理+三台web+nfs共享存储实现集群配置
[root@xiaoming ~]# touch /var/webfangwen/html/index.html
[root@xiaoming ~]# echo 'hello world' >/var/webfangwen/html/index.html
[root@xiaoming ~]# tail -f -n 5 /var/log/nginx/access.log

作业五:源码安装nginx,并按照作业一描述的那样去测试使用
[root@CentOS -linux /]# yum erase nginx
[root@CentOS pcreinstall]# tar jxvf pcre-8.00.tar.bz2
[root@CentOS pcreinstall]# cd pcre-8.00/
[root@CentOS pcre-8.00]# ./configure
[root@CentOS pcre-8.00]# make && make install
[root@CentOS pcre-8.00]# cd /tmp/nginxinstall/nginx-1.10.3/
[root@CentOS nginx-1.10.3]# ./configure
[root@CentOS nginx-1.10.3]# make && make install