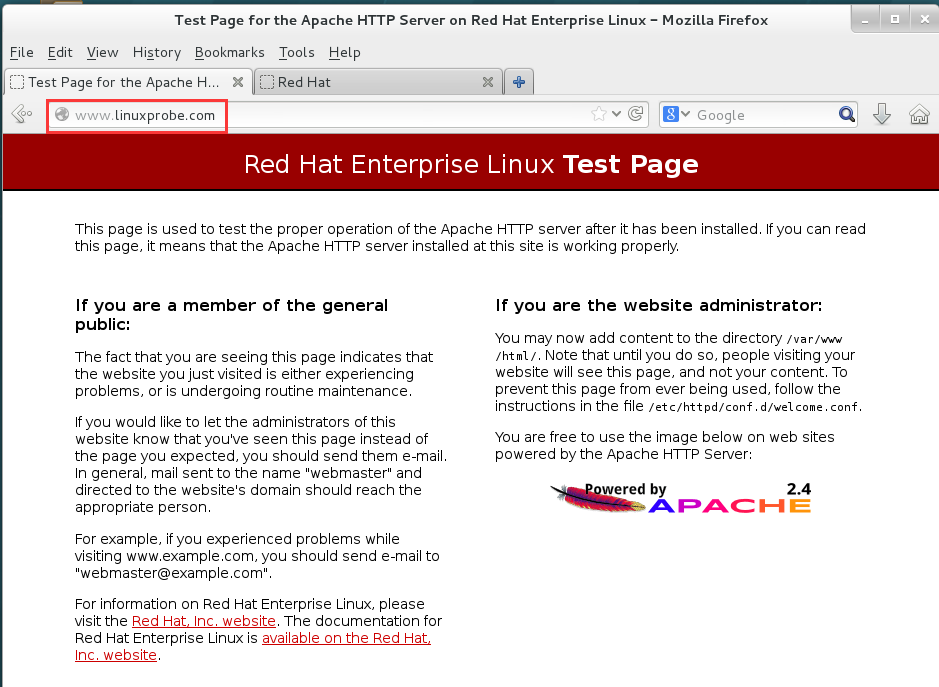
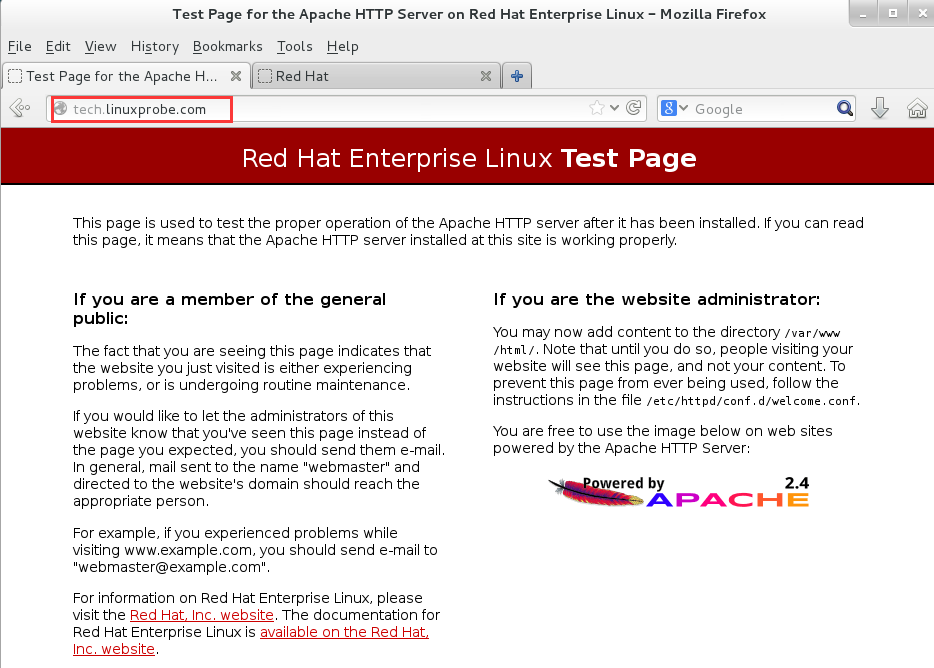
1、配置IP地址和域名之间的对应关系
[root@PC1linuxprobe conf]# ifconfig | head -n 3  ## 查看本机IP
eno16777728: flags=4163<UP,BROADCAST,RUNNING,MULTICAST>  mtu 1500
        inet 192.168.10.10  netmask 255.255.255.0  broadcast 192.168.10.255
        inet6 fe80::20c:29ff:fe20:bf5e  prefixlen 64  scopeid 0x20<link>
[root@PC1linuxprobe conf]# vim /etc/hosts  ## 修改配置文件,设置IP与主机域名的对应关系
127.0.0.1   localhost localhost.localdomain localhost4 localhost4.localdomain4
::1         localhost localhost.localdomain localhost6 localhost6.localdomain6
192.168.10.10 www.linuxprobe.com bbs.linuxprobe.com tech.linuxprobe.com
2、测试连通性
[root@PC1linuxprobe conf]# ping -c 2 www.linuxprobe.com
PING www.linuxprobe.com (192.168.10.10) 56(84) bytes of data.
64 bytes from www.linuxprobe.com (192.168.10.10): icmp_seq=1 ttl=64 time=0.051 ms
64 bytes from www.linuxprobe.com (192.168.10.10): icmp_seq=2 ttl=64 time=0.040 ms

--- www.linuxprobe.com ping statistics ---
2 packets transmitted, 2 received, 0% packet loss, time 999ms
rtt min/avg/max/mdev = 0.040/0.045/0.051/0.008 ms
[root@PC1linuxprobe conf]# ping -c 2 bbs.linuxprobe.com
PING www.linuxprobe.com (192.168.10.10) 56(84) bytes of data.
64 bytes from www.linuxprobe.com (192.168.10.10): icmp_seq=1 ttl=64 time=0.032 ms
64 bytes from www.linuxprobe.com (192.168.10.10): icmp_seq=2 ttl=64 time=0.038 ms

--- www.linuxprobe.com ping statistics ---
2 packets transmitted, 2 received, 0% packet loss, time 999ms
rtt min/avg/max/mdev = 0.032/0.035/0.038/0.003 ms
[root@PC1linuxprobe conf]# ping -c 2 tech.linuxprobe.com
PING www.linuxprobe.com (192.168.10.10) 56(84) bytes of data.
64 bytes from www.linuxprobe.com (192.168.10.10): icmp_seq=1 ttl=64 time=0.030 ms
64 bytes from www.linuxprobe.com (192.168.10.10): icmp_seq=2 ttl=64 time=0.040 ms

--- www.linuxprobe.com ping statistics ---
2 packets transmitted, 2 received, 0% packet loss, time 999ms
rtt min/avg/max/mdev = 0.030/0.035/0.040/0.005 ms
3、创建保存网站数据的目录,并写入首页文件
[root@PC1linuxprobe conf]# vim /etc/httpd/conf/httpd.conf
[root@PC1linuxprobe conf]# mkdir -p /home/wwwroot/www
[root@PC1linuxprobe conf]# mkdir -p /home/wwwroot/bbs
[root@PC1linuxprobe conf]# mkdir -p /home/wwwroot/tech
[root@PC1linuxprobe conf]# echo www > /home/wwwroot/www/index.html
[root@PC1linuxprobe conf]# echo bbs > /home/wwwroot/bbs/index.html
[root@PC1linuxprobe conf]# echo tech > /home/wwwroot/tech/index.html
4、修改httpd服务主配置文件,写入虚拟主机网站参数
[root@PC1linuxprobe conf]# vim /etc/httpd/conf/httpd.conf
111 # below.
112 #
113 <VirtualHost 192.168.10.10>
114 DocumentRoot /home/wwwroot/www
115 ServerName www.linuxprobe.com
116 <Directory /home/wwwroot/www>
117 AllowOverride None
118 Require all granted
119 </Directory>
120 </VirtualHost>
121 #####################
122 <VirtualHost 192.168.10.10>
123 DocumentRoot /home/wwwroot/bbs
124 ServerName bbs.linuxprobe.com
125 <Directory /home/wwwroot/bbs>
126 AllowOverride None
127 Require all granted
128 </Directory>
129 </VirtualHost>
130 #####################
131 <VirtualHost 192.168.10.10>
132 DocumentRoot /home/wwwroot/tech
133 ServerName tech.linuxprobe.com
134 <Directory /home/wwwroot/tech>
135 AllowOverride None
136 Require all granted
137 </Directory>
138 </VirtualHost>
139 #
140 # DocumentRoot: The directory out of which you will serve your
5、重启httpd服务
[root@PC1linuxprobe conf]# systemctl restart httpd
6、测试


7、查看并修改网站数据目录及首页数据目录的SElinux上下文值
[root@PC1linuxprobe conf]# ls -ldZ /var/www/html/
drwxr-xr-x. root root system_u:object_r:httpd_sys_content_t:s0 /var/www/html/
[root@PC1linuxprobe conf]# ls -ldZ /home/wwwroot/www/
drwxr-xr-x. root root unconfined_u:object_r:home_root_t:s0 /home/wwwroot/www/
[root@PC1linuxprobe conf]# semanage fcontext -a -t httpd_sys_content_t /home/wwwroot
[root@PC1linuxprobe conf]# semanage fcontext -a -t httpd_sys_content_t /home/wwwroot/www
[root@PC1linuxprobe conf]# semanage fcontext -a -t httpd_sys_content_t /home/wwwroot/www/*
[root@PC1linuxprobe conf]# semanage fcontext -a -t httpd_sys_content_t /home/wwwroot/bbs
[root@PC1linuxprobe conf]# semanage fcontext -a -t httpd_sys_content_t /home/wwwroot/bbs/*
[root@PC1linuxprobe conf]# semanage fcontext -a -t httpd_sys_content_t /home/wwwroot/tech
[root@PC1linuxprobe conf]# semanage fcontext -a -t httpd_sys_content_t /home/wwwroot/tech/*
[root@PC1linuxprobe conf]# restorecon -Rv /home/wwwroot/
restorecon reset /home/wwwroot context unconfined_u:object_r:home_root_t:s0->unconfined_u:object_r:httpd_sys_content_t:s0
restorecon reset /home/wwwroot/www context unconfined_u:object_r:home_root_t:s0->unconfined_u:object_r:httpd_sys_content_t:s0
restorecon reset /home/wwwroot/www/index.html context unconfined_u:object_r:home_root_t:s0->unconfined_u:object_r:httpd_sys_content_t:s0
restorecon reset /home/wwwroot/bbs context unconfined_u:object_r:home_root_t:s0->unconfined_u:object_r:httpd_sys_content_t:s0
restorecon reset /home/wwwroot/bbs/index.html context unconfined_u:object_r:home_root_t:s0->unconfined_u:object_r:httpd_sys_content_t:s0
restorecon reset /home/wwwroot/tech context unconfined_u:object_r:home_root_t:s0->unconfined_u:object_r:httpd_sys_content_t:s0
restorecon reset /home/wwwroot/tech/index.html context unconfined_u:object_r:home_root_t:s0->unconfined_u:object_r:httpd_sys_content_t:s0
[root@PC1linuxprobe conf]# ls -ldZ /home/wwwroot/www/
drwxr-xr-x. root root unconfined_u:object_r:httpd_sys_content_t:s0 /home/wwwroot/www/
8、再次测试


