拆分组件为单个js见:https://www.jianshu.com/p/2f0335818ceb
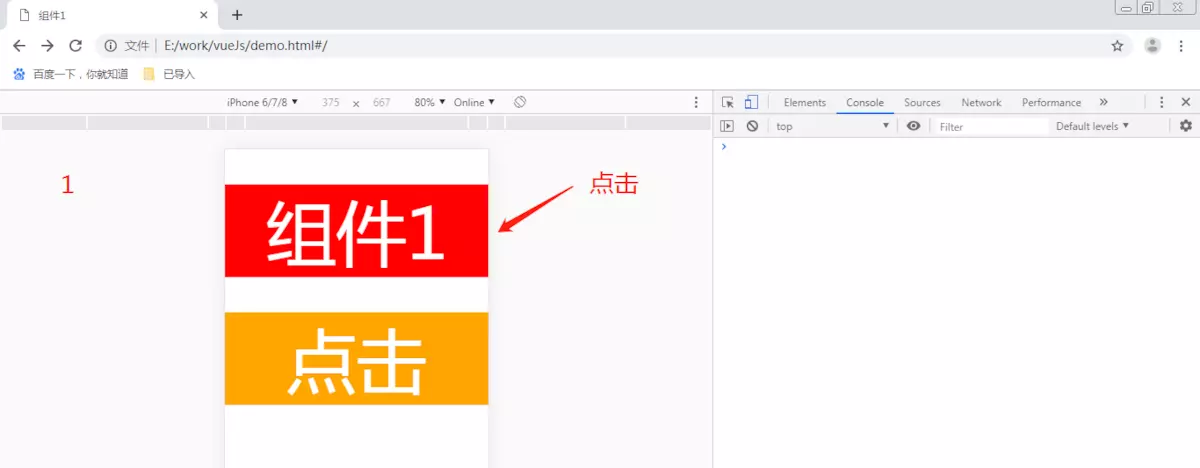
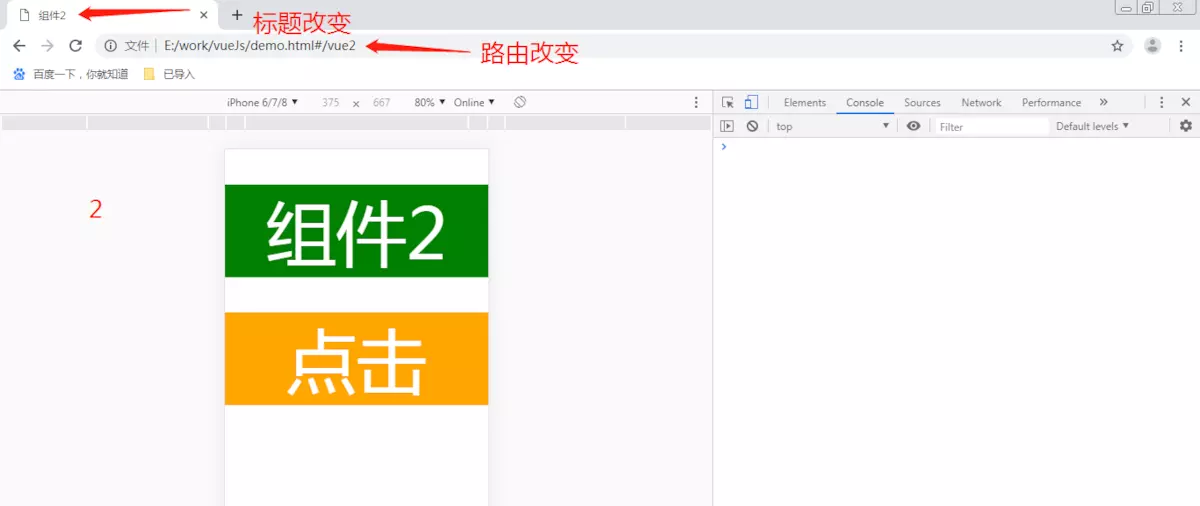
效果


html
<!DOCTYPE html>
<html>
    <head>
        <meta charset="UTF-8">
        <meta name="viewport" content="width=device-width, initial-scale=1.0, maximum-scale=1.0, user-scalable=0">
        <title>js引入vue.js实现vue</title>
        <link rel="stylesheet" href="css/1.css">
        <script src="js/jquery.js"></script>
        <script>
            function htmlFont(standardWid) {
                var explorer = navigator.userAgent,
                    html = document
                    .getElementsByTagName('html')[0];
                standardWid = (typeof standardWid == 'number') ? standardWid : 375;
                if (explorer.indexOf("Opera") >= 0) {
                    winwid = screen.width;
                } else {
                    winwid = html.offsetWidth;
                }
                if (winwid > 750) {
                    fosi = 200;
                } else {
                    winwid = winwid > standardWid * 2 ? standardWid * 2 : winwid;
                    fosi = winwid / standardWid * 100;
                }
                html.style.fontSize = fosi + 'px';
            }
            htmlFont();
        </script>
        <script src="https://cdn.staticfile.org/vue/2.4.2/vue.min.js"></script>
        <script src="https://cdn.staticfile.org/vue-router/2.7.0/vue-router.min.js"></script>
        <script src="js/1.js"></script>
    </head>
    <body>
        <div id="app" v-cloak>
            <transition :name="transitionName">
                <keep-alive>
                    <router-view class="child-view" v-if="$route.meta.keepAlive"></router-view>
                </keep-alive>
            </transition>

            <transition :name="transitionName">
                <router-view class="child-view" v-if="!$route.meta.keepAlive"></router-view>
            </transition>
        </div>
    </body>
</html>
js
'use strict';
$(document).ready(function() {
    // 0. 如果使用模块化机制编程,導入Vue和VueRouter,要调用 Vue.use(VueRouter)
    Vue.use(VueRouter);

    // 1. 定义(路由)组件。
    // 可以从其他文件 import 进来

    Vue.prototype.$fun1 = function() { //全局函数1
        console.log('fun1');
    };

    var Vue1 = Vue.extend({
        data() {
            return {}
        },
        computed: {},
        methods: {
            toVue2: function() {
                this.$router.push({
                    name: 'Vue2'
                })
            }
        },
        template: "<div class='d-vue1'><p class='redBc' @click='toVue2'>组件1</p>" +
            "<p class='orangeBc' @click='$fun1'>点击</p></div>"
    })

    Vue.component(Vue1)

    const Vue2 = Vue.extend({
        template: "<div class='d-vue2'><p class='greenBc'>组件2</p>" +
            "<p class='orangeBc' @click='$fun1'>点击</p></div>"
    })

    Vue.component(Vue2)

    // 2. 定义路由
    // 每个路由应该映射一个组件。 其中"component" 可以是
    // 通过 Vue.extend() 创建的组件构造器,
    // 或者,只是一个组件配置对象。
    const routes = [{
            path: '/',
            component: Vue1
        },
        {
            path: '/vue2',
            component: Vue2
        }
    ]

    // 3. 创建 router 实例,然后传 `routes` 配置
    const router = new VueRouter({
        routes: [{
                path: '/',
                name: 'Vue1',
                meta: {
                    index: 0,
                    keepAlive: true,
                    title: '组件1'
                },
                component: Vue1
            },
            {
                path: '/vue2',
                name: 'Vue2',
                meta: {
                    index: 1,
                    keepAlive: false,
                    title: '组件2'
                },
                component: Vue2
            }
        ]
    })

    router.beforeEach((to, from, next) => {


        const toDepth = to.meta.index;
        const fromDepth = from.meta.index;

        if (to.meta.title) {
            document.title = to.meta.title;
        }

        if (toDepth < fromDepth) { //返回
            from.meta.keepAlive = false;
            to.meta.keepAlive = true; //相当于缓存
        }
        next()
    })

    // 4. 创建和挂载根实例。
    // 记得要通过 router 配置参数注入路由,
    // 从而让整个应用都有路由功能
    const app = new Vue({
        el: '#app',
        data: {
            transitionName: ''
        },
        watch: {
            $route(to, from) {
                if (to.meta.index > from.meta.index) {
                    this.transitionName = 'slide-left';
                } else {
                    this.transitionName = 'slide-right';
                }
            }
        },
        router
    }).$mount('#app')
})
css
.child-view {
    position: absolute;
     100%;
    transition: all .5s cubic-bezier(.55, 0, .1, 1);
}

.slide-left-enter,
.slide-right-leave-active {
    opacity: 0;
    -webkit-transform: translate(50px, 0);
    transform: translate(50px, 0);
}

.slide-left-leave-active,
.slide-right-enter {
    opacity: 0;
    -webkit-transform: translate(-50px, 0);
    transform: translate(-50px, 0);
}

body,
div,
p {
    margin: 0;
    padding: 0;
    color: #fff;
    text-align: center;
    font-weight: 500 !important;
}

[v-cloak] {
    display: none
}

p {
    margin-top: .5rem;
}

.redBc {
    background-color: red;
}

.orangeBc {
    background-color: orange;
}

.greenBc {
    background-color: green;
}
若需请求接口,html增加引入:
<script src="https://cdn.staticfile.org/axios/0.18.0/axios.min.js"></script>
使用:
function getData(){
       var param1 = {
           param: {
                  id:'1',
                     sex:'male'
                }
       }
        axios.get( "url", {params: param1}).then(function (res) { //url为请求接口, 当请求需要参数为JSON数据时
        // axios.get( "url?param2="+"XXX").then(function (res) {  //当请求参数无需用JSON时,param2为请求需要参数
                if (res.status == 200 && res.data.result == 0) {
                 var _data = res.data.message;
            }else{}
        })
        .catch(function (error) {
             console.log(error);
         });
}