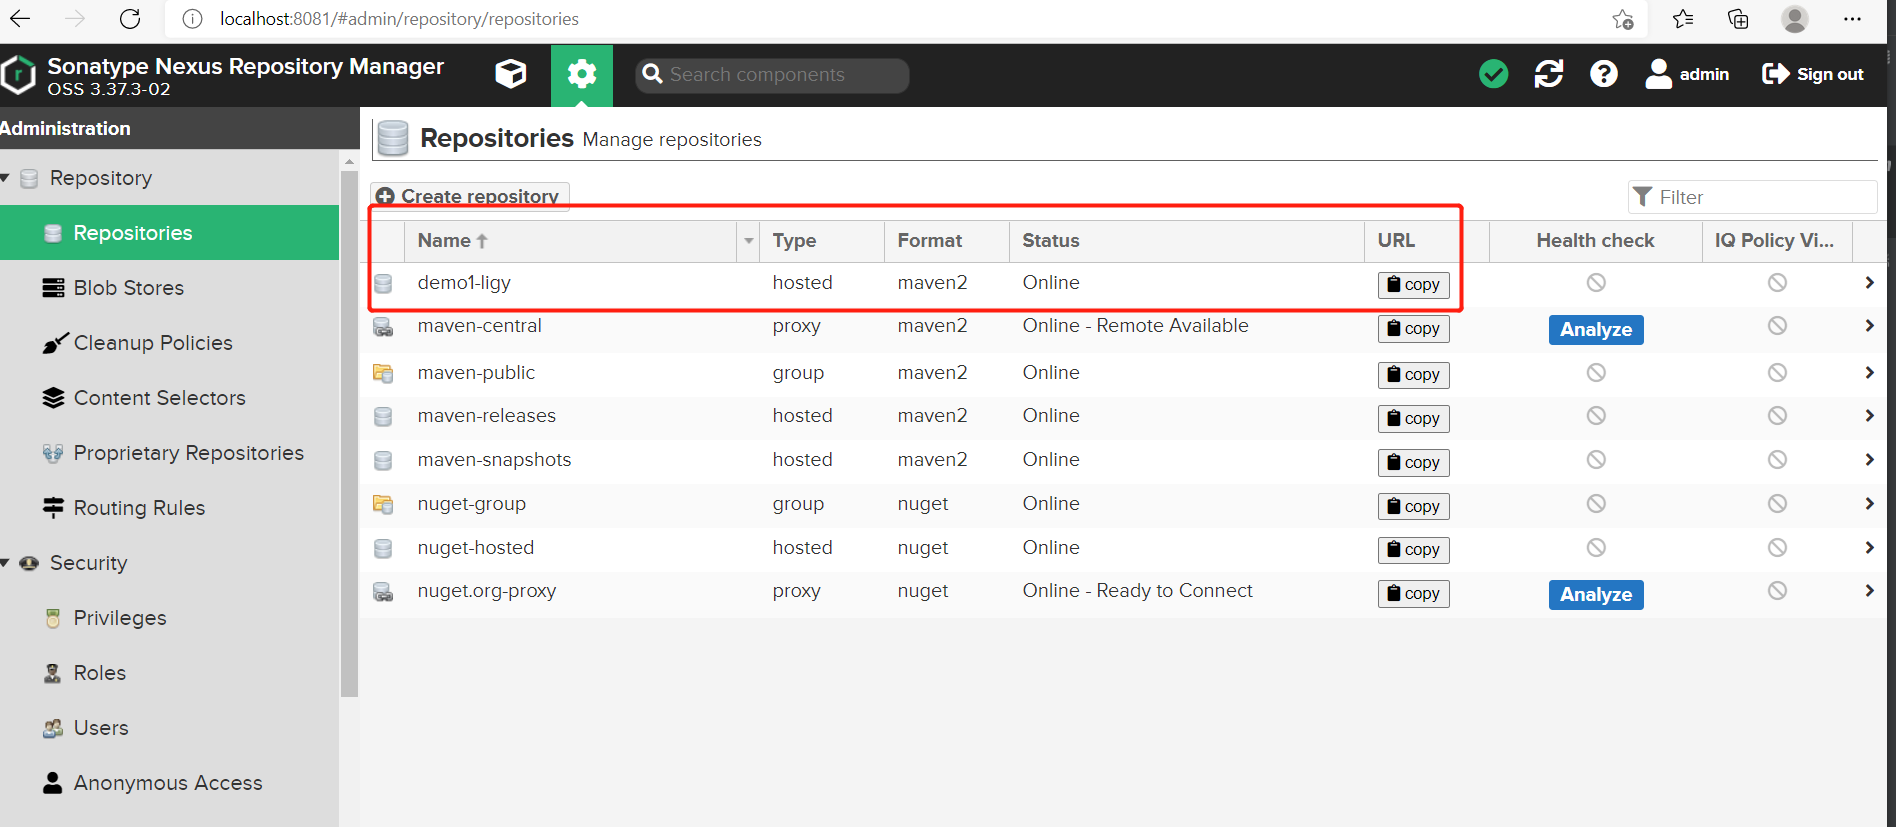
nexus版本:nexus-3.37.3-02-win64,在2.x的nexus上面,不适用,不过原理一样,就配置不一样而已
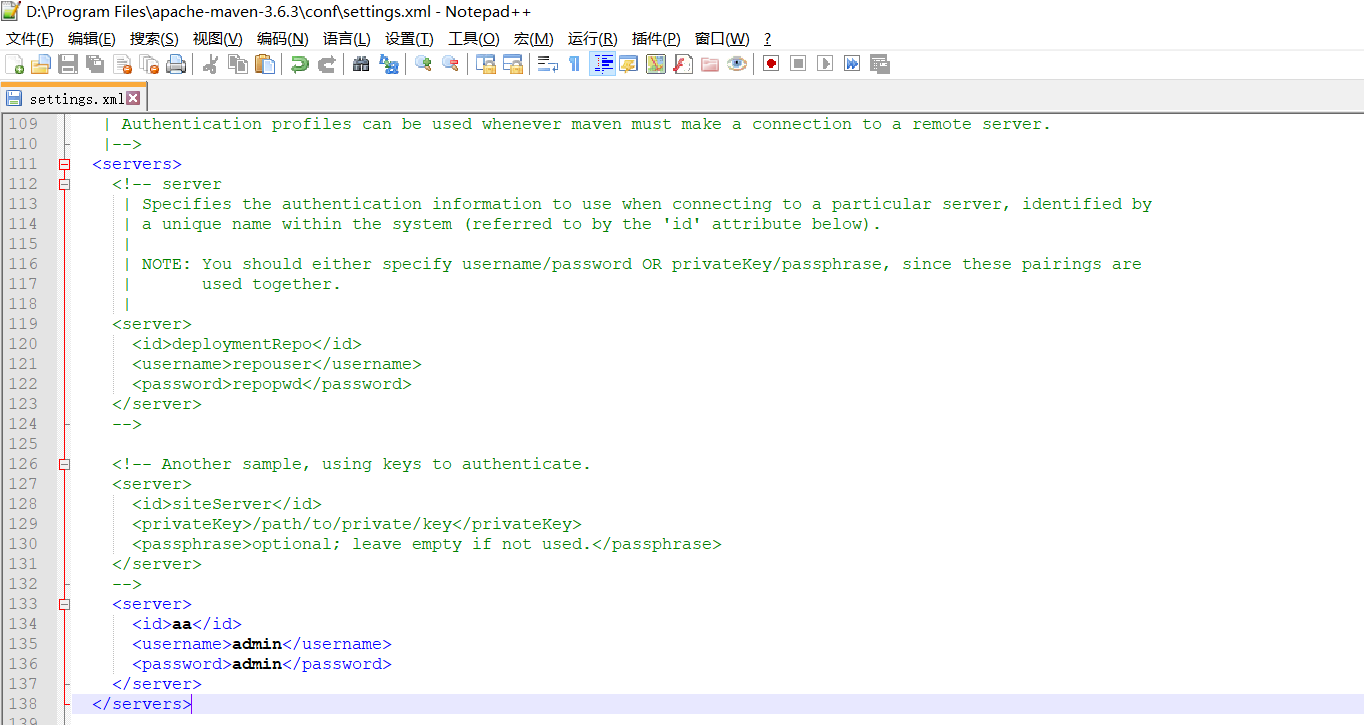
1.配置setting.xml
2.上传jar包 (cmd命令)
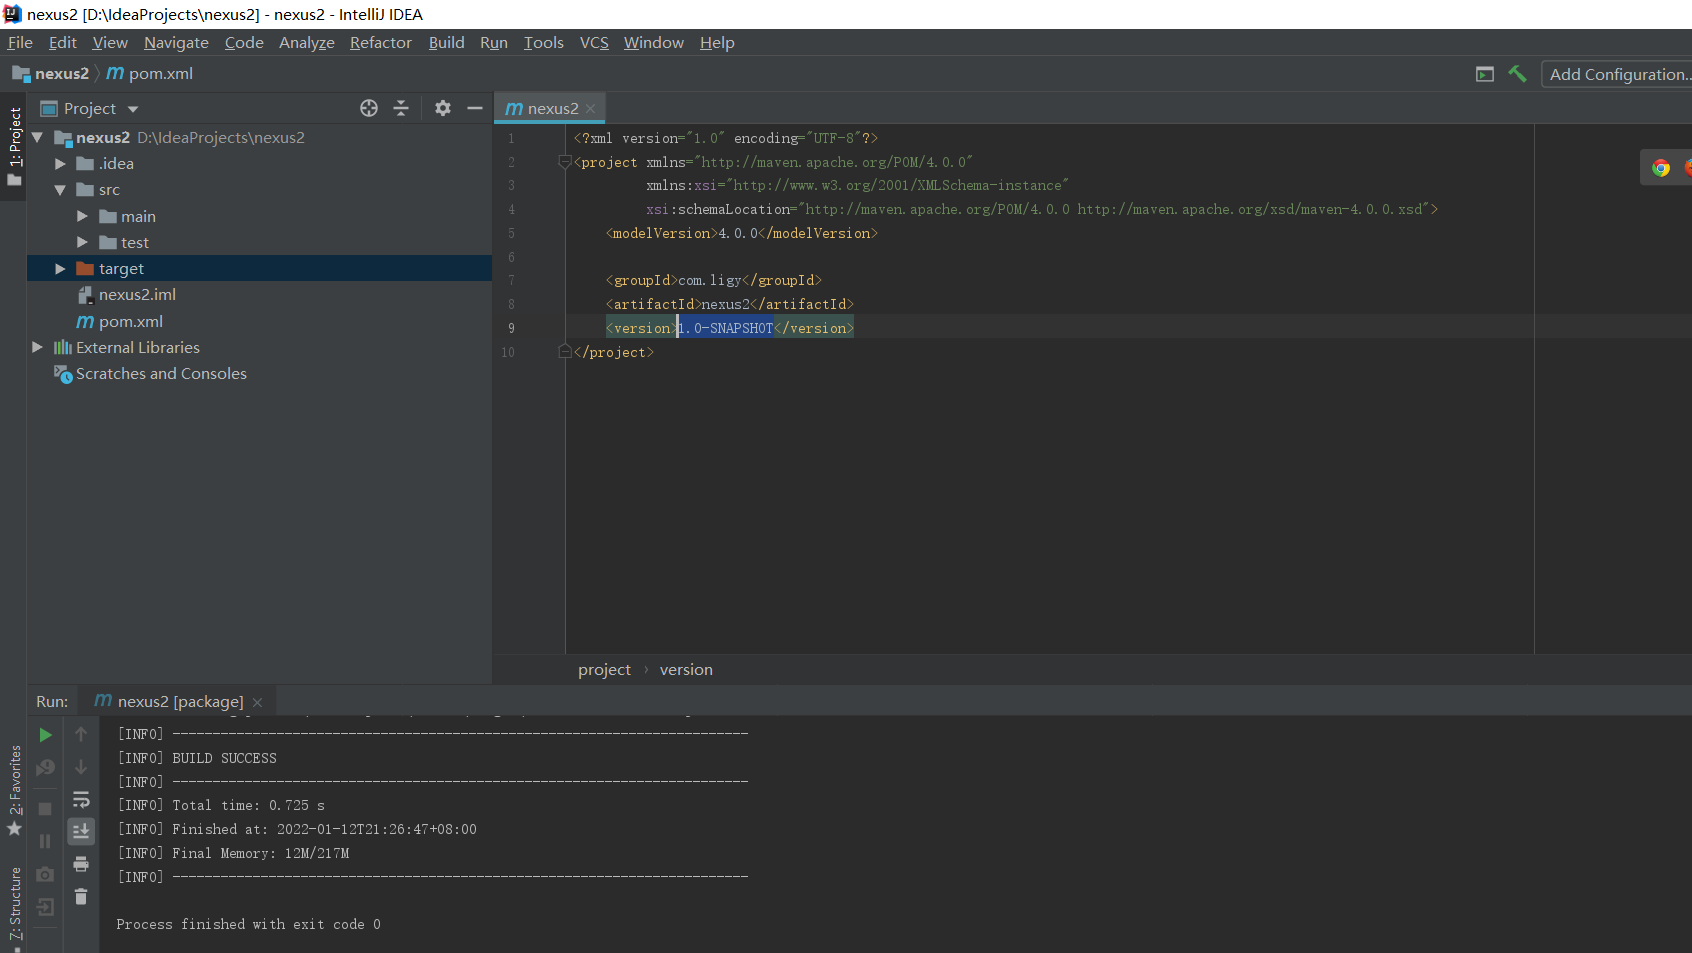
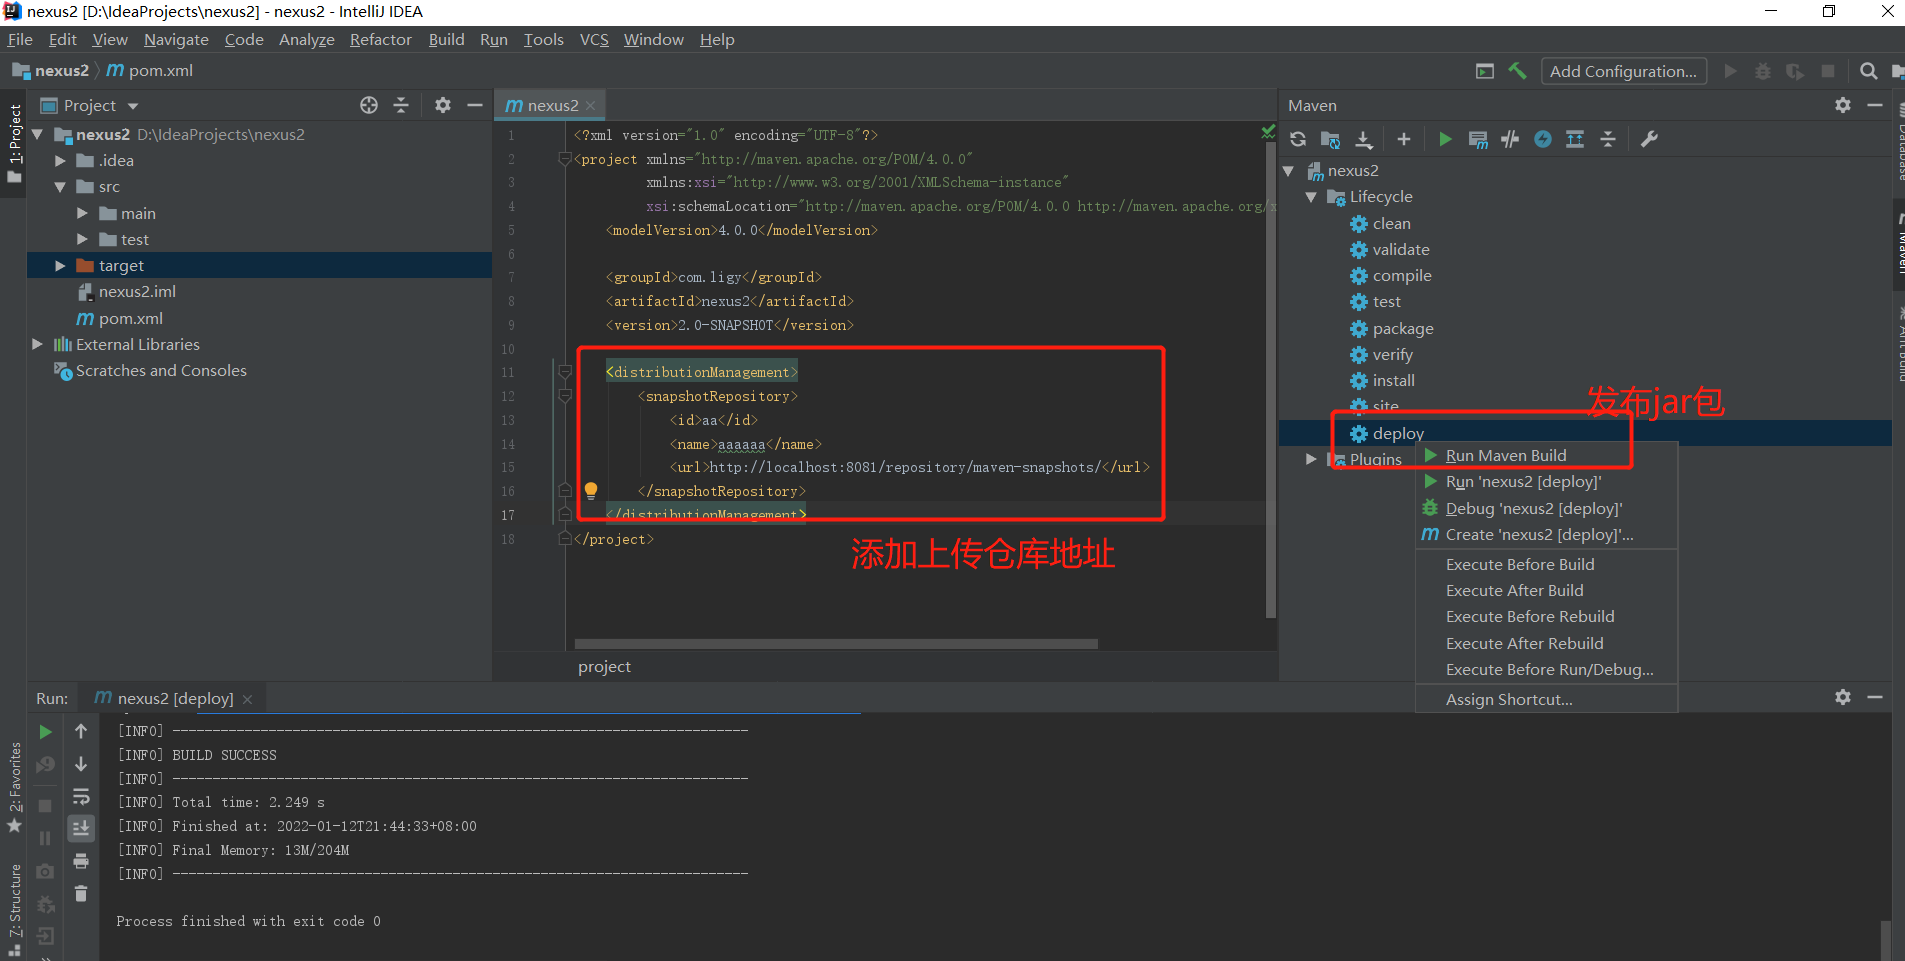
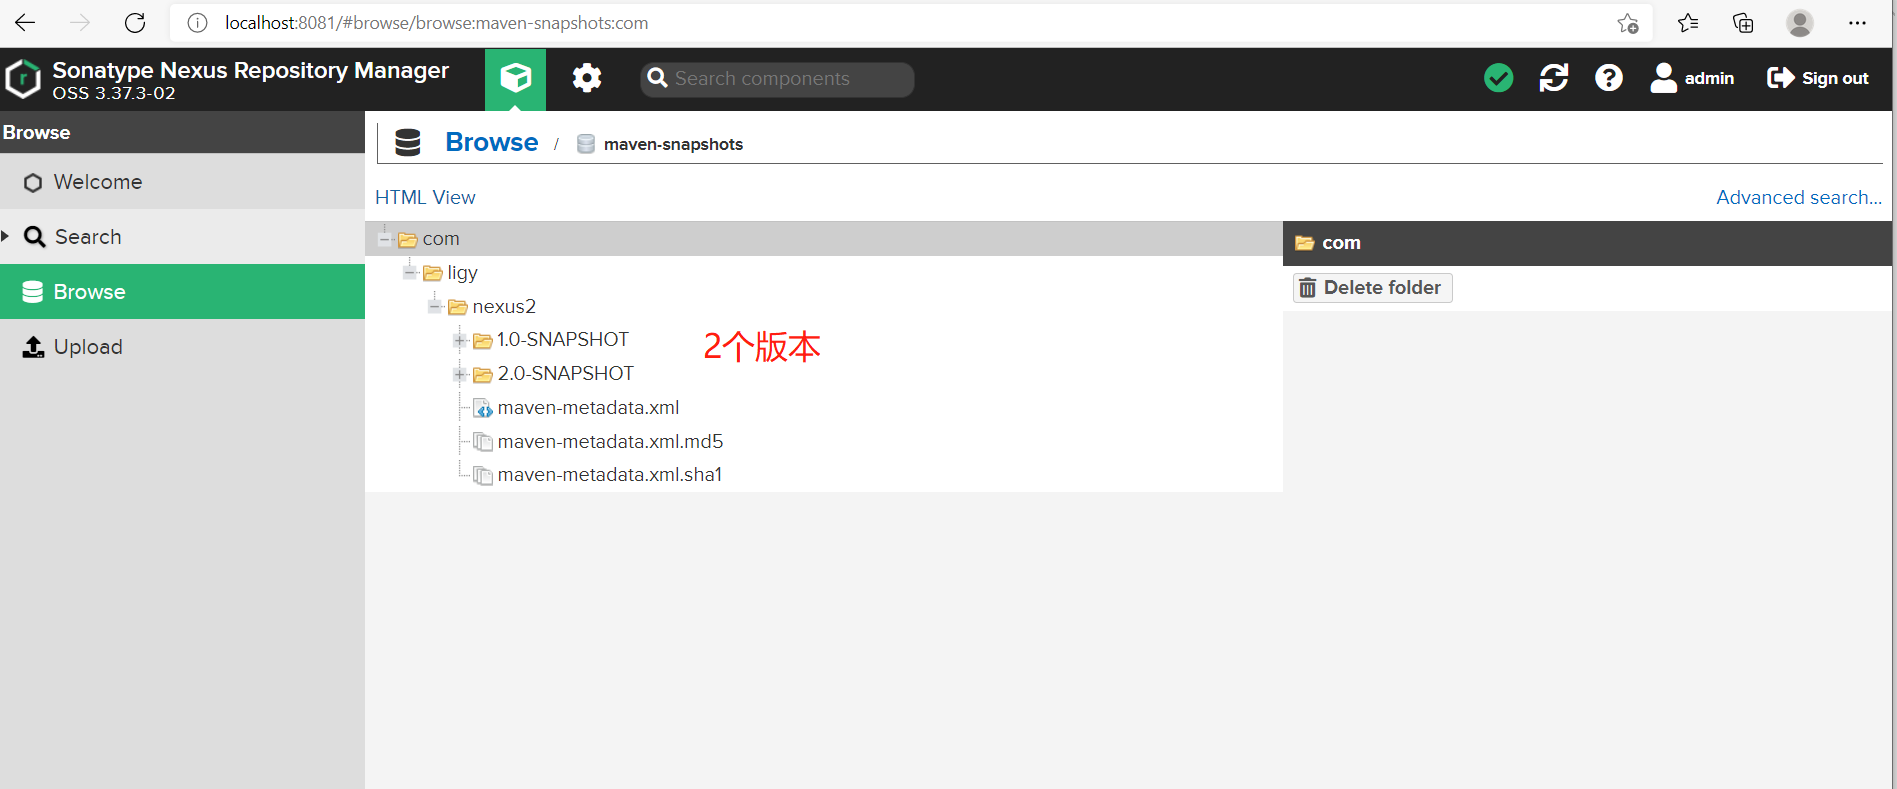
3.上传jar包(pom文件,在idea使用mvn插件上传)
4.上传到自己创建的仓库
1.配置setting.xml
ps:名字取名:aa,后面上传命令用到
<server>
<id>aa</id>
<username>admin</username>
<password>admin</password>
</server>
2.上传jar包 (cmd命令)
名字:aa,之前的命名
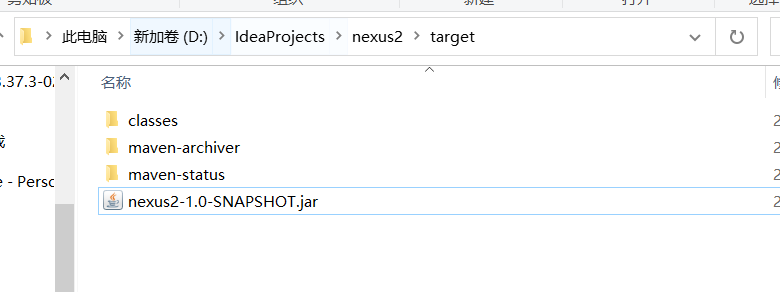
mvn deploy:deploy-file "-DgroupId=com.ligy" "-DartifactId=nexus2" "-Dversion=1.0-SNAPSHOT" "-Dpackaging=jar" "-Dfile=D:\IdeaProjects\nexus2\target\nexus2-1.0-SNAPSHOT.jar" "-Durl=http://localhost:8081/repository/maven-snapshots/" "-DrepositoryId=aa"
3.上传jar包(pom文件,在idea使用mvn插件上传)
这里把版本号,改为:2.0-SNAPSHOT
<?xml version="1.0" encoding="UTF-8"?>
<project xmlns="http://maven.apache.org/POM/4.0.0"
         xmlns:xsi="http://www.w3.org/2001/XMLSchema-instance"
         xsi:schemaLocation="http://maven.apache.org/POM/4.0.0 http://maven.apache.org/xsd/maven-4.0.0.xsd">
    <modelVersion>4.0.0</modelVersion>

    <groupId>com.ligy</groupId>
    <artifactId>nexus2</artifactId>
    <version>2.0-SNAPSHOT</version>

    <distributionManagement>
        <snapshotRepository>
            <id>aa</id>
            <name>aaaaaa</name>
            <url>http://localhost:8081/repository/maven-snapshots/</url>
        </snapshotRepository>
    </distributionManagement>
</project>
4.上传到自己创建的仓库
先创建自己的仓库:demo1-ligy
