congregate迁移极狐gitlab数据测试
项目地址:https://gitlab.com/gitlab-org/professional-services-automation/tools/migration/congregate/
congregate 是一款 gitlab 官方推出的数据迁移工具,可以方便的把其他 SCM 系统的项目迁移到 gitlab 实例
本次测试主要是源极狐gitlab实例迁移到目标极狐gitlab实例,测试版本 gitlab-jh v14.10.0。
1. 迁移限制
1.1 源实例用户必选设置 public_email
设置方法:登陆后右上角 - edit profile - Public email
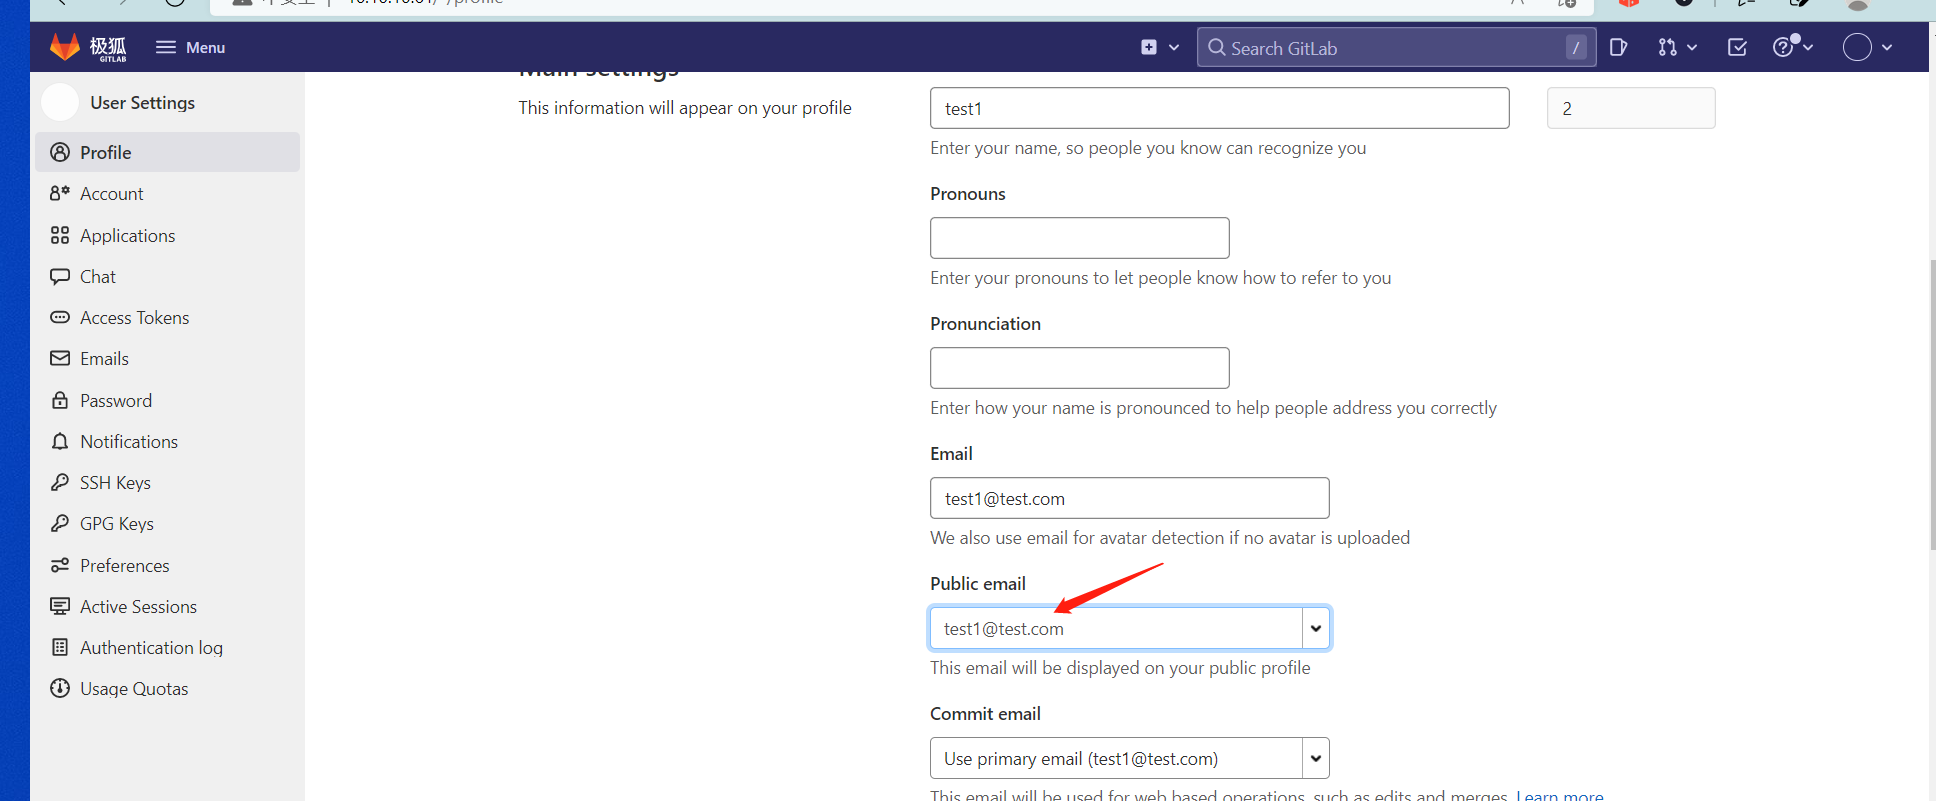
或者参考API:
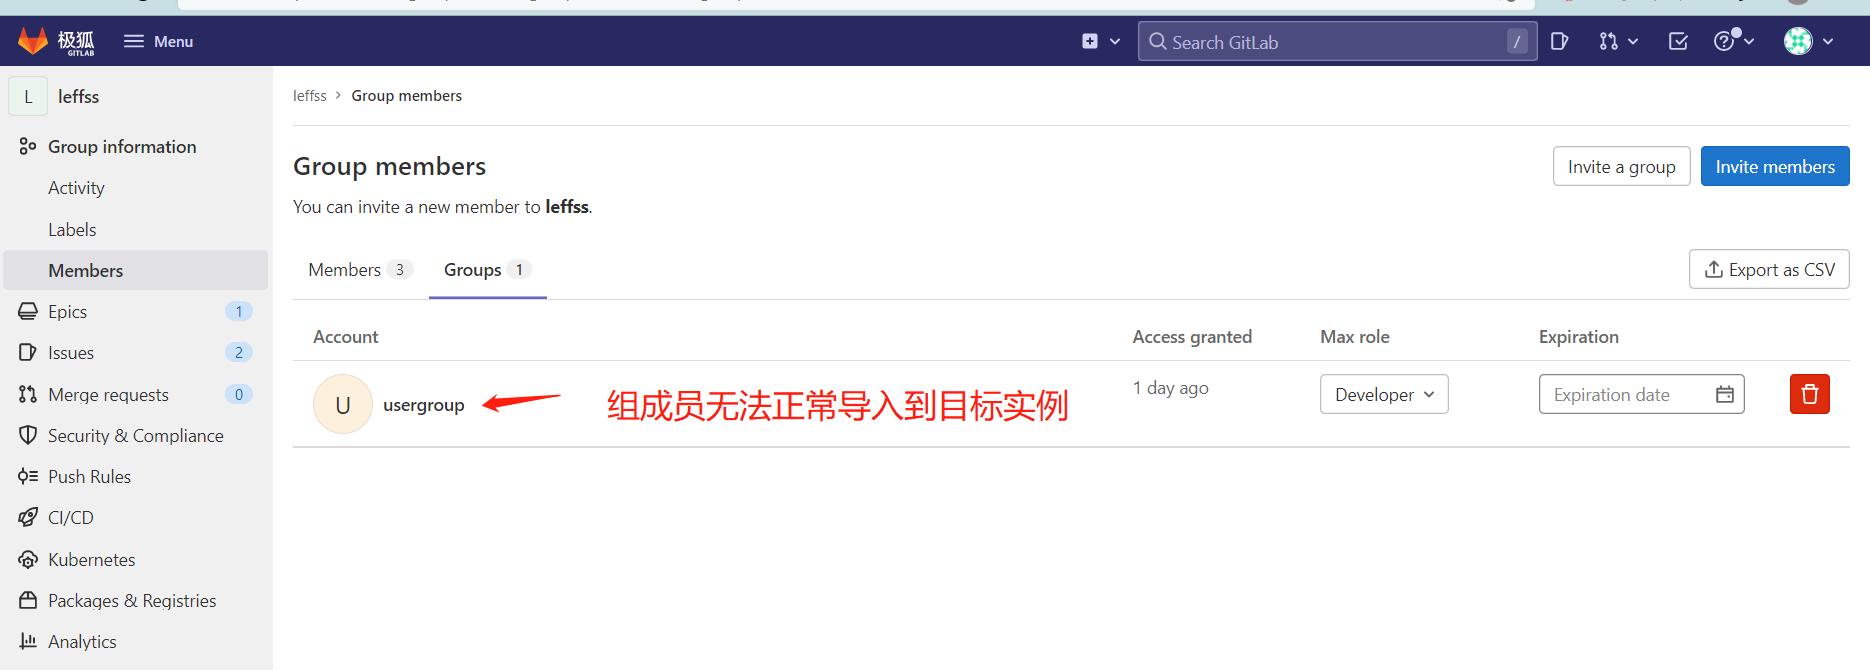
1.2 源实例组不能包含组成员
由于目前 gitlab 工具限制无法导入组的组成员
2. 实例信息
2.1 源实例
版本:v14.10.0
访问地址:http://10.10.10.60
管理员 TOKEN:VqmocWWsZtqmKssub6Ha
2.2 目标实例
版本:v14.10.0
访问地址:http://10.10.10.61:
管理员 TOKEN:yz73YiP5xwLD4ku8x-1F
3. 准备数据
3.1 安装 congregate
docker 安装
# 拉取镜像
docker pull registry.gitlab.com/gitlab-org/professional-services-automation/tools/migration/congregate:rolling-debian

# 运行
docker run \
--name congregate \
-v /var/run/docker.sock:/var/run/docker.sock \
-v /etc/hosts:/etc/hosts \
-p 8000:8000 \
-itd 4bd6a78c0a68 \
/bin/bash
- 其中 4bd6a78c0a68 为 registry.gitlab.com/gitlab-org/professional-services-automation/tools/migration/congregate:rolling-debian 镜像 id,使用命令
docker images获得;也可直接使用镜像名
3.2 配置 congregate
# 首先进入容器
docker exec -it congregate /bin/bash
- 如无特殊说明,后面的所有命令操作均在此容器中进行
开始配置
./congregate.sh configure
-
根据提示填写目标实例与源实例地址以及TOKEN信息,然后其他设置无特殊情况按默认即可
-
配置完成后会生成配置文件
./data/congregate.conf,可手动修改
ps-user@7f582c3cd44f:/opt/congregate$ cat ./data/congregate.conf
[DESTINATION]
dstn_hostname = http://10.10.10.61
dstn_access_token = QnpyOVh6c3M3VVZCdlVBVHpkcWc=
import_user_id = 1
shared_runners_enabled = False
project_suffix = False
max_import_retries = 3
username_suffix = migrated
mirror_username =
max_asset_expiration_time = 24

[SOURCE]
src_type = GitLab
src_hostname = http://10.10.10.60
src_access_token = amRTZnhEWHhDR3M2OGhRemY4NWs=
src_tier = ultimate
export_import_timeout = 3600

[EXPORT]
location = filesystem
filesystem_path = /opt/congregate

[USER]
keep_inactive_users = True
reset_pwd = False
force_rand_pwd = True

[APP]
export_import_status_check_time = 10
mongo_host = localhost
mongo_port = 27017
ui_port = 8000
processes = 4
ssl_verify = True
3.3 拉取源实例数据
./congregate.sh list
来去完成后会在 ./data/ 目录下生成数据
- groups.json:组数据
- projects.json:项目数据
- users.json:用户数据
ps-user@7f582c3cd44f:/opt/congregate$ ls -l ./data/
total 48
-rw-r--r-- 1 ps-user ps-user   705 May 10 01:48 congregate.conf
-rw-r--r-- 1 ps-user ps-user  6303 May 10 01:49 groups.json
drwxr-xr-x 1 ps-user ps-user   161 May 10 01:49 logs
-rw-r--r-- 1 ps-user ps-user 10525 May 10 01:49 projects.json
drwxr-xr-x 2 ps-user ps-user     6 May  2 19:45 reg_tuples
drwxr-xr-x 2 ps-user ps-user     6 May  2 19:45 results
-rw-r--r-- 1 ps-user ps-user     2 May 10 01:49 staged_groups.json
-rw-r--r-- 1 ps-user ps-user     2 May 10 01:49 staged_projects.json
-rw-r--r-- 1 ps-user ps-user     2 May 10 01:49 staged_users.json
-rw-r--r-- 1 ps-user ps-user  8518 May 10 01:49 users.json
3.4 启动图形界面,选择迁移数据
启动
./congregate.sh ui
访问地址:http://ip:8000
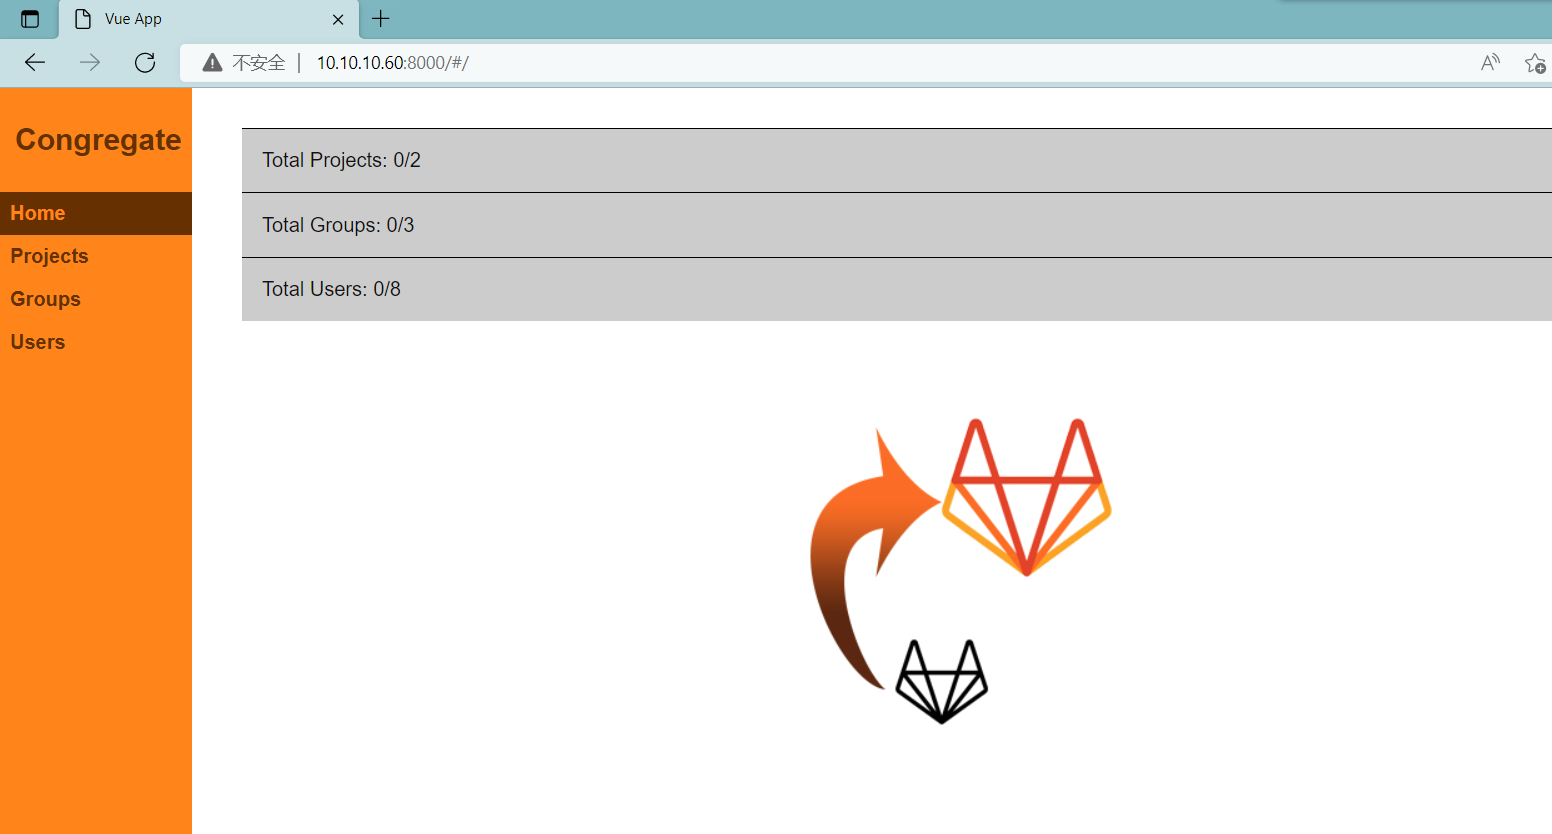
直接选择所有组,然后点击 stage,程序会自动管理相关账号:
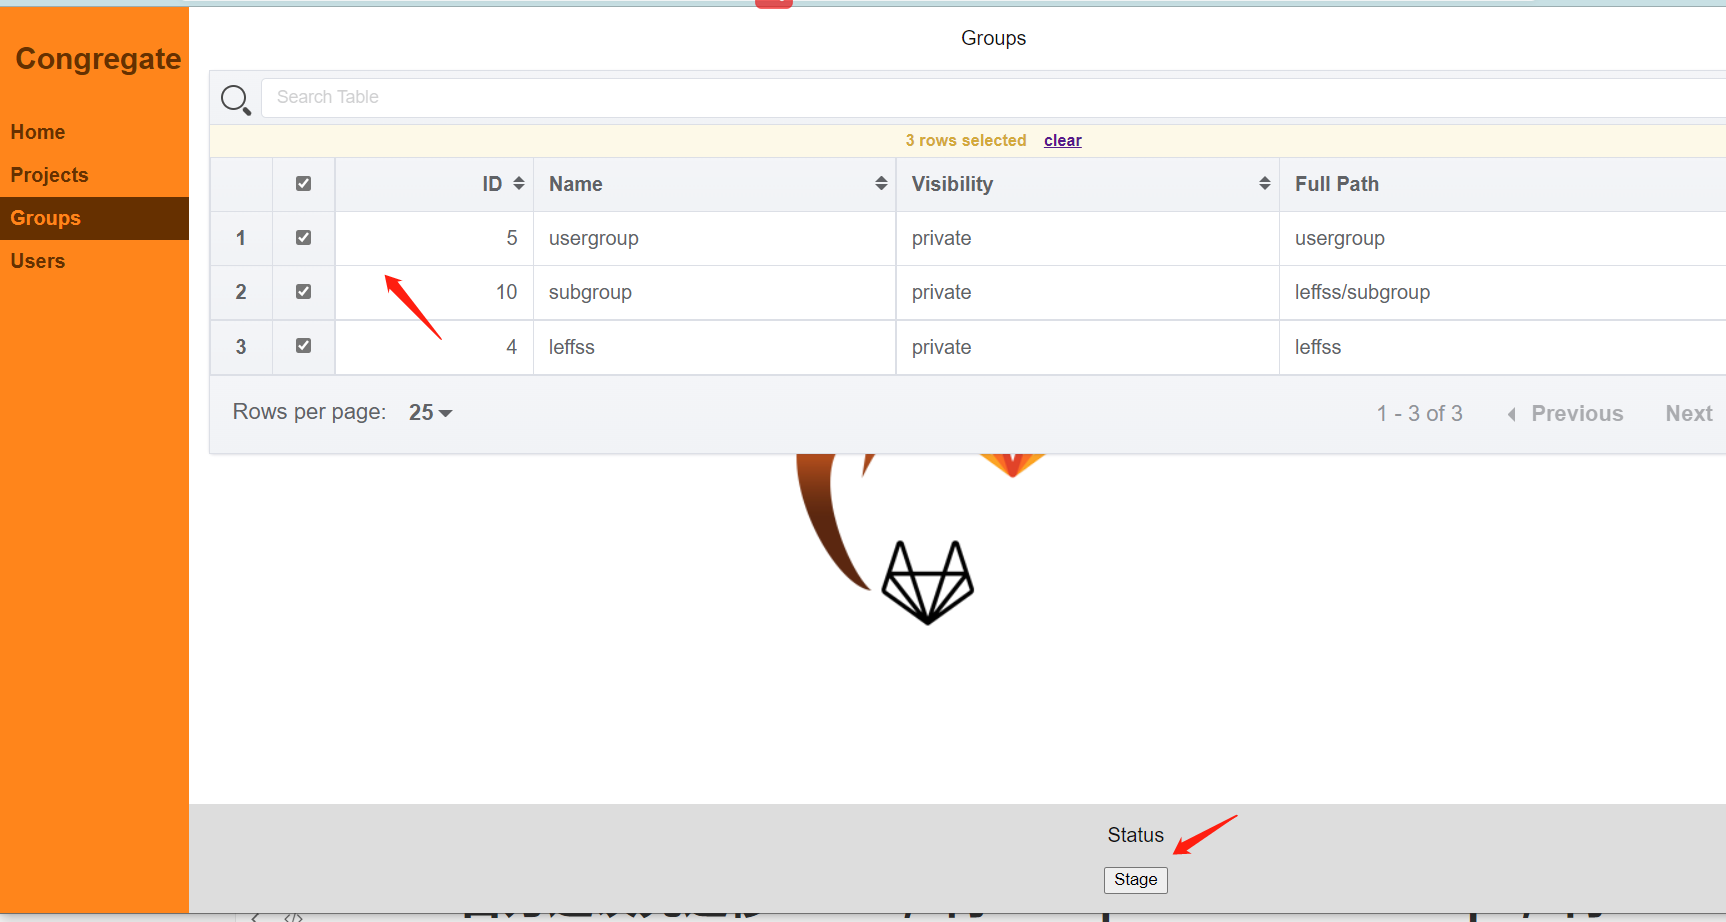
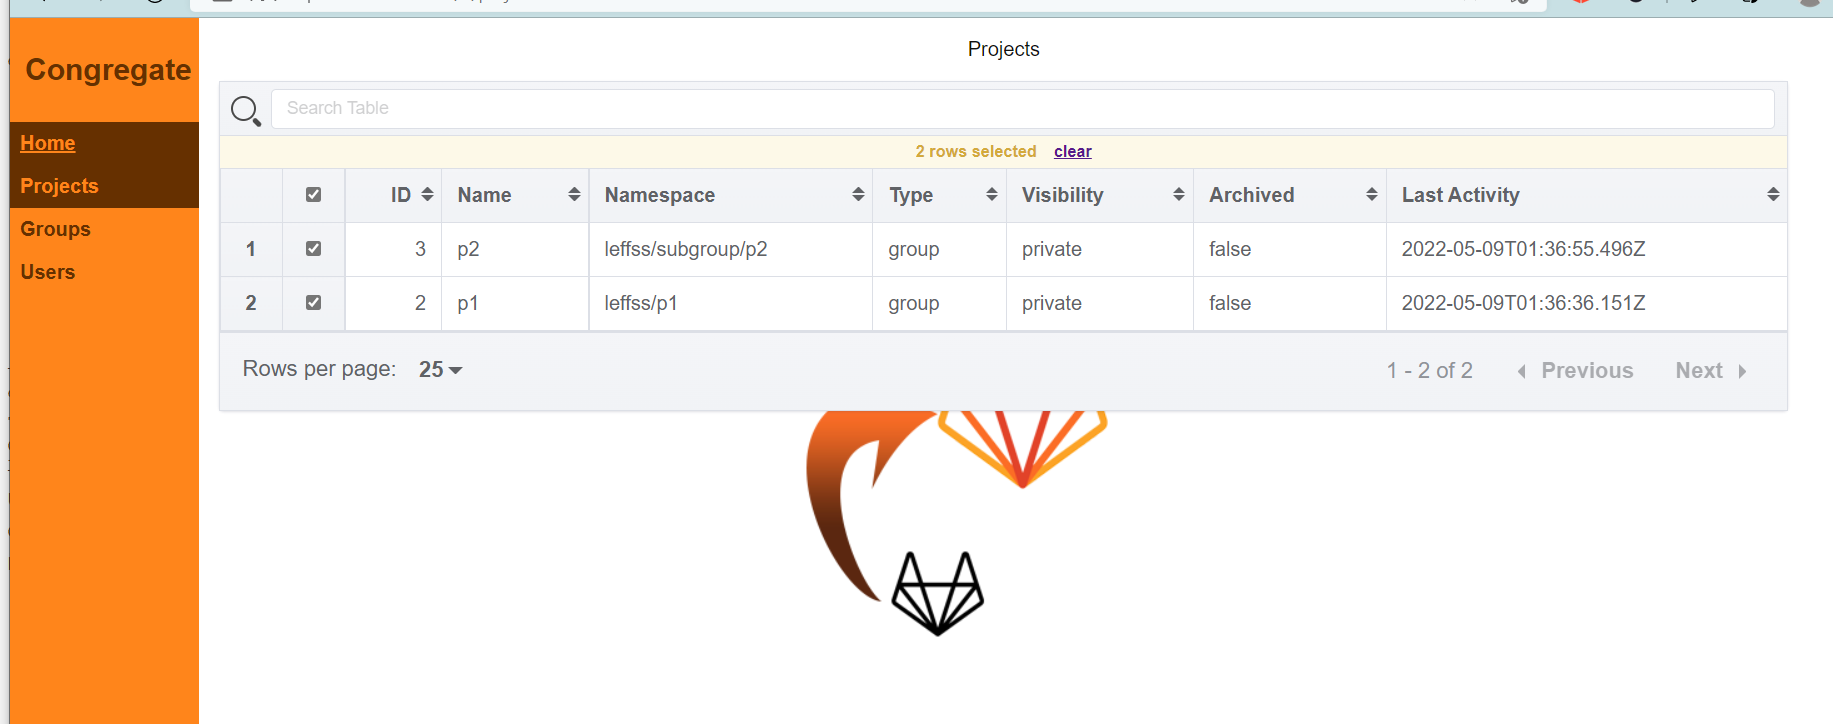
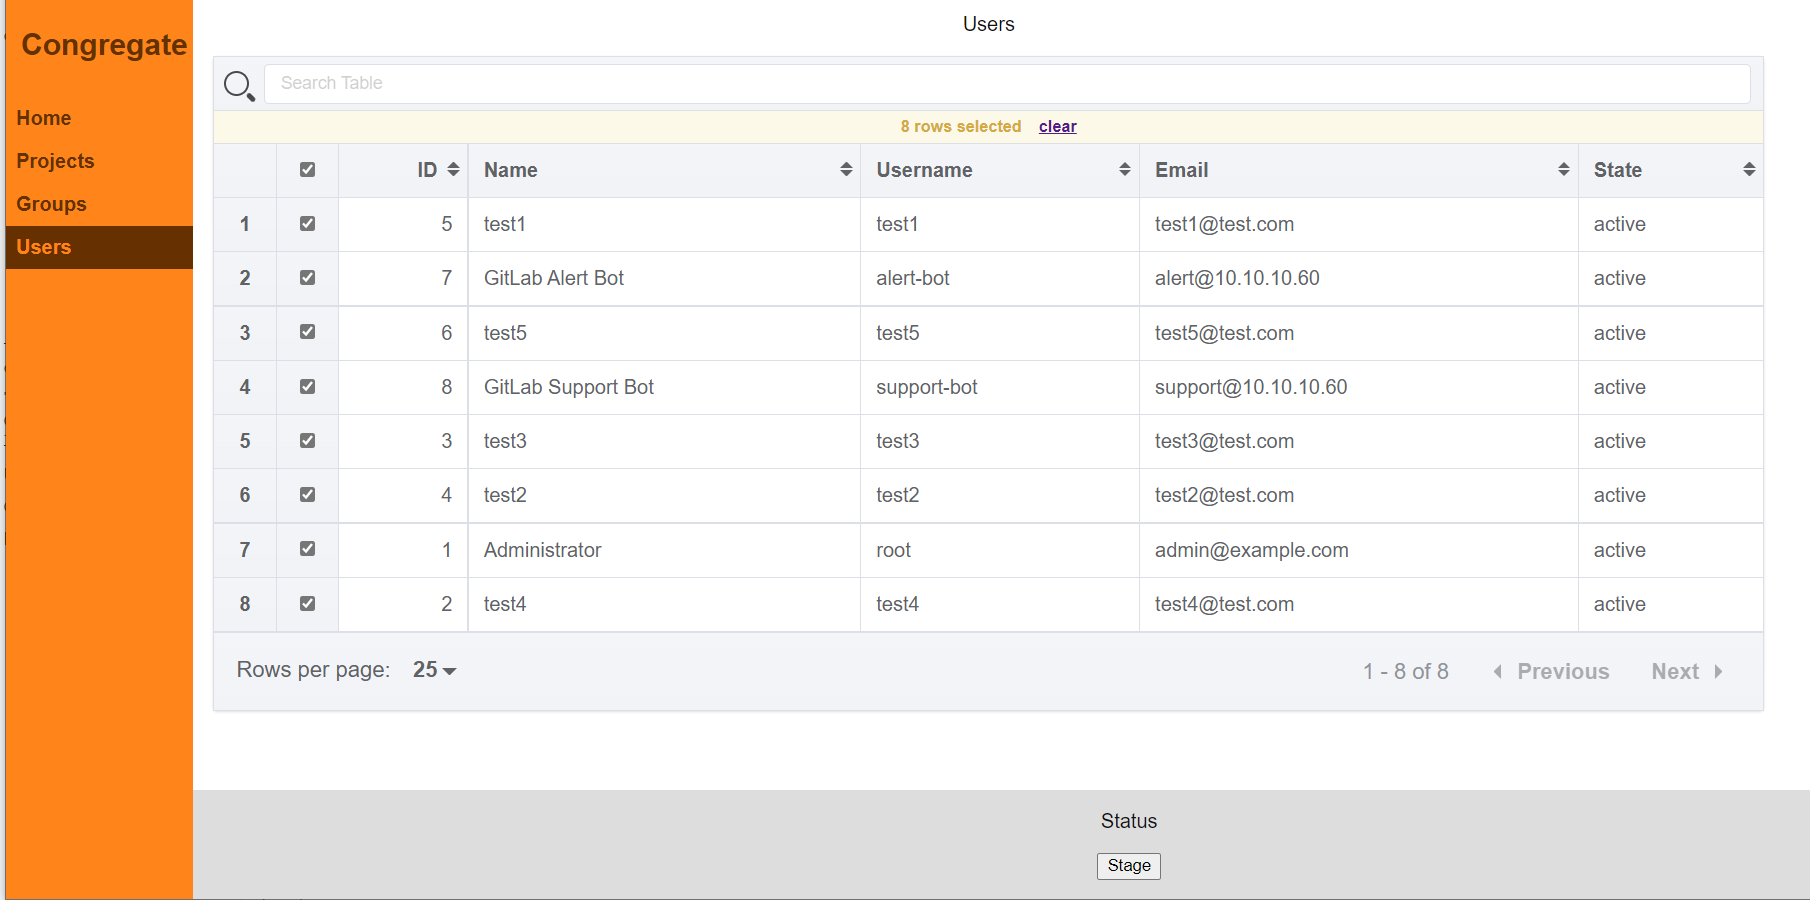
可以看到这里把不需要的系统账号:Admin、alert、support 账号关联了,这里再单独去掉:
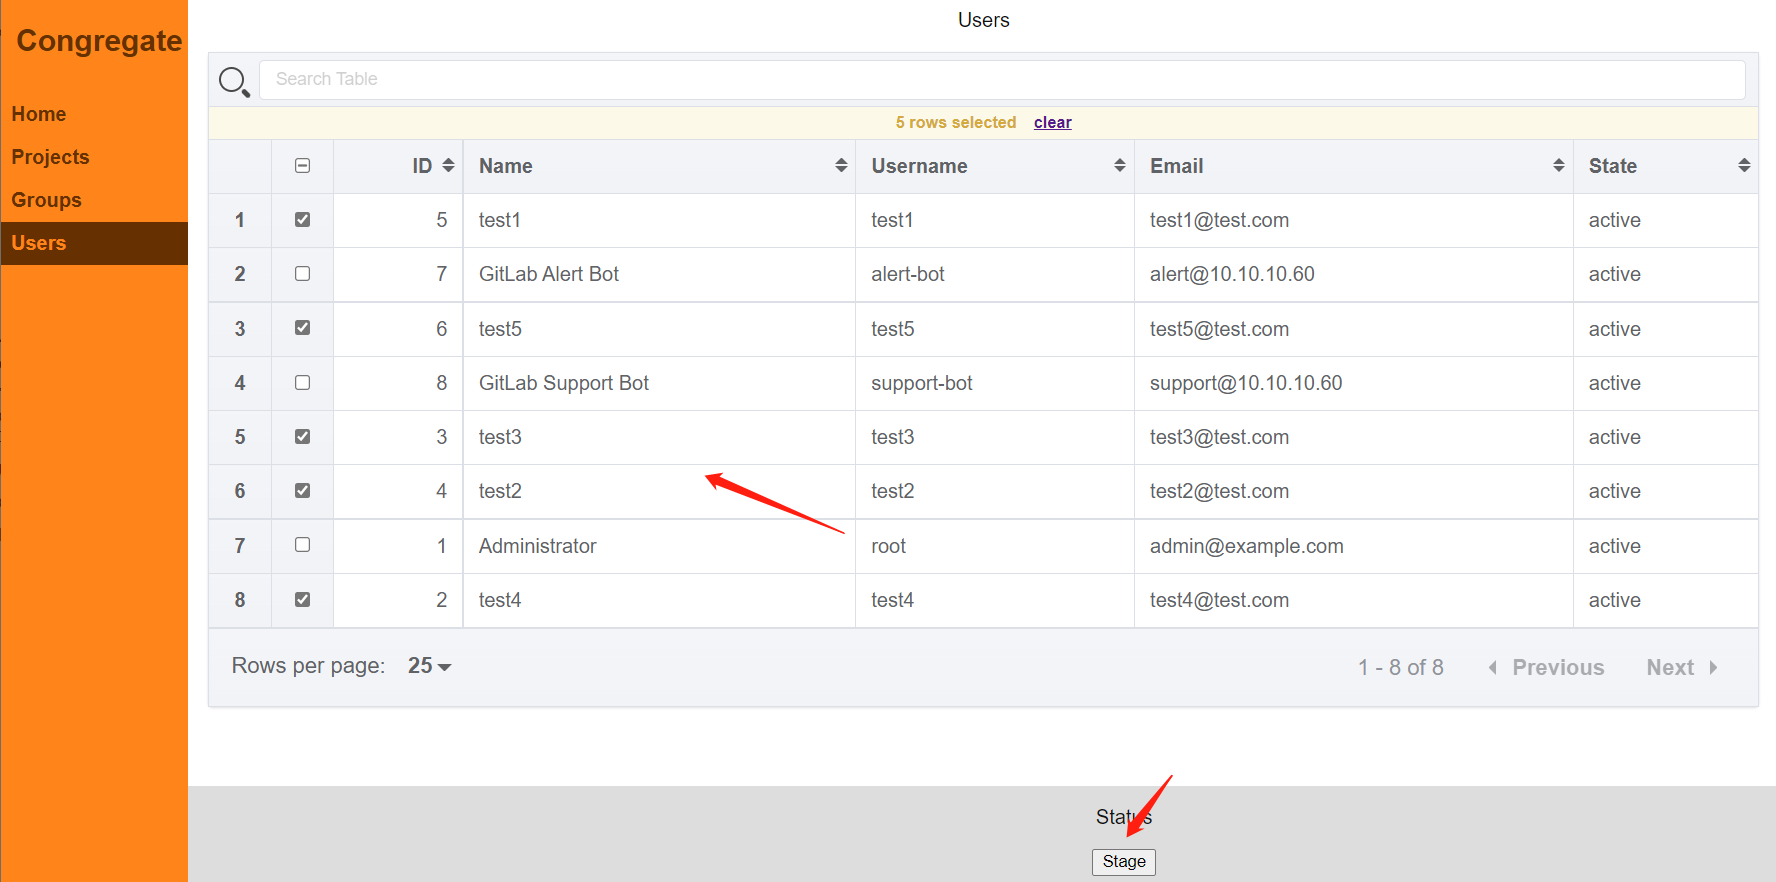
操作完成后,回到容器,使用 ctrl+z 停止 ui 界面,这时候可以看到已经把需要迁移的数据写入到 ./data/staged_ 开头的文件中了:
ps-user@7f582c3cd44f:/opt/congregate$ ls -l ./data/staged*
-rw-r--r-- 1 ps-user ps-user 6838 May 10 01:52 ./data/staged_groups.json
-rw-r--r-- 1 ps-user ps-user 2885 May 10 01:52 ./data/staged_projects.json
-rw-r--r-- 1 ps-user ps-user 6118 May 10 01:55 ./data/staged_users.json
4. 迁移数据
可以使用以下命令一次完成所有组、用户、项目迁移,
./congregate.sh migrate --commit
- 加 --commit 才真正迁移,未加此参数时只会 dry-run
注意:官方不建议这样做,因此这里我们选择以下分步方式完成迁移
4.1 迁移用户
./congregate.sh migrate --skip-group-export --skip-group-import --skip-project-export --skip-project-import --commit
4.2 迁移组
./congregate.sh migrate --skip-users --skip-project-export --skip-project-import --commit
- 如果加上 --stream-groups 使用新版 migrate_group 功能,迁移数据更全
4.3 迁移项目
./congregate.sh migrate --skip-users --skip-group-export --skip-group-import --commit
5. 验证目标实例
重点验证组、用户关系、项目 issue 的 assignees 关系等。