nginx介绍
Nginx是俄罗斯人编写的十分轻量级的HTTP服务器,Nginx,它的发音为“engine X”,是一个高性能的HTTP和反向代理服务器,同时也是一个IMAP/POP3/SMTP 代理服务器。Nginx是由俄罗斯人 Igor Sysoev为俄罗斯访问量第二的 Rambler.ru站点开发的,它已经在该站点运行超过两年半了。Igor Sysoev在建立的项目时,使用基于BSD许可。
nginx和apache区别
Nginx
- 轻量级,采用 C 进行编写,同样的 web 服务,会占用更少的内存及资源
- 抗并发,nginx 以 epoll and kqueue 作为开发模型,处理请求是异步非阻塞的,负载能力比 apache 高很多,而 apache 则是阻塞型的。在高并发下 nginx 能保持低资源低消耗高性能 ,而 apache 在 PHP 处理慢或者前端压力很大的情况下,很容易出现进程数飙升,从而拒绝服务的现象。
- nginx 处理静态文件好,静态处理性能比 apache 高三倍以上
- nginx 的设计高度模块化,编写模块相对简单
- nginx 配置简洁,正则配置让很多事情变得简单,而且改完配置能使用 -t 测试配置有没有问题,apache 配置复杂 ,重启的时候发现配置出错了,会很崩溃
- nginx 作为负载均衡服务器,支持 7 层负载均衡
- nginx 本身就是一个反向代理服务器,而且可以作为非常优秀的邮件代理服务器
- 启动特别容易, 并且几乎可以做到 7*24 不间断运行,即使运行数个月也不需要重新启动,还能够不间断服务的情况下进行软件版本的升级
- 社区活跃,各种高性能模块出品迅速
Apache
- apache 的 rewrite 比 nginx 强大,在 rewrite 频繁的情况下,用 apache
- apache 发展到现在,模块超多,基本想到的都可以找到
- apache 更为成熟,少 bug ,nginx 的 bug 相对较多
- apache 超稳定
- apache 对 PHP 支持比较简单,nginx 需要配合其他后端用
- apache 在处理动态请求有优势,nginx 在这方面是鸡肋,一般动态请求要 apache 去做,nginx 适合静态和反向。
apache 仍然是目前的主流,拥有丰富的特性,成熟的技术和开发社区
总结
两者最核心的区别在于 apache 是同步多进程模型,一个连接对应一个进程,而 nginx 是异步的,多个连接(万级别)可以对应一个进程
一般来说,需要性能的 web 服务,用 nginx 。如果不需要性能只求稳定,更考虑 apache ,后者的各种功能模块实现得比前者,例如 ssl 的模块就比前者好,可配置项多。epoll(freebsd 上是 kqueue ) 网络 IO 模型是 nginx 处理性能高的根本理由,但并不是所有的情况下都是 epoll 大获全胜的,如果本身提供静态服务的就只有寥寥几个文件,apache 的 select 模型或许比 epoll 更高性能。当然,这只是根据网络 IO 模型的原理作的一个假设,真正的应用还是需要实测了再说的。
更为通用的方案是,前端 nginx 抗并发,后端 apache 集群,配合起来会更好。
集群
简单来说,集群就是指一组相互独立的计算机,利用高速通信网络组成的一个较大的计算机服务系统,每个集群节点都是运行各自服务的独立服务器。这些服务器之间可以彼此通信,协同向用户提供应用程序、系统资源和数据,并以单一系统的模式加以管理。当用户客户机请求集群系统时,集群给用户的感觉就是一个单一的服务器,而实际上用户请求的是一组集群服务器。
集群主要包括几大特点:高性能、价格有效性、可伸缩性、高可用性、透明性、可管理性和可编程性。
负载均衡集群
常见的负载均衡的架构包括有负载均衡集群、高可用性集群、高性能计算集群等等。这里着重介绍负载均衡集群,其他的集群方式不做介绍。
负载均衡集群为企业提供了更为实用、性价比更高的系统架构解决方案。负载集群可以把很多客户集中的访问请求负载压力尽可能平均分摊到计算机集群中处理。客户访问请求负载均衡通常包含应用程序处理负载均衡和网络流量负载。这样的系统非常适合使用同一组应用程序为大量用户提供服务的模式,每个节点都可以承当一定的访问请求负载压力,并且可以实现访问请求在各节点之间动态分配,以实现负载均衡。
负载均衡集群运行时,一般是通过一个或多个前端负载均衡器将客户访问请求分发到后端的一组服务器上,从而达到整个系统的高性能和高可用性。一般高可用性集群和负载均衡集群使用类似的技术,或同事具有高可用与负载均衡的特点。负载均衡的作用为:分担用户访问及数据流量、保持业务的连续性、应用于Web业务及数据库从库等服务器的业务。
Nginx负载均衡集群介绍
互联网企业中常见的开源集群软件有:Nginx、LVS、Haproxy、Keepalived等,硬件有F5、Netscaler等。
严格地说,Nginx仅仅是作为Nginx Proxy反向代理使用的,因为反向代理功能表现的效果是负载均衡集群的效果,所以也叫做Nginx负载均衡。反向代理和负载均衡的区别在于负载均衡通常都是对请求的数据包的转发(也有可能会改写数据包)、传递,其中DR模式明显的特征就是从负载均衡下面的节点服务器来看,接收到的请求还是来自负载均衡器的客户端的真实用户。而反向代理,反向代理接收访问用户的请求后,会代理用户重新发起请求代理下的节点服务器,最后把数据返回给客户端用户。在节点服务器来看,访问节点服务器的客户端用户是反向代理服务器,而不是真实的网站访问用户。
Nginx负载均衡的模块主要有两个,ngx_http_proxy_module,ngx_http_upstream_module。编译的时候需要把这两个模块编译进去。
nginx安装
下载nginx需要使用到epel源
[epel]
name=epel
enabled=1
gpgcheck=0
baseurl=https://mirrors.aliyun.com/epel/7Server/x86_64/
配置好yum源之后就可以进行下载了
[root@ken ~]# yum install nginx -y
nginx配置文件详解
#nginx进程,一般设置为和cpu核数一样
worker_processes 4;
#错误日志存放目录
error_log  /data1/logs/error.log  crit;
#运行用户,默认即是nginx,可不设置
user nginx
#进程pid存放位置
pid        /application/nginx/nginx.pid;

#Specifies the value for maximum file descriptors that can be opened by this process.
#最大文件打开数(连接),可设置为系统优化后的ulimit -HSn的结果
worker_rlimit_nofile 51200;

cpu亲和力配置,让不同的进程使用不同的cpu

worker_cpu_affinity 0001 0010 0100 1000 0001 00100100 1000;

#工作模式及连接数上限
events
{
  use epoll;       #epoll是多路复用IO(I/O Multiplexing)中的一种方式,但是仅用于linux2.6以上内核,可以大大提高nginx的性能
  worker_connections 1024;  #;单个后台worker process进程的最大并发链接数
}
###################################################
http
{

include mime.types; #文件扩展名与类型映射表
default_type application/octet-stream; #默认文件类型


  #隐藏响应header和错误通知中的版本号
  server_tokens off;
  #开启高效传输模式
  sendfile on;

-------------------------------------------------------------------------------------------------
  #激活tcp_nopush参数可以允许把httpresponse header和文件的开始放在一个文件里发布,
  积极的作用是减少网络报文段的数量
  tcp_nopush     on;
  #激活tcp_nodelay,内核会等待将更多的字节组成一个数据包,从而提高I/O性能
  tcp_nodelay on;
#连接超时时间,单位是秒
  keepalive_timeout 60;

  #开启gzip压缩功能
    gzip on;
 #设置允许压缩的页面最小字节数,页面字节数从header头的Content-Length中获取。默认值是0,表示不管页面多大都进行压缩。建议设置成大于1K。如果小于1K可能会越压越大。
  gzip_min_length  1k;

#压缩缓冲区大小。表示申请4个单位为16K的内存作为压缩结果流缓存,默认值是申请与原始数据大小相同的内存空间来存储gzip压缩结果。
  gzip_buffers     4 16k;

#压缩版本(默认1.1,前端为squid2.5时使用1.0)用于设置识别HTTP协议版本,默认是1.1,目前大部分浏览器已经支持GZIP解压,使用默认即可。
  gzip_http_version 1.0;

#压缩比率。用来指定GZIP压缩比,1压缩比最小,处理速度最快;9压缩比最大,传输速度快,但处理最慢,也比较消耗cpu资源。
  gzip_comp_level 9;

#用来指定压缩的类型,“text/html”类型总是会被压缩
  gzip_types       text/plain application/x-javascript text/css application/xml;
  #vary header支持。该选项可以让前端的缓存服务器缓存经过GZIP压缩的页面,例如用

Squid缓存经过Nginx压缩的数据。

gzip_vary off;
#开启ssi支持,默认是off
  ssi on;
  ssi_silent_errors on;
#设置日志模式
    log_format  access  '$remote_addr - $remote_user [$time_local] "$request" '
                        '$status $body_bytes_sent "$http_referer" '
                        '"$http_user_agent" $http_x_forwarded_for';

#反向代理负载均衡设定部分

#upstream表示负载服务器池,定义名字为backend_server的服务器池
upstream backend_server {
    server   10.254.244.20:81 weight=1 max_fails=2 fail_timeout=30s;
    server   10.254.242.40:81 weight=1 max_fails=2 fail_timeout=30s;
    server   10.254.245.19:81 weight=1 max_fails=2 fail_timeout=30s;
    server   10.254.243.39:81 weight=1 max_fails=2 fail_timeout=30s;
  #设置由 fail_timeout 定义的时间段内连接该主机的失败次数,以此来断定 fail_timeout 定义的时间段内该主机是否可用。默认情况下这个数值设置为 1。零值的话禁用这个数量的尝试。

设置在指定时间内连接到主机的失败次数,超过该次数该主机被认为不可用。

#这里是在30s内尝试2次失败即认为主机不可用!
  }
###################

#基于域名的虚拟主机
  server
  {

#监听端口
    listen       80;
    server_name  www.abc.com abc.com;
    index index.html index.htm index.php;    #首页排序
    root  /data0/abc;                            #站点根目录,即网站程序存放目录
    error_page 500 502 404 /templates/kumi/phpcms/404.html;   #错误页面
#伪静态   将www.abc.com/list....html的文件转发到index.php。。。
#rewrite ^/list-([0-9]+)-([0-9]+)-([0-9]+)-([0-9]+)-([0-9]+)-([0-9]+)-([0-9]+)-([0-9]+)-([0-9]+).html$ /index.php?m=content&c=index&a=lists&catid=$1&types=$2&country=$3&language=$4&age=$5&startDate=$6&typeLetter=$7&type=$8&page=$9 last;
#location 标签,根目录下的.svn目录禁止访问
    location ~ /.svn/ {
     deny all;
    }
            location ~ .php$
             {  #符合php扩展名的请求调度到fcgi server
              fastcgi_pass  127.0.0.1:9000;  #抛给本机的9000端口
              fastcgi_index index.php;    #设定动态首页
              include fastcgi.conf;
             }
nginx实现反向代理
1.几个概念
反向代理:在收到客户端请求之后,会修目标IP地址和端口
正向代理:在收到客户端请求之后,会修源IP地址和端口
上游服务器:代理服务器后端的哪些真正给客户端提供服务的节点,这样的服务器称之为上游服务器
下游服务器:客户端就是下游节点
2.反向代理指令
模块:nginx_http_proxy_module
    指令
    proxy_pass:指定上游服务器的ip和端口
    proxy_set_header:指定在重新封装请求报文的时候,添加一个新的首部


    Syntax:     proxy_pass URL;
    Default:     —
    Context:     location, if in location, limit_except
    例子:proxy_pass http://10.220.5.200:80;


    Syntax:     proxy_set_header field value;
    Default:     proxy_set_header Host $proxy_host;
    Context:     http, server, location
3.反向代理简单示例
location / {
        proxy_pass http://10.220.5.180;
        proxy_set_header X-Real-IP $remote_addr
        proxy_set_header Host $proxy_host;
    }
反向代理实战案例
1.环境准备
centos7.5
反向代理服务器IP:172.20.10.7/28
web1服务器IP:172.20.10.8/28
web2服务器IP:172.20.10.9/28
2.配置反向代理服务器端
yum安装nignx需要配置网络源,复制下面的代码到你的yum仓库中
[ken]
name=ken
enabled=1
gpgcheck=0
baseurl=https://mirrors.aliyun.com/epel/7Server/x86_64/
安装nginx
[root@ken ~]# yum install nginx -y
配置nginx文件,我们实现这样一个效果,静态文件都被代理到172.20.10.8,动态文件都被调度到172.20.10.9,实现动静分离。
[root@ken ~]# vim /etc/nginx/nginx.conf
# For more information on configuration, see:
#   * Official English Documentation: http://nginx.org/en/docs/
#   * Official Russian Documentation: http://nginx.org/ru/docs/

user nginx;
worker_processes auto;
error_log /var/log/nginx/error.log;
pid /run/nginx.pid;

# Load dynamic modules. See /usr/share/nginx/README.dynamic.
include /usr/share/nginx/modules/*.conf;

events {
    worker_connections 1024;
}

http {
    log_format  main  '$remote_addr - $remote_user [$time_local] "$request" '
                      '$status $body_bytes_sent "$http_referer" '
                      '"$http_user_agent" "$http_x_forwarded_for"';

access_log  /var/log/nginx/access.log  main;

    sendfile            on;
    tcp_nopush          on;
    tcp_nodelay         on;
    keepalive_timeout   65;
    types_hash_max_size 2048;

    include             /etc/nginx/mime.types;
    default_type        application/octet-stream;
       # include /etc/nginx/conf.d/*.conf;

    server {
        listen       80 default_server;
        listen       [::]:80 default_server;
        server_name  _;
        root         /var/www/html;
        index index.html index.php;
        # Load configuration files for the default server block.
   location / {
        proxy_pass http://172.20.10.8;
        proxy_set_header host $proxy_host;
        proxy_set_header realip $remote_addr;
        }
        location ~^/.*(.php)$ {
        proxy_pass http://172.20.10.9;
        proxy_set_header host $proxy_host;
        proxy_set_header realip $remote_addr;
        }

        error_page 404 /404.html;
            location = /40x.html {
        }

        error_page 500 502 503 504 /50x.html;
            location = /50x.html {
        }
    }
}
进行语法检测
[root@ken ~]# nginx -t
nginx: the configuration file /etc/nginx/nginx.conf syntax is ok
nginx: configuration file /etc/nginx/nginx.conf test is successful
检查没有问题之后进行重启
[root@ken ~]# systemctl start nginx
3.配置web服务器端
安装apache
[root@ken ~]# yum install httpd -y
准备测试文件,172.20.10.8准备静态文件
[root@ken ~]# echo "this is 172.20.10.8 for static test">/var/www/html/index.html
172.20.10.9需要下载php以便支持动态文件
[root@ken html]# yum install php -y
172.20.10.9准备动态文件,
[root@ken ~]# cd /var/www/html/
[root@ken html]# vim index.php
<?php
phpinfo();
?>
4.web服务器重启
[root@ken html]# systemctl restart httpd
5.关闭安全服务
[root@ken ~]# iptables -F
6.浏览器测试
请求静态文件测试
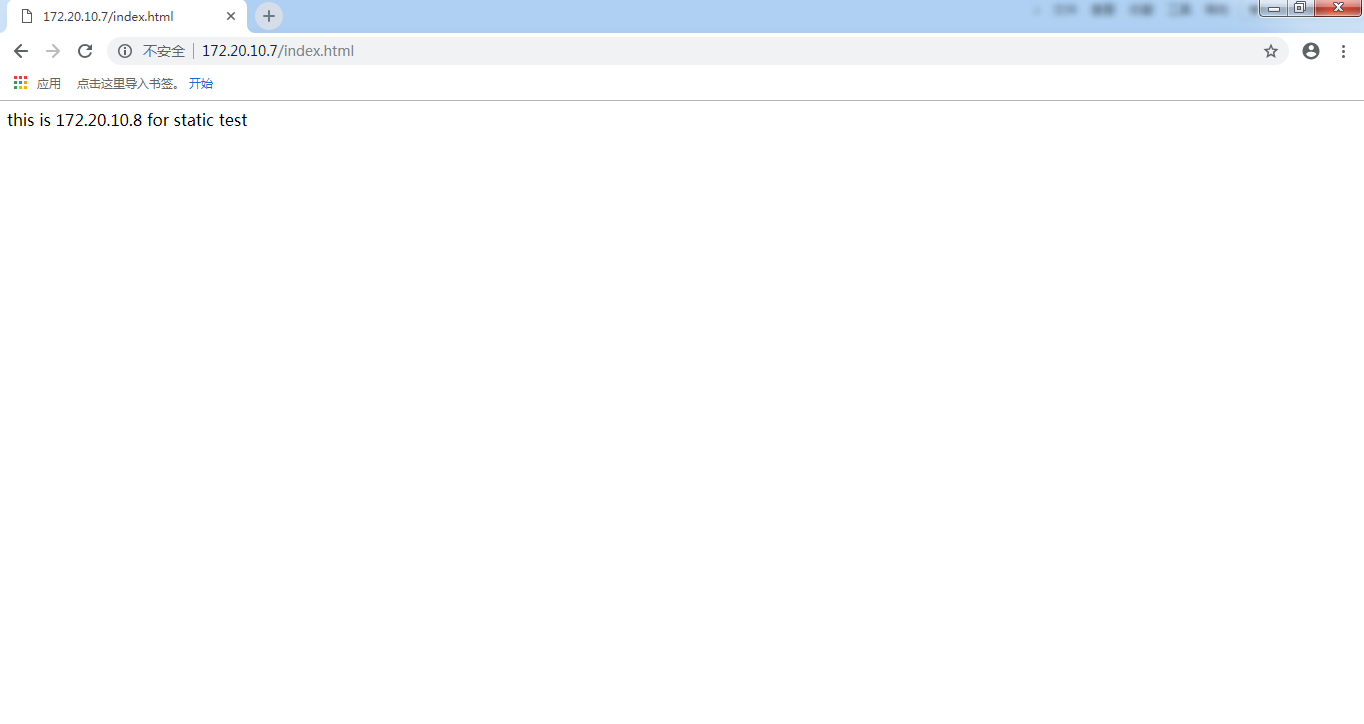
静态文件请求已经成功转发至172.20.10.8。
测试成功!
请求动态文件测试
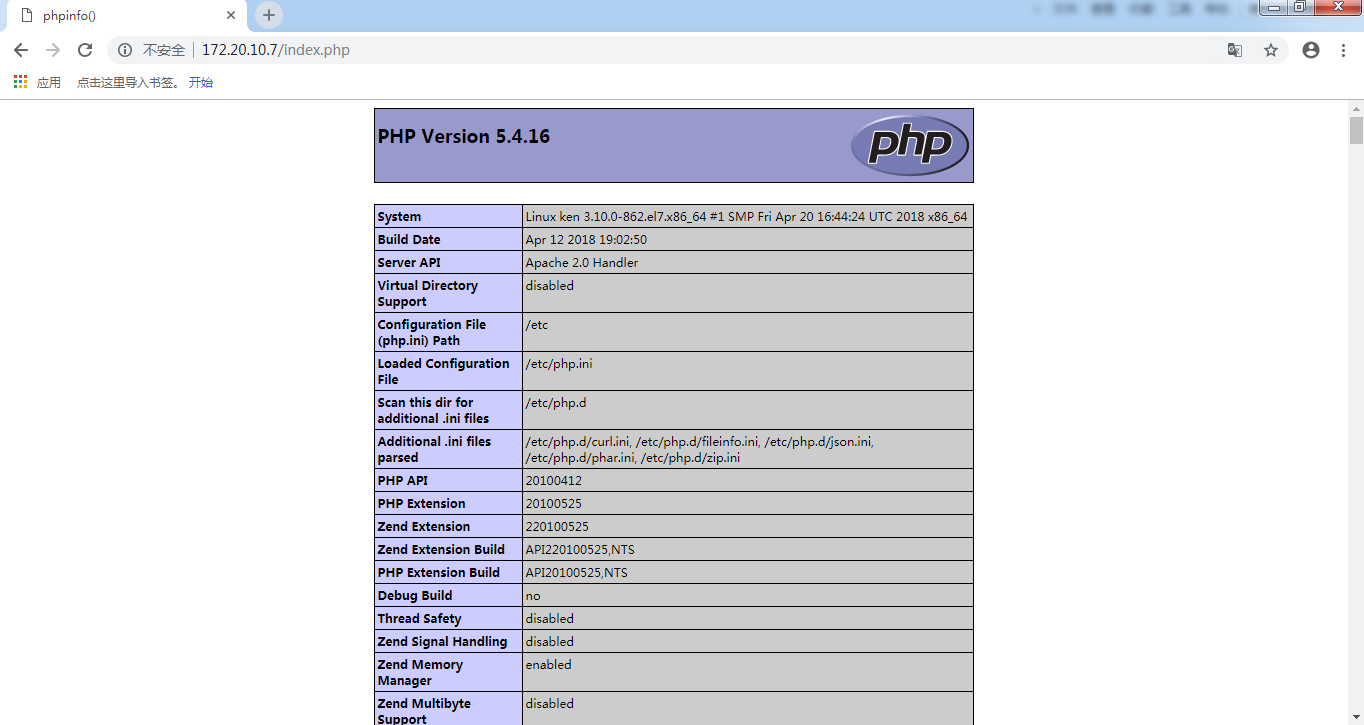
动态文件请求已经成功转发至172.20.10.9.
测试成功!
7.补充
补充一
补充1:
    location如下
        location /admin {
            proxy_pass http://www.ken.com/;
            proxy_pass http://www.ken.com;
        }

    请求的url 是http://www.ken.com/admin/a.html

    如果代理方式是 proxy_pass http://www.ken.com/; 那么去www.ken.com的跟目录下找a.html,/代表完全代理。
    如果代理方式是 proxy_pass http://www.ken.com; 那么去www.ken.com的跟目录下的admin找a.html
补充二
补充2:
    如果location中使用了模式匹配(正则),那么,location中的url会直接补充到代理节点的后面.

    此时,上游服务器的的后面不能有任何内容,包括 /

        location ~ .php$ {
            proxy_pass http://www.ken.com; [正则表达式proxy_pass转发的地址后面什么都不能加]       <<< 正确写法
            proxy_pass http://www.ken.com:80;     <<< 正确写法
            proxy_pass http://www.ken.com/;       <<< 错误写法
            proxy_pass http://www.ken.com/img;    <<< 错误写法
        }

    此时,如果请求的url是 http://www.baidu.com/book/stu/a.php ,就会代理成 http://www.ken.com/book/stu/a.php
补充三
补充3:
    在location中如果有重定向的话,那么就用重定向后的uri替换掉代理节点中的uri
        location / {
            rewrite /(.*)$ /index.php?name=$1 break;
            proxy_pass http://www.baidu.com:80/img;
        }

    此时,如果请求的url是 http://www.ken.com/bajie ,就会代理成 www.baidu.com/index.php?name=bajie
nginx实现负载均衡
1.几个概念
调度器:分发用户的请求到一个后端节点
上游服务器(真实服务器):每个真正用来处理用户请求的节点都是一个上游服务器
CIP:客户端的IP地址
RIP:真实服务器的IP地址
VIP:虚拟IP,用户所看到的是也是虚拟IP
2.指令
指令:upstream
    作用:定义一个上游服务器组
    格式
        upstream name {
            server  上游服务器1  参数 参数;
            server  上游服务器1  参数 参数;
            server  上游服务器1  参数 参数;
        }
3.重要参数
    weight=#:设置服务器的权重(数字越大,权重越高)
    backup: 设置服务器处于备用状态(其他节点出现故障,备用节点才开始工作)
    down:设置让一个节点处于离线状态(经常用在维护一个节点的情况下)
    max_fails=number:设置连续几次转发失败就认为该节点出现故障,然后就不再向该节点转发用户请求了
    fail_timeout=time: 和上个参数组合使用,作用是设置等待上游服务器响应超时时间
4.nginx实现负载均衡实战案例
1.环境准备
centos7.5
nginx服务器IP:172.20.10.7/28
web1服务器端IP:172.20.10.8/28
web2服务器端IP:172.20.10.9/28
2.配置nginx服务器端
安装nginx略
配置nginx文件
[root@ken ~]# vim /etc/nginx/nginx.conf
# For more information on configuration, see:
#   * Official English Documentation: http://nginx.org/en/docs/
#   * Official Russian Documentation: http://nginx.org/ru/docs/

user nginx;
worker_processes auto;
error_log /var/log/nginx/error.log;
pid /run/nginx.pid;

# Load dynamic modules. See /usr/share/nginx/README.dynamic.
include /usr/share/nginx/modules/*.conf;

events {
    worker_connections 1024;
}

http {
    log_format  main  '$remote_addr - $remote_user [$time_local] "$request" '
                      '$status $body_bytes_sent "$http_referer" '
                      '"$http_user_agent" "$http_x_forwarded_for"';
 access_log  /var/log/nginx/access.log  main;

    sendfile            on;
    tcp_nopush          on;
    tcp_nodelay         on;
    keepalive_timeout   65;
    types_hash_max_size 2048;

    include             /etc/nginx/mime.types;
    default_type        application/octet-stream;
       # include /etc/nginx/conf.d/*.conf;
    upstream ken {
        server 172.20.10.8 weight=1 max_fails=3 fail_timeout=5;
        server 172.20.10.9 weight=2 max_fails=3 fail_timeout=5;
    }
    server {
        listen       80 default_server;
        listen       [::]:80 default_server;
        server_name  _;
        root         /var/www/html;
  index index.php index.html;

        # Load configuration files for the default server block.
        # include /etc/nginx/default.d/*.conf;

        location / {
        proxy_pass http://ken/;
        proxy_set_header host $proxy_host;
        proxy_set_header realip $remote_addr;
        }

        error_page 404 /404.html;
            location = /40x.html {
        }

        error_page 500 502 503 504 /50x.html;
            location = /50x.html {
        }
    }
}
语法检测
[root@ken ~]# nginx -t
nginx: the configuration file /etc/nginx/nginx.conf syntax is ok
nginx: configuration file /etc/nginx/nginx.conf test is successful
重启nginx
[root@ken ~]# systemctl restart nginx
3.配置web服务器端
略.和上面反向代理配置一样。
4.浏览器测试
输入nginx服务器端的IP地址
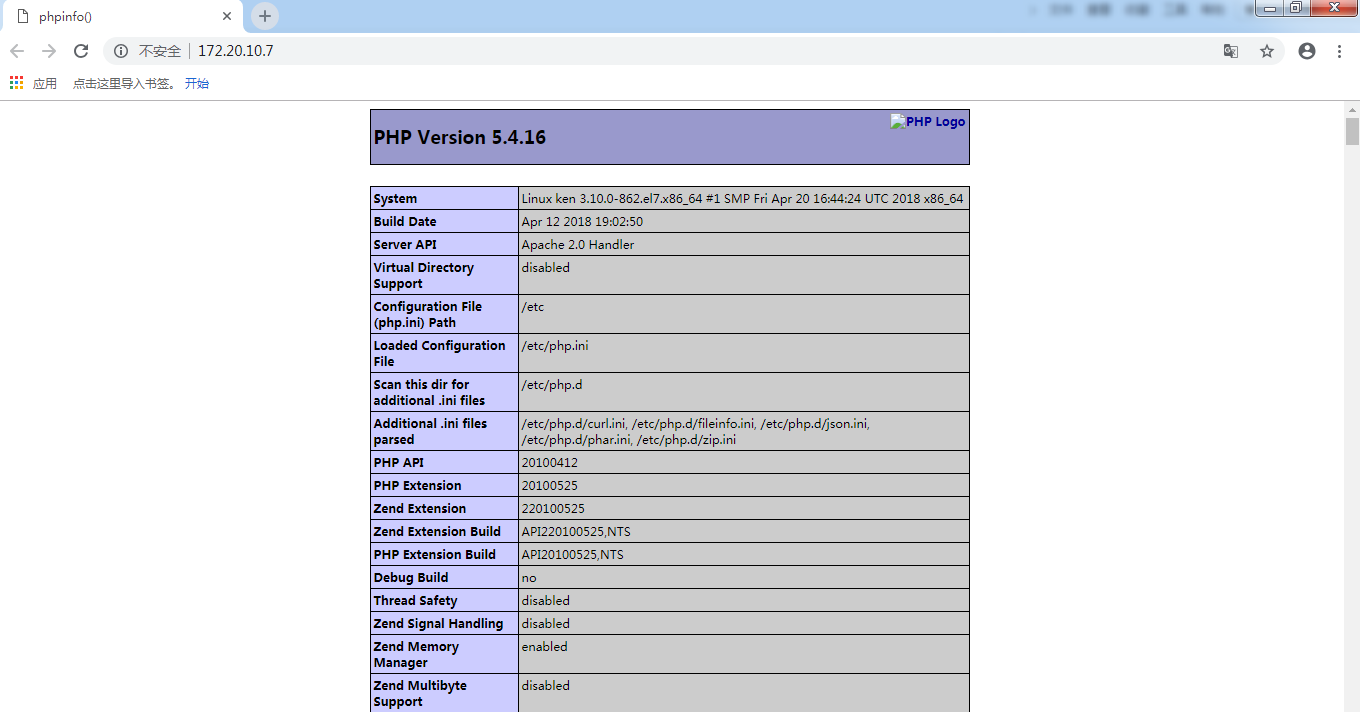
因为172.20.10.9的权重为2,即出现两次172.20.10.9才会出现一次172.20.10.8.进行刷新测试

测试成功!
LNMP架构上线动态网站
第一步:安装服务程序
[root@ken ~]# yum install nginx php php-mysql php-fpm mariadb-server -y
下载php-fpm需要用到下面的源
[centos]
name=centos base
enabled=1
gpgcheck=0
baseurl=http://mirrors.163.com/centos/7/os/x86_64/
第二步:修改nginx配置文件
修改server部分
[root@ken ~]# vim /etc/nginx/nginx.conf
    server {
        listen       80;
        server_name  _;
        root         /var/www/html;  #更改了网站根目录(习惯而已)
       index index.php index.html;  #添加index.php默认页

        # Load configuration files for the default server block.
    #    include /etc/nginx/default.d/*.conf;
        location  ~ /.*.php$ {   #定义一个匹配php文件的规则
        fastcgi_pass 127.0.0.1:9000;  #php-fpm监听的地址
        include fastcgi.conf;   #加载fastcgi文件
}
第三步:重启nginx和php-fpm
[root@ken ~]# systemctl restart nginx
[root@ken ~]# systemctl restart php-fpm
第四步:删上传wordpress并编辑
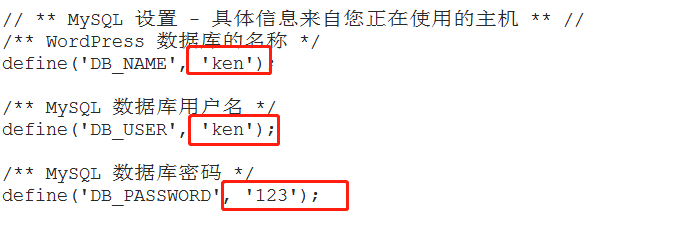
[root@ken ~]# cd /var/www/html/
[root@ken html]# rz

[root@ken html]# ls
wordpress-3.3.1-zh_CN.zip
[root@ken html]# unzip wordpress-3.3.1-zh_CN.zip
[root@ken html]# ls
wordpress  wordpress-3.3.1-zh_CN.zip
[root@ken html]# mv wordpress/* .
[root@ken html]# ls
index.php    wordpress-3.3.1-zh_CN.zip  wp-blog-header.php    wp-cron.php        wp-login.php     wp-settings.php
license.txt  wp-activate.php            wp-comments-post.php  wp-includes        wp-mail.php      wp-signup.php
readme.html  wp-admin                   wp-config-sample.php  wp-links-opml.php  wp-pass.php      wp-trackback.php
wordpress    wp-app.php                 wp-content            wp-load.php        wp-register.php  xmlrpc.php
[root@ken html]# cp wp-config-sample.php wp-config.php
[root@ken html]# vim wp-config.php
第五步:启动数据库并创建数据库和用户
[root@ken html]# systemctl restart mariadb
[root@ken html]# mysql -uroot
Welcome to the MariaDB monitor.  Commands end with ; or g.
Your MariaDB connection id is 2
Server version: 5.5.60-MariaDB MariaDB Server

Copyright (c) 2000, 2018, Oracle, MariaDB Corporation Ab and others.

Type 'help;' or 'h' for help. Type 'c' to clear the current input statement.

MariaDB [(none)]> create database ken;
ERROR 1007 (HY000): Can't create database 'ken'; database exists
MariaDB [(none)]> grant all on *.* to ken@'localhost' identified by '123';
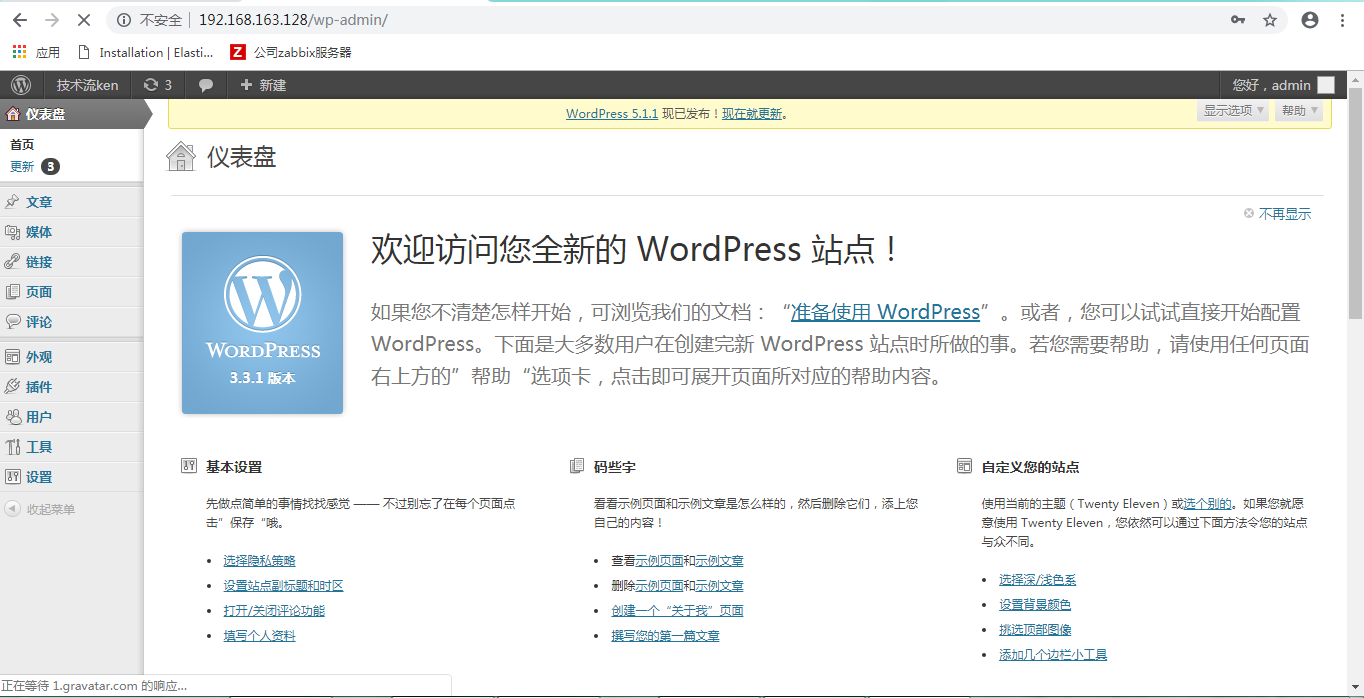
第六步:浏览器测试访问