SpringBoot
简介
微框架,与 Spring4 一起诞生,基于约定、生来为了简化 spring 的配置
优点
- 可以快速的上手,整合了一些子项目(开源框架或者第三方开源库)
- 可以依赖很少的配置快速的搭建项目
- 基于 spring 使开发者快速入门,门槛很低。
- 可以创建独立运行的应用而不需要依赖容器
- 提供很多 maven 极简配置,缺点是会引入很多不需要的包
- 提供可视化的相关功能,方便监控
- 简化配置
使用场景
- 有 Spring 的地方都行
- J2EE/web 项目
- 微服务的基础
需要的Java版本:1.8+
核心功能
起步依赖
起步依赖实际上就是一个 Maven 项目对象模型,定义了对其他库的传递依赖。这些东西加在一起支持某项功能。从一定程度上规避了依赖冲突问题
自动配置
对于一些约定的属性,springboot 在 spring-boot-autoconfigure 包下 META-INF/spring-configuration-metadata.json 文件中进行了默认属性配置。如果我们不通过配置文件覆盖这个配置,在应用程序启动时,如果应用程序启动条件符合注解的要求,就会采用这些默认配置来完成应用的初始化配置。如果我们覆盖这个配置,就会采用我们定义的配置
原理分析:
@SpringBootConfiguration // 相当于 @Configuration
@EnableAutoConfiguration // 开启自动配置
@ComponentScan( // 配置注解扫描。扫描该包及其子包的注解
    excludeFilters = {@Filter(
    type = FilterType.CUSTOM,
    classes = {TypeExcludeFilter.class}
), @Filter(
    type = FilterType.CUSTOM,
    classes = {AutoConfigurationExcludeFilter.class}
)}
)
public @interface SpringBootApplication {}
快速搭建
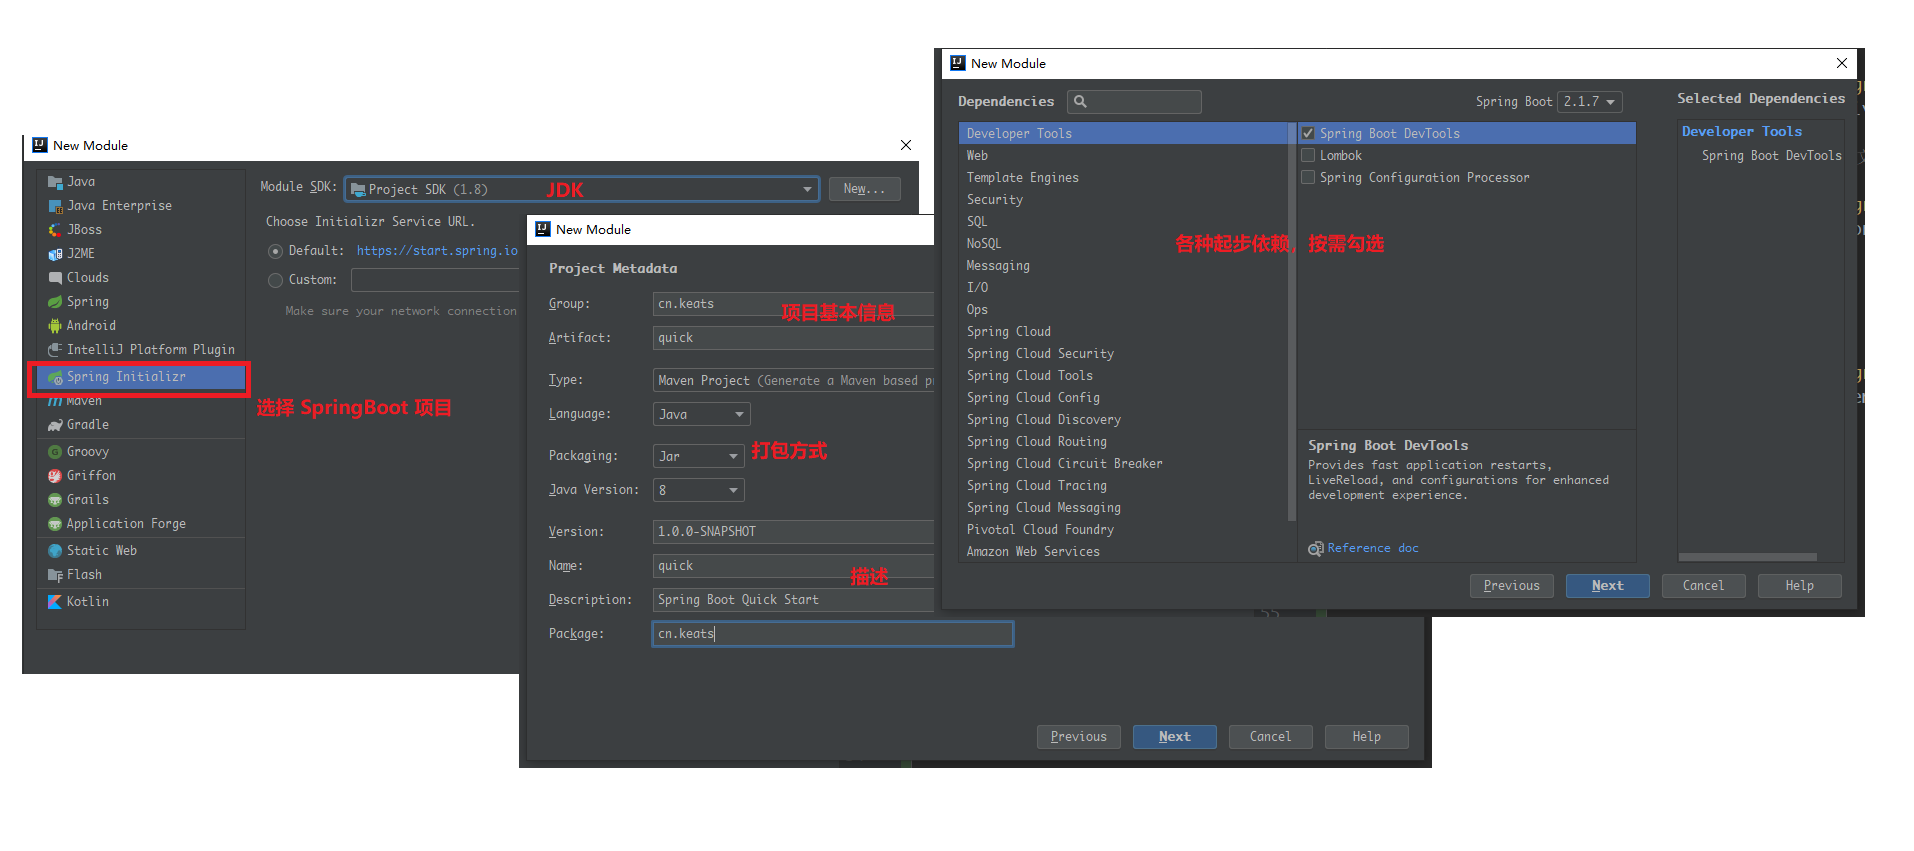
使用IDEA可以快速的创建 springboot 项目,当然也可以通过创建 Maven 工程并导入依赖来新建 springboot 项目
快速创建的工程只能选择最新的几个版本,如果想使用老版本可以在工程搭建完成后手动更改版本号
配置文件
SpringBoot使用一个全局的配置文件,并且名称是固定的,配置文件有两种(截图自来自spring-boot-starter-parent-1.5.9.RELEASE.pom):
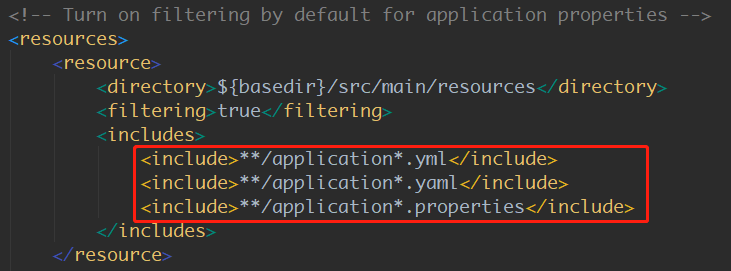
由该 pom 文件也可以得出一个结论,当同时存在 .yml 和 .properties 配置文件且配置了相同的参数时,会因为后加载 properties 而导致 yml 里面的相同配置配覆盖。当然实际开发也几乎不会有人这么做
application.properties 就是常规的 key=value 格式配置文件,当要配置的参数比较多就会发现他的层次不是那么清晰,不便于阅读
application.yml
yml(也叫yaml):是一种以数据为中心的配置文件, 比 json,xml 等更适合做配置文件
yml基本语法:
key:(空格)value ---> 键和值中间用冒号空格!!!连接,记住是冒号空格,缺一不可
不同层级的关系用空格表示,只要是左对齐的一列数据,都是同一层级的:
server:
 port: 8888
字符串
默认不用加引号,
如果加上 “” 双引号,双引号内的特殊字符将作为本身的意思展示
如果加上 ‘’ 单引号,单引号内的特殊字符将会被转义
对象、Map
在下一行来写对象的属性和值的关系;注意缩进
user:
  name: yaya
  age: 18
  address: xian
firends: {name: zhangsan, age: 18}
# map里面的 冒号后面也得有 空格
数组 List、Set
用 - 值表示数组中的一个元素
arr:
  - 1
  - 2
  - 3
例:用yml构造一个对象
person: # 前缀名
  name: yaya
  age: 18
  address: 西安
  arr:
    - 1
    - 2
    - 3
  friend: {name: zs,age: 13}
  son:
    name: 张三
    age: 13
@Component // 配置 Bean 被 Spring 容器管理
@ConfigurationProperties(prefix = "person") // 配置文件和实体进行映射,配置前缀,这里对应 yml 文件中的对象名
public class User {
    private String name;
    private int age;
    private String address;
    private List<Integer> arr;
    private Map<String, Object> friend;
    private Son son; // 引入一个外部类
 	setter/getter ...
}
public class Son{ // 该类不用加任何注解,框架还是会将 yml 中的属性映射到该类的属性上
    private String name;
    private int age;
}
@Value 获取值和 @ConfigurationProperties 获取值的比较:
| @ConfigurationProperties | @Value | |
|---|---|---|
| 功能 | 批量注入配置文件中的属性 | 一个个指定 |
| 松散绑定(松散语法) | 支持 | 不支持 |
| SpEL | 不支持 | 支持 |
| JSR303数据校验 | 支持 | 不支持 |
| 复杂类型封装 | 支持 | 不支持 |
Bean对Json映射处理
@JsonIngore
@JsonFormat
public class Person {
    private String name;
    @JsonIgnore // 转换时忽略该字段
    private Integer age;
    // Json格式化
    @JsonFormat(pattern = "yyyy年MM月dd日 HH:mm:ss", locale = "zh", timezone = "GMT+8")
    private Date birthday;
}
@RequestMapping("/person")
public Person person(){
    Person p = new Person();
    p.setName("张三");
    p.setAge(23);
    p.setBirthday(new Date());

    System.out.println(p);
    return p;
}
这时,返回的JSON数据中就不会出现 age 属性,并且对 birthday 进行了格式化
{"name":"张三","birthday":"2019年08月07日 15:34:45"}
@JsonInclude
忽略null属性
如果前端需要将 null 返回为空串/不返回,我们可以使用。
@JsonInclude(content = JsonInclude.Include.NON_NULL) // 如果该属性为 null,则它不参与序列化
注意:在 spring-boot 1.5.9 版本中, @JsonInclude 注解没有对 value 和 content 关联(没有在 content 上配置 @AliasFor 注解),所以刚刚上面的配置是无效的。采用下面的配置:
@JsonInclude(JsonInclude.Include.NON_NULL)
也可以在 yml 文件中配置全局忽略,配置方法如下:
spring:
  jackson:
    default-property-inclusion: non_null
Devtools热部署
- 在pom.xml中添加
<dependency>
    <groupId>org.springframework.boot</groupId>
    <artifactId>spring-boot-devtools</artifactId>
    <!-- 关闭此项的依赖传递,即别的项目依赖该项目时,不会传递依赖此jar -->
    <optional>true</optional>
</dependency>
- 配置IDEA自动编译
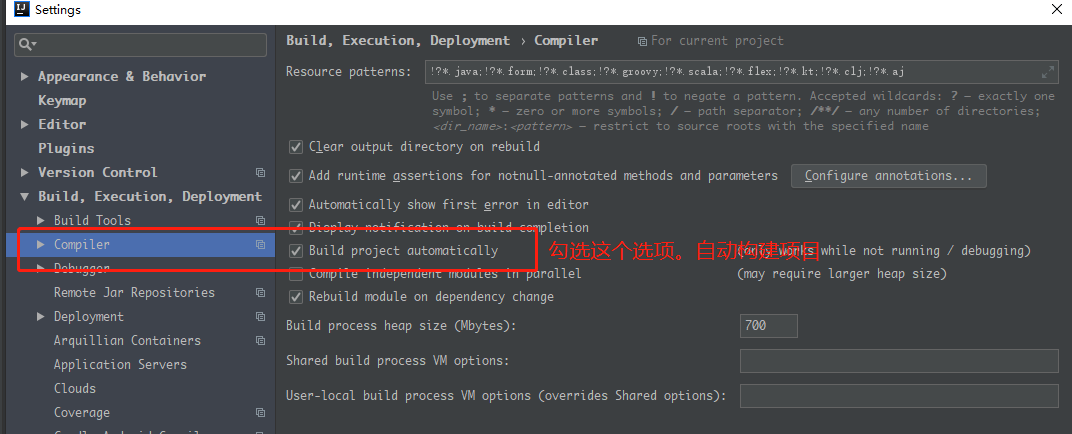
- 按 Ctrl+Shift+Alt+/ , 打开 Registry .配置IDEA运行时自动编译

一些额外的配置
spring:
  freemarker:
    cache: true # 关闭thymeleaf的页面缓存
  devtools:
    remote:
      restart:
        enabled: false # 热部署开关
    restart:
      additional-paths: springboot-demo/src/main/java # 设置重启的目录,对那个目录的文件进行修改后需要重启
      exclude: static/** # 设置classpath下 static 目录内容修改后不重启。一般设置为静态资源目录
资源文件属性配置
配置资源文件属性读取
有时我们采用一些自己定义的资源文件(非 application.xxx )想要获取里面的属性值时,需要采用以下配置
<!-- 配置文件处理器依赖,配置后可以进行资源配置文件的加载 -->
<!-- 配置这个依赖后,书写yml文件时自定义的属性会有提示 -->
<dependency>
    <groupId>org.springframework.boot</groupId>
    <artifactId>spring-boot-configuration-processor</artifactId>
    <optional>true</optional>
</dependency>
@Configuration // 也是一个 @Component 语义化注解
@ConfigurationProperties(value = "admin") // 配置文件中共有的前缀名
@PropertySource(value = "classpath:user.properties") // 资源文件的位置
public class Admin implements Serializable {
    private String username;
    private String password;
}
配置tomcat
server:
  port: 8888 # 端口号
  session-timeout: 60 # session 超时时间/分钟,默认是30
  context-path: /demo # 全局虚拟路径
  error:
    path: /error.html # 错误跳转页
  tomcat:
    uri-encoding: utf-8 # 设置tomcat编码
整合模板引擎
整合FreeMarker
导入FreeMarker启动器
 <!-- freemarker -->
<dependency>
    <groupId>org.springframework.boot</groupId>
    <artifactId>spring-boot-starter-freemarker</artifactId>
</dependency>
配置 freemarker
spring:
  freemarker:
    cache: false # 关闭freemarker缓存。即时刷新。上线环境建议修改为 true
    template-loader-path: classpath:/template # 模板文件的路径
    charset: UTF-8 # 编码,默认也是u8
    check-template-location: true # 检查模板路径
    content-type: text/html # 默认也是 text/html
整合 mybatis
添加 mybatis 起步依赖,mysql 数据库依赖
<!-- mybatis起步依赖 -->
<dependency>
    <groupId>org.mybatis.spring.boot</groupId>
    <artifactId>mybatis-spring-boot-starter</artifactId>
    <version>1.3.2</version>
</dependency>
<!-- mysql数据库依赖 -->
<dependency>
    <groupId>mysql</groupId>
    <artifactId>mysql-connector-java</artifactId>
    <scope>runtime</scope>
</dependency>
在 yml 文件中配置数据源
spring:
  datasource:
    username: keats
    password: 521
    url: jdbc:mysql://localhost:3306/springboot?useUnicode=true&characterEncoding=utf-8&useSSL=true&serverTimezone=UTC
    driver-class-name: com.mysql.jdbc.Driver
    # 对于mysql数据库连接版本 v6+ 这个驱动要修改成 com.mysql.cj.jdbc.Driver。当然也可以什么都不写用默认的
MyBatis相关配置
mybatis:
  mapper-locations: classpath:mapping/*Mapping.xml # 配置 mapper 文件所在的路径
  type-aliases-package: cn.keats.mybatisdemo.pojo # 配置这个包下的所有类起别名
创建实体类
public class User implements Serializable {
    private Integer id;
    private String username;
    private String password;
    private Date birthday;
    setter/getter ...
}
创建映射关系接口
接口要添加 @Mapper 注解,这样容器中才会有接口的实现类
@Mapper //
public interface UserMapper {

    @Select("select * from user where id = #{id}")
    User selectById(Integer id);  // 采用注解的方式书写SQL语句

    void insert(User user); // 采用mapper配置文件的方式书写SQL语句
}
Mapper映射文件,四个要求
namespace 等于 UserMapper 接口的全限定名
id 等于 方法名
parameterType 等于方法的参数类型
resaultType 等于方法的返回值类型
<?xml version="1.0" encoding="UTF-8"?>
<!DOCTYPE mapper PUBLIC "-//ibatis.apache.org//DTD Mapper 3.0//EN" "http://ibatis.apache.org/dtd/ibatis-3-mapper.dtd">

<mapper namespace="cn.keats.mybatisdemo.mapper.UserMapper">

    <insert id="insert" parameterType="user">
        insert into user values (null , #{username}, #{password}, #{birthday})
    </insert>

</mapper>
整合 Redis
导入Redis启动器
 <!-- redis -->
<dependency>
    <groupId>org.springframework.boot</groupId>
    <artifactId>spring-boot-starter-data-redis</artifactId>
</dependency>
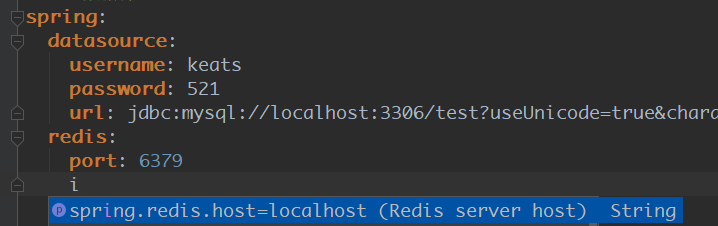
配置host和端口
其实从图中可以看出,springboot默认对Redis的配置就是 localhost:6379 所以如果Redis也是这个路径,可以不用自行配置