程序来自博客:
# https://www.cnblogs.com/felixwang2/p/9190740.html
上面这个博客是一些列的,所以可以从前往后逐一练习。

 1 # https://www.cnblogs.com/felixwang2/p/9190740.html
 2 # TensorFlow(十五):使用inception-v3实现各种图像识别
 3
 4 import tensorflow as tf
 5 import os
 6 import numpy as np
 7 import re
 8 from PIL import Image
 9 import matplotlib.pyplot as plt
10
11 class NodeLookup(object):
12     def __init__(self):
13         label_lookup_path = 'inception_model/imagenet_2012_challenge_label_map_proto.pbtxt'
14         uid_lookup_path = 'inception_model/imagenet_synset_to_human_label_map.txt'
15         self.node_lookup = self.load(label_lookup_path, uid_lookup_path)
16
17     def load(self, label_lookup_path, uid_lookup_path):
18         # 加载分类字符串n********对应分类名称的文件
19         proto_as_ascii_lines = tf.gfile.GFile(uid_lookup_path).readlines()
20         uid_to_human = {}
21         #一行一行读取数据
22         for line in proto_as_ascii_lines :
23             #去掉换行符
24             line=line.strip('
')
25             #按照'	'分割
26             parsed_items = line.split('	')
27             #获取分类编号
28             uid = parsed_items[0]
29             #获取分类名称
30             human_string = parsed_items[1]
31             #保存编号字符串n********与分类名称映射关系
32             uid_to_human[uid] = human_string
33
34         # 加载分类字符串n********对应分类编号1-1000的文件
35         proto_as_ascii = tf.gfile.GFile(label_lookup_path).readlines()
36         node_id_to_uid = {}
37         for line in proto_as_ascii:
38             if line.startswith('  target_class:'):
39                 #获取分类编号1-1000
40                 target_class = int(line.split(': ')[1])
41             if line.startswith('  target_class_string:'):
42                 #获取编号字符串n********
43                 target_class_string = line.split(': ')[1]
44                 #保存分类编号1-1000与编号字符串n********映射关系
45                 node_id_to_uid[target_class] = target_class_string[1:-2]
46
47         #建立分类编号1-1000对应分类名称的映射关系
48         node_id_to_name = {}
49         for key, val in node_id_to_uid.items():
50             #获取分类名称
51             name = uid_to_human[val]
52             #建立分类编号1-1000到分类名称的映射关系
53             node_id_to_name[key] = name
54         return node_id_to_name
55
56     #传入分类编号1-1000返回分类名称
57     def id_to_string(self, node_id):
58         if node_id not in self.node_lookup:
59             return ''
60         return self.node_lookup[node_id]
61
62
63 #创建一个图来存放google训练好的模型
64 with tf.gfile.FastGFile('inception_model/classify_image_graph_def.pb', 'rb') as f:
65     graph_def = tf.GraphDef()
66     graph_def.ParseFromString(f.read())
67     tf.import_graph_def(graph_def, name='')
68
69
70 gpu_options = tf.GPUOptions(allow_growth=True)
71 with tf.Session(config=tf.ConfigProto(gpu_options=gpu_options)) as sess:
72     softmax_tensor = sess.graph.get_tensor_by_name('softmax:0')
73     #遍历目录,如果images下没有图片,则没有任何识别
74     for root,dirs,files in os.walk('images/'):
75         for file in files:
76             #载入图片
77             image_data = tf.gfile.FastGFile(os.path.join(root,file), 'rb').read()
78             predictions = sess.run(softmax_tensor,{'DecodeJpeg/contents:0': image_data})#图片格式是jpg格式
79             predictions = np.squeeze(predictions)#把结果转为1维数据
80
81             #打印图片路径及名称
82             image_path = os.path.join(root,file)
83             print(image_path)
84             #显示图片
85             img=Image.open(image_path)
86             plt.imshow(img)
87             plt.axis('off')
88             plt.show()
89
90             #排序
91             top_k = predictions.argsort()[-5:][::-1]
92             node_lookup = NodeLookup()
93             for node_id in top_k:
94                 #获取分类名称
95                 human_string = node_lookup.id_to_string(node_id)
96                 #获取该分类的置信度
97                 score = predictions[node_id]
98                 print('%s (score = %.5f)' % (human_string, score))
99             print()
测试几张图,与结果分别贴到下面,根据程序需要,你自己需要在程序所在目录下建立一个images的文件夹,然后将图片放进去。
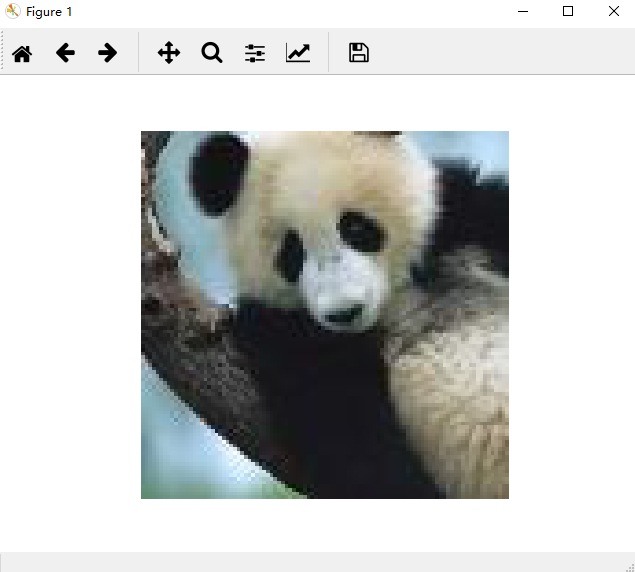
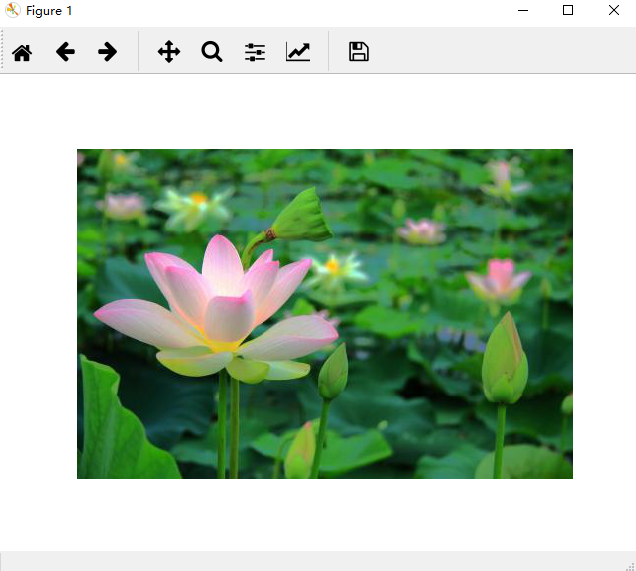
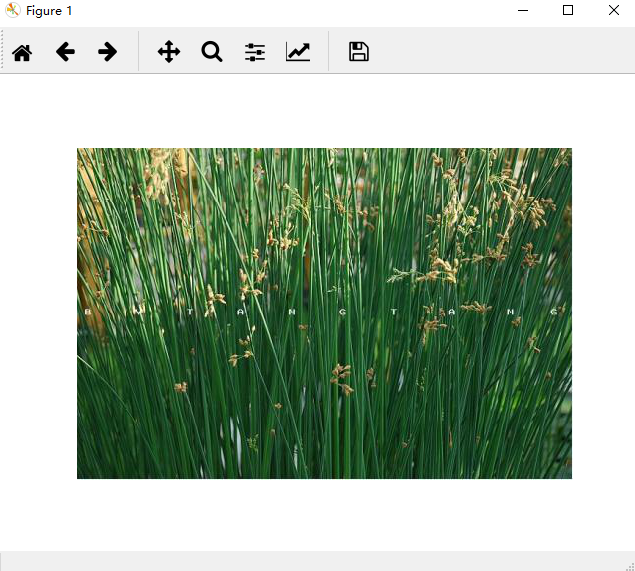
在上一个联系中,下载google的inception模型时顺带下载了一张大熊猫的图片,我就复制到新建的images文件夹下,然后随便从网上下载了两张图,一张时荷花的,一张是水葱的。
运行程序结果:

显示一张大熊猫,关闭,显示预测结果:
images/cropped_panda.jpg
giant panda, panda, panda bear, coon bear, Ailuropoda melanoleuca (score = 0.89107)
indri, indris, Indri indri, Indri brevicaudatus (score = 0.00779)
lesser panda, red panda, panda, bear cat, cat bear, Ailurus fulgens (score = 0.00296)
custard apple (score = 0.00147)
earthstar (score = 0.00117)

接着显示一张荷花,关闭显示预测结果:
images/Lotus.jpg
daisy (score = 0.52279)
sulphur butterfly, sulfur butterfly (score = 0.07167)
pot, flowerpot (score = 0.04293)
cabbage butterfly (score = 0.02629)
bee (score = 0.01437)

再接着显示一张水葱,关闭显示预测结果:
images/water_onion.jpg
lakeside, lakeshore (score = 0.32870)
corn (score = 0.19709)
ear, spike, capitulum (score = 0.15878)
yellow lady's slipper, yellow lady-slipper, Cypripedium calceolus, Cypripedium parviflorum (score = 0.01670)
hay (score = 0.01296)
从预测结果来看,大熊猫识别准确率很高;荷花居然预测成雏菊;水葱预测成湖边。看来后两个对象都没有训练好。
