以Mysql为例:
要操作关系数据库,首先需要连接到数据库,一个数据库连接称为Connection;

连接到数据库后,需要打开游标,称之为Cursor,通过Cursor执行SQL语句,然后,获得执行结果。
1。安装驱动
$ pip install mysql-connector-python --allow-external mysql-connector-python
或者尝试:
$ pip install mysql-connector
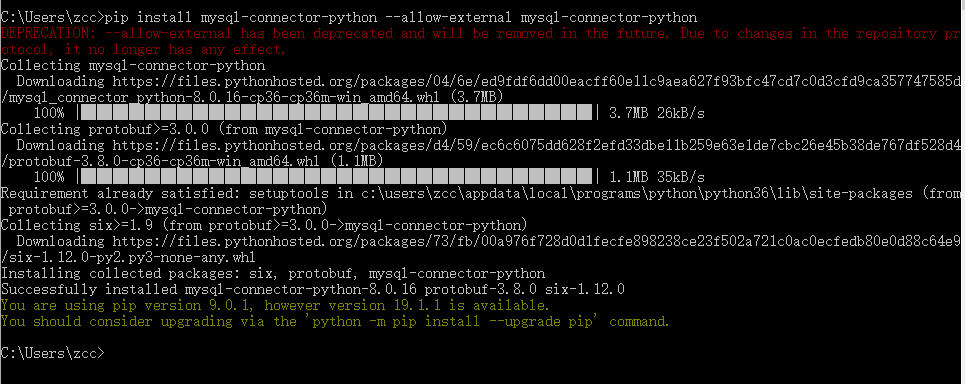
安装过程如下:

2.使用代码连接
# 导入驱动
import mysql.connector

# 连接信息
conn = mysql.connector.connect(user="root", password="root", database="sakila")
# 获取游标
cursor = conn.cursor()
# 运行查询
cursor.execute("SELECT * FROM actor WHERE first_name = %s", ("NICK",))
# 获取结果
values = cursor.fetchall()
print(values)
# 关闭连接
cursor.close()
conn.close()
注意占位符的使用
Python3的PyMySQL参考:https://www.w3cschool.cn/python3/python3-mysql.html
3.实战
py连接Mysql导出表结构:
注意使用豆瓣的镜像快一点:(不然可能会超时失败)
pip install PyMySQL -i http://pypi.douban.com/simple --trusted-host pypi.douban.com
# coding=utf-8
import pymysql
import xlwt
import configparser


# 获取数据库连接
def conn(sql, hostname, username, password, database):
    # 打开数据库连接
    db = pymysql.connect(hostname, username, password, database, charset='utf8')

    # 使用 cursor() 方法创建一个游标对象 cursor
    cursor = db.cursor()

    # 使用 execute()  方法执行 SQL 查询
    cursor.execute(sql)

    # 使用 fetchall() 方法获取所有数据.
    results = cursor.fetchall()

    # 关闭数据库连接
    db.close()
    return results


def write_excel(f, data, row):
    # 创建excel对象
    book = xlwt.Workbook()
    # 添加一个表
    sheet = book.add_sheet('表结构清单')
    # 行计数
    c = 0
    # 取出data中的每一个元组存到表格的每一行
    for d in data:
        # 将每一个元组中的每一个单元存到每一列
        for index in range(len(d)):
            # 写表头
            if c == 0:
                sheet.write(c, index, row[index])
                continue
            sheet.write(c, index, d[index])
        c += 1
    # 保存excel
    book.save(f)


if __name__ == "__main__":
    config = configparser.ConfigParser()
    config.read("config.ini")
    host = config.get("mysql", "host")
    user = config.get("mysql", "user")
    pwd = config.get("mysql", "password")
    db = config.get("mysql", "database")
    file = config.get("file", "file_name")

    s = """
        SELECT
        a.Table_name AS "表名",
        a.Table_comment AS "表注释",
        b.Ordinal_position AS "序号",
        b.Column_name AS "列名",
        b.Data_type AS "列类型",
        b.Column_comment AS "列注释"
    FROM
        information_schema.TABLES a
    JOIN information_schema.COLUMNS b ON a.Table_name = b.Table_name
    WHERE
        a.TABLE_SCHEMA = '{}'
    AND a.Table_type = 'BASE TABLE'
    """.format(db)
    row_name = ("表名", "表注释", "序号", "列名", "列类型", "列注释")
    # 获取表结构数据
    table_schema = conn(s, host, user, pwd, db)
    write_excel(file, table_schema, row_name)
    print("success!")
以下是配置文件:
[mysql]
host = localhost
user = root
password = root
database = badblog

[file]
file_name = schema.xls