https://cloud.tencent.com/developer/article/1006131 这个写的特别详细~~
在网上找了很多有关Iphone X 适配的博文和教程..亲测时,都出现了不同的BUG...蛋疼,所以仅以此文..献给自己才过的坑..
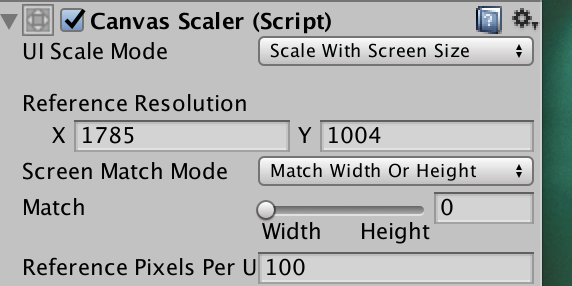
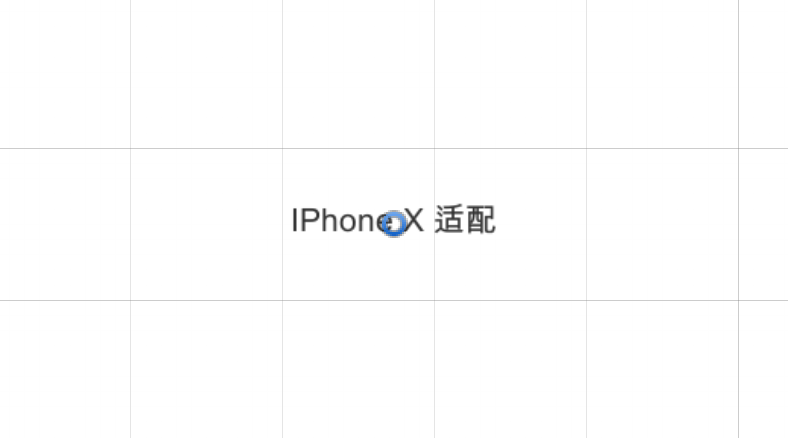
1.首先创建一个Canvas 设置他的屏幕适配  我的是这样的..然后呢..随便创建一些图片 ,字体之类的..我的是这样适配的..大家随意发挥...
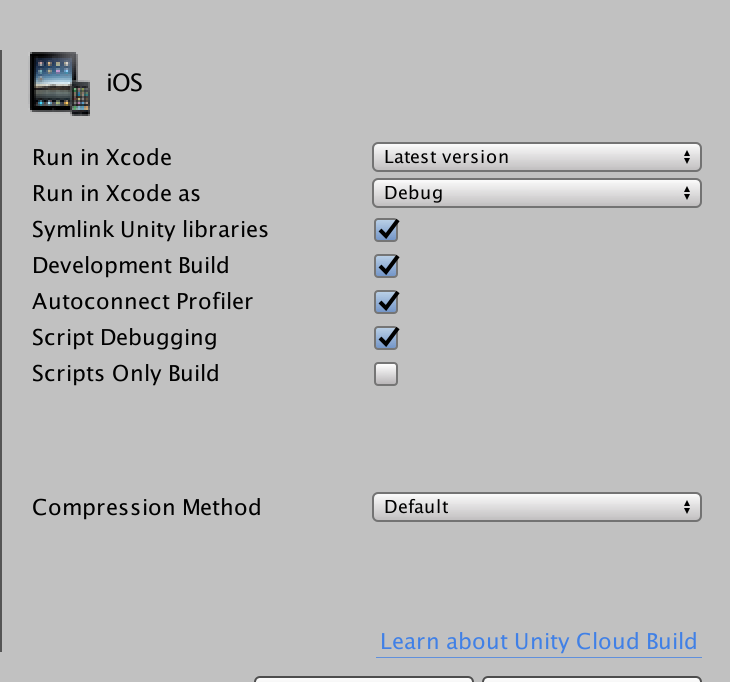
2.这个时候就可以自己随意打包了..记得拖入场景..然后设置一下
Player Setting 注意设置包名还有工程名..
3.打包出来的文件 寻找一下 : Classes -> UnityAppController.mm 并且打开它.
Commond + F 搜索 _window = [[UIWindow alloc] initWithFrame: [UIScreen mainScreen].bounds]; 找到这个..
修改如下操作 如图 :
  //    _window         = [[UIWindow alloc] initWithFrame: [UIScreen mainScreen].bounds];

    CGRect winSize = [UIScreen mainScreen].bounds;
   if (winSize.size.width / winSize.size.height> 2) {
       winSize.size.width -= 64;
       winSize.origin.x = 32;
       ::printf("-> is iphonex ");
   } else {
       ::printf("-> is not iphonex");
   }
   _window = [[UIWindow alloc] initWithFrame: winSize];


    _unityView      = [self createUnityView];
这个赋值替换一下就好了~..然后打包一下 就OK了 亲测有效...
这样操作太过于繁琐...那来点干货,简单一点的~参考至雨松MOMO大神的~~ http://www.xuanyusong.com/archives/2720
在Unity Asset目录下创建一个文件夹Editor(很重要的一步),并创建两个脚本: IPhoneXPackage, IphoneXClassExt
IphoneXClassExt 代码如下:
using System.Collections;
using System.Collections.Generic;
using UnityEngine;
using System.IO;

namespace UnityEditor.XcodeEditor
{

	public partial class IphoneXClassExt : System.IDisposable
	{

		private string filePath;

		public IphoneXClassExt (string fPath)
		{
			filePath = fPath;
			if (!System.IO.File.Exists (filePath)) {
				Debug.LogError (filePath + "not found in path.");
				return;
			}
		}

		public void WriteBelow (string below, string text)
		{
			StreamReader streamReader = new StreamReader (filePath);
			string text_all = streamReader.ReadToEnd ();
			streamReader.Close ();

			int beginIndex = text_all.IndexOf (below);
			if (beginIndex == -1) {
				Debug.LogError (filePath + " not found sign in " + below);
				return;
			}

			int endIndex = text_all.LastIndexOf ("
", beginIndex + below.Length);

			text_all = text_all.Substring (0, endIndex) + "
" + text + "
" + text_all.Substring (endIndex);

			StreamWriter streamWriter = new StreamWriter (filePath);
			streamWriter.Write (text_all);
			streamWriter.Close ();
		}

		public void Replace (string below, string newText)
		{
			StreamReader streamReader = new StreamReader (filePath);
			string text_all = streamReader.ReadToEnd ();
			streamReader.Close ();

			int beginIndex = text_all.IndexOf (below);
			if (beginIndex == -1) {
				Debug.LogError (filePath + " not found sign in " + below);
				return;
			}

			text_all = text_all.Replace (below, newText);
			StreamWriter streamWriter = new StreamWriter (filePath);
			streamWriter.Write (text_all);
			streamWriter.Close ();

		}

		public void Dispose ()
		{

		}
	}


}
IPhoneXPackage代码如下:
using System.Collections;
using System.Collections.Generic;
using System;
using System.IO;
using UnityEditor;
using UnityEditor.Callbacks;
using UnityEngine;

#if UNITY_EDITOR_OSX

using UnityEditor.iOS.Xcode;
using UnityEditor.XcodeEditor;

#endif
public class IPhoneXPackage : MonoBehaviour
{

	#if UNITY_EDITOR_OSX
	[PostProcessBuildAttribute (100)]
	public static void OnPostProcessBuild (BuildTarget target, string pathToBuiltProject)
	{
		if (target != BuildTarget.iOS) {
			Debug.LogWarning ("Target is not iPhone. XCodePostProcess will not run");
			return;
		}
		// Create a new project object from build target
		PBXProject project = new PBXProject ();
		string configFilePath = PBXProject.GetPBXProjectPath (pathToBuiltProject);
		project.ReadFromFile (configFilePath);
		string targetGuid = project.TargetGuidByName ("Unity-iPhone");
		string debug = project.BuildConfigByName (targetGuid, "Debug");
		string release = project.BuildConfigByName (targetGuid, "Release");
		project.AddBuildPropertyForConfig (debug, "CODE_SIGN_RESOURCE_RULES_PATH", "$(SDKROOT)/ResourceRules.plist");
		project.AddBuildPropertyForConfig (release, "CODE_SIGN_RESOURCE_RULES_PATH", "$(SDKROOT)/ResourceRules.plist");

		project.AddFrameworkToProject (targetGuid, "SystemConfiguration.framework", true);
		project.AddFrameworkToProject (targetGuid, "Security.framework", true);
		project.AddFrameworkToProject (targetGuid, "libz.tbd", true);
		project.AddFrameworkToProject (targetGuid, "libc++.tbd", true);

		project.SetBuildProperty (targetGuid, "ENABLE_BITCODE", "NO");

		project.WriteToFile (configFilePath);

		EditSuitIpXCode (pathToBuiltProject);
	}

	public static void EditSuitIpXCode (string path)
	{
		//插入代码
		//读取UnityAppController.mm文件
		string src = @"_window         = [[UIWindow alloc] initWithFrame: [UIScreen mainScreen].bounds];";
		string dst = @"//    _window         = [[UIWindow alloc] initWithFrame: [UIScreen mainScreen].bounds];

   CGRect winSize = [UIScreen mainScreen].bounds;
   if (winSize.size.width / winSize.size.height> 2) {
       winSize.size.width -= 64;
       winSize.origin.x = 32;
       ::printf(""-> is iphonex "");
   } else {
       ::printf(""-> is not iphonex"");
   }
   _window = [[UIWindow alloc] initWithFrame: winSize];

   ";

		string unityAppControllerPath = path + "/Classes/UnityAppController.mm";
		IphoneXClassExt UnityAppController = new IphoneXClassExt (unityAppControllerPath);
		UnityAppController.Replace (src, dst);
	}
	#endif
}
这个时候重新打包..再打开: Classes -> UnityAppController.mm 就会发现..已经写入...这个时候,导入你的IPhoneX 中吧...
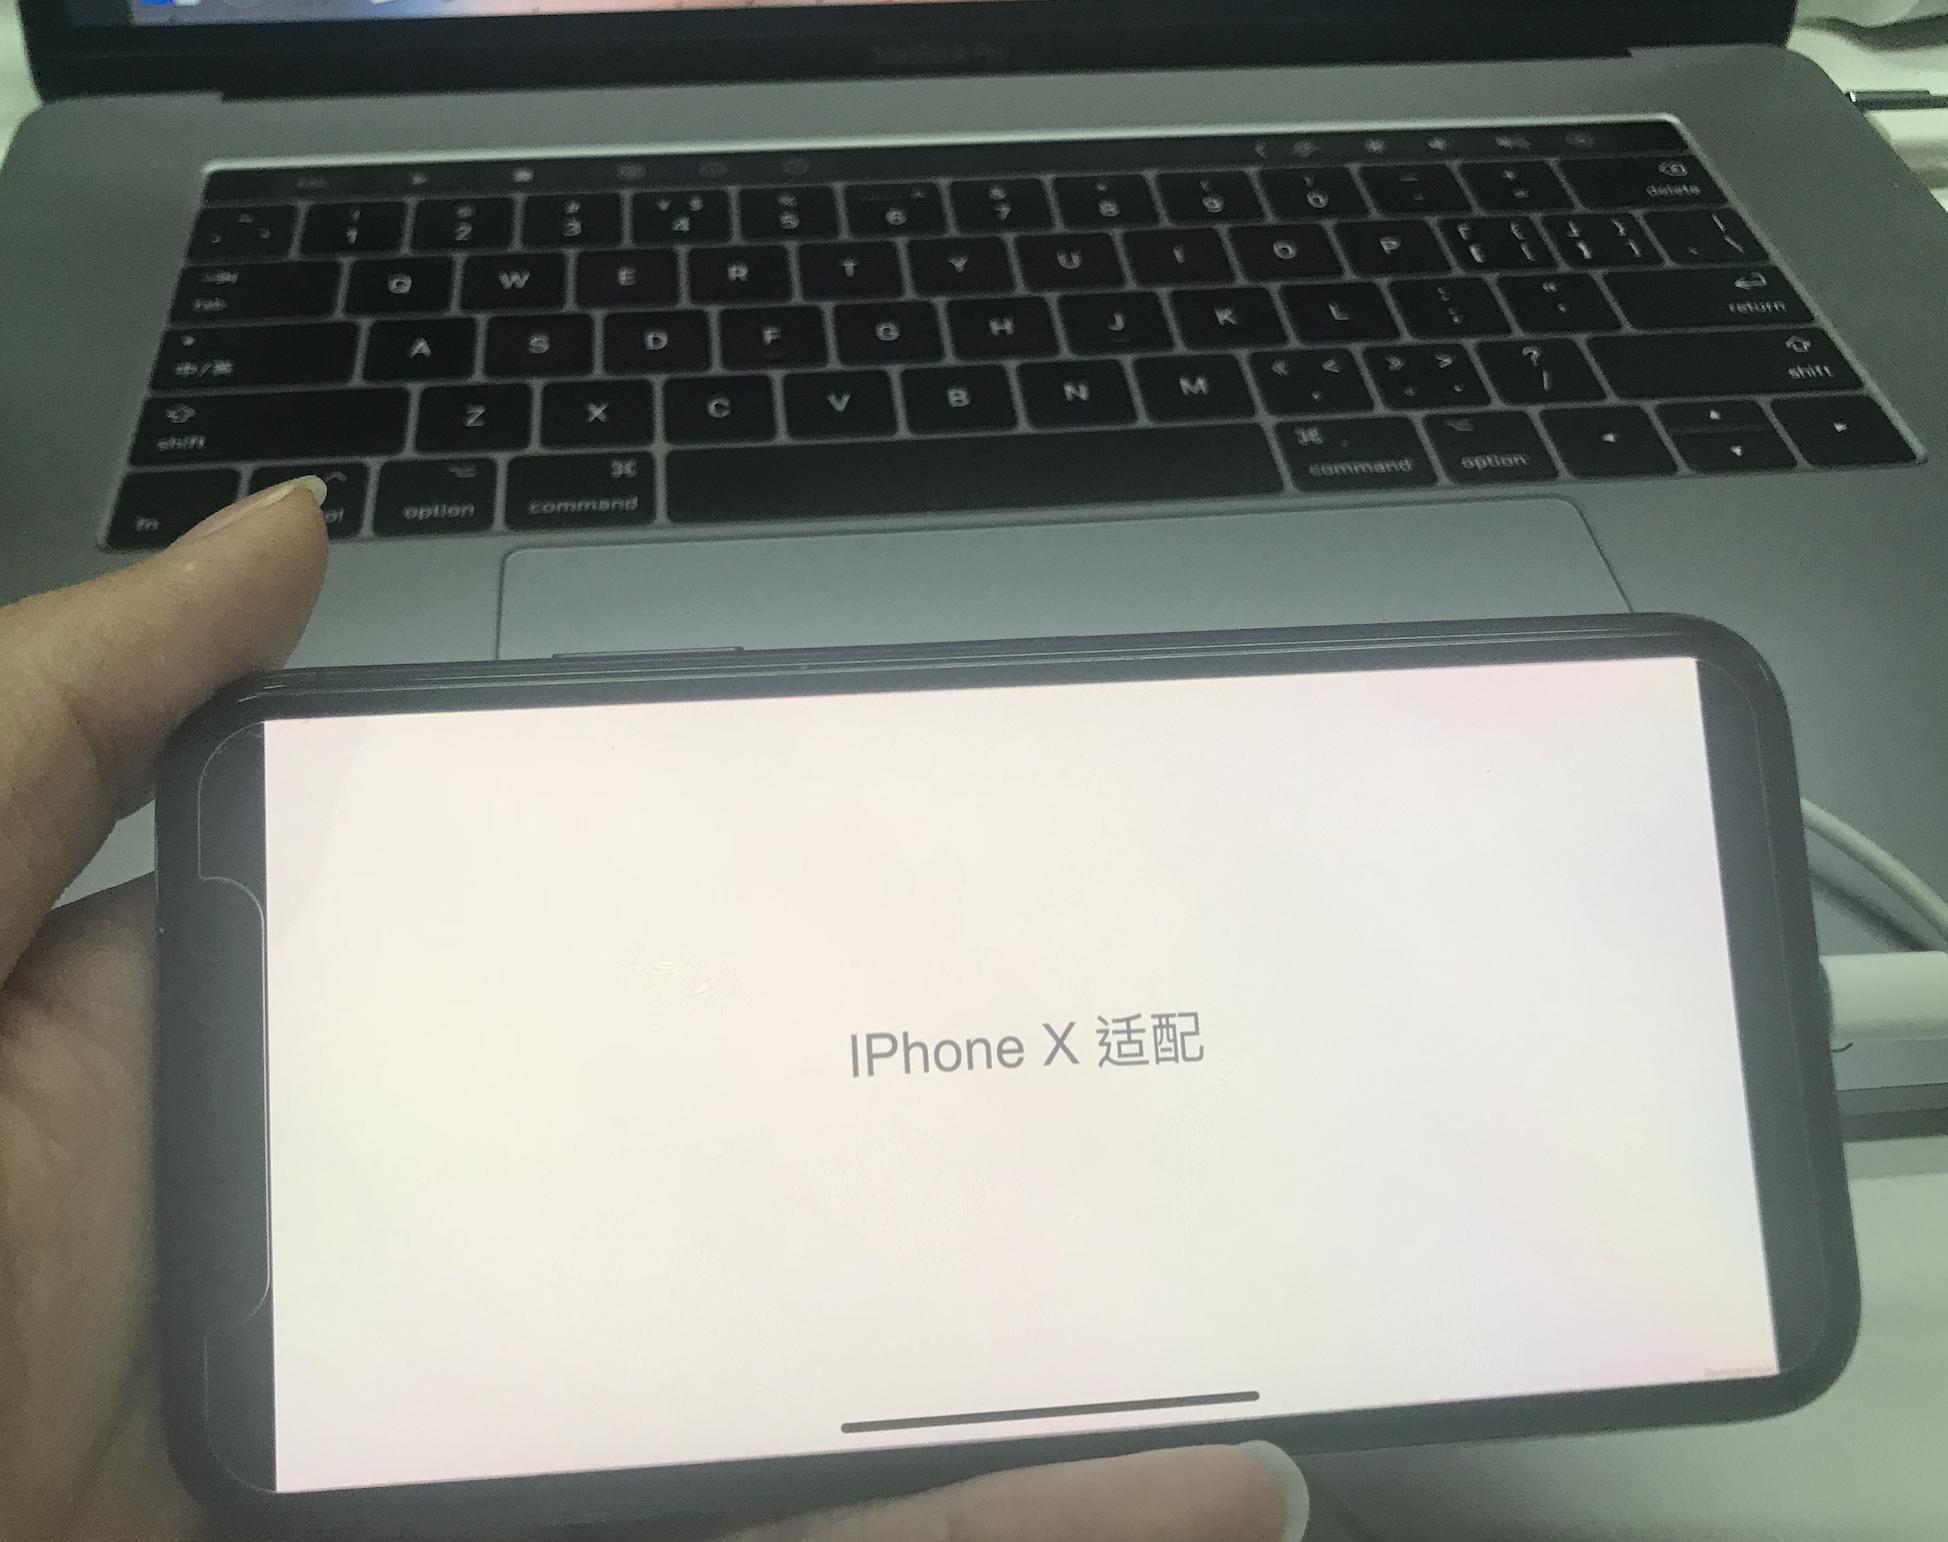
效果: