配套源码:https://gitee.com/jardeng/IdentitySolution
上一篇《ASP.NET Core3.1使用IdentityServer4中间件系列随笔(二):创建API项目,配置IdentityServer保护API资源》创建了受保护的API资源项目
并通过Postman获取到了access_token,再使用access_token去访问受保护的API资源,本篇将创建一个使用[ClientCredentials-客户端凭证]授权模式的客户端,来对受保护的API资源进行访问。
先了解一下客户端凭证模式
Client Credentials:客户端凭证模式;该方法通常用于服务器之间的通讯;该模式仅发生在Client与Identity Server之间。
该模式的适用场景为服务器与服务器之间的通信。
比如对于一个电子商务网站,将订单和物流系统分拆为两个服务分别部署。
订单系统需要访问物流系统进行物流信息的跟踪,物流系统需要访问订单系统的快递单号信息进行物流信息的定时刷新。
而这两个系统之间服务的授权就可以通过这种模式来实现。
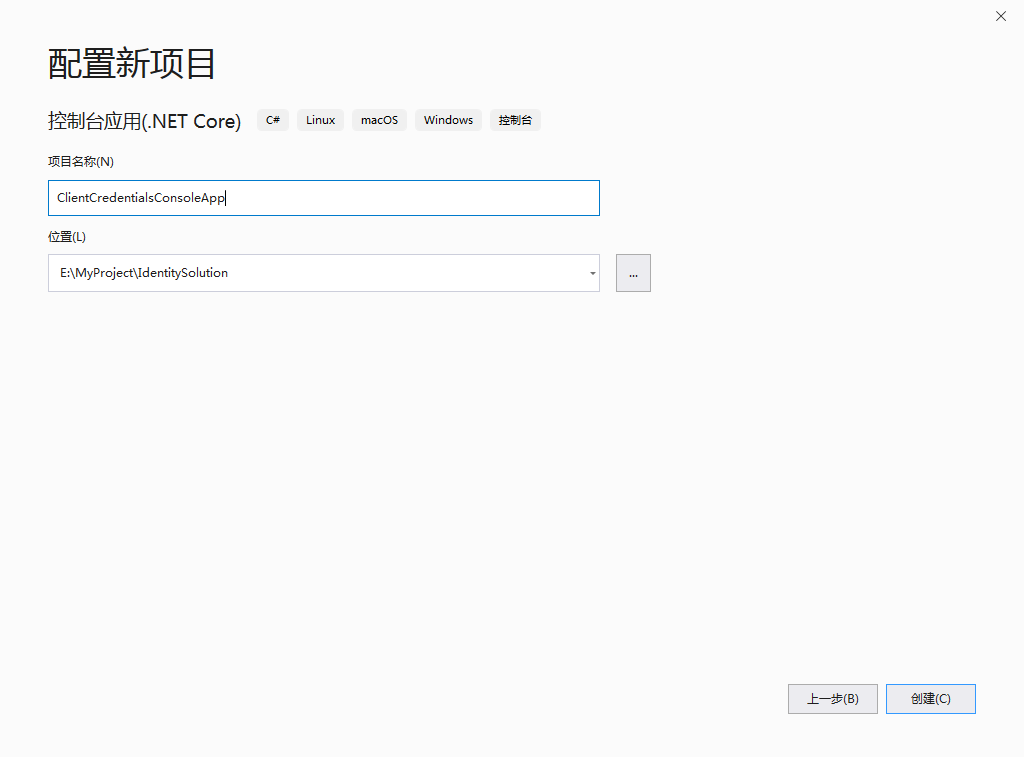
1、创建一个名为 ClientCredentialsConsoleApp 控制台应用。
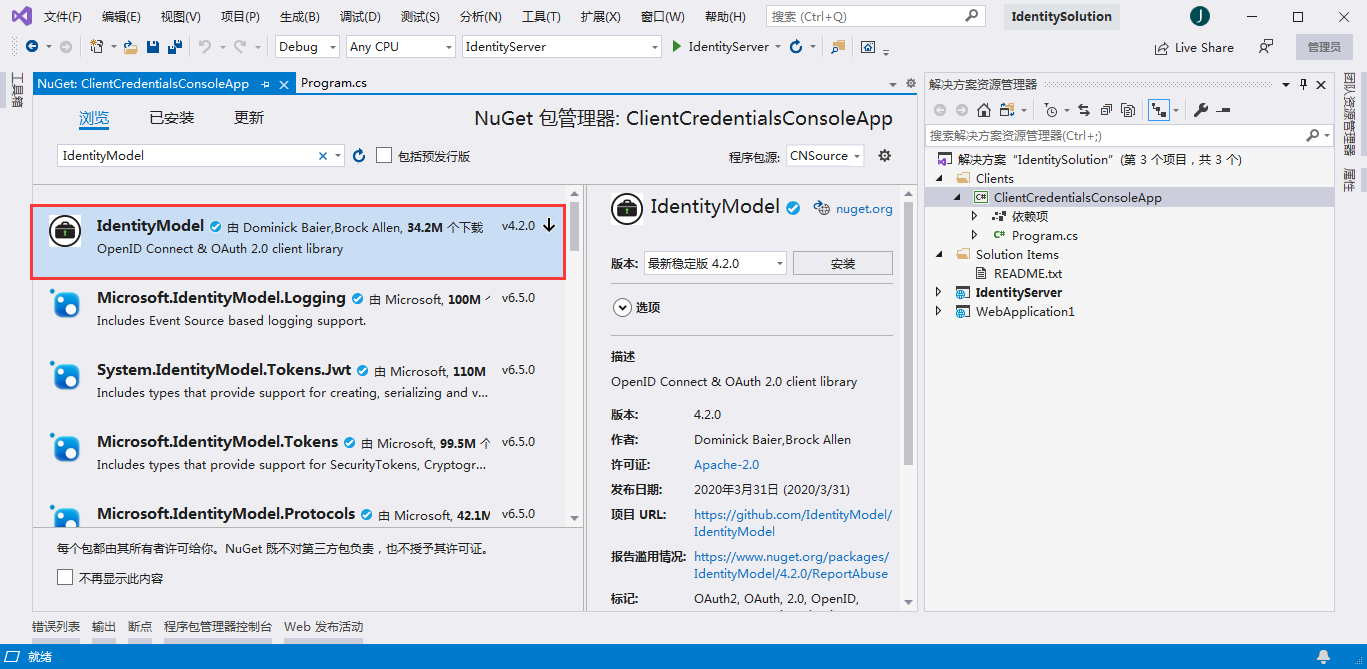
2、添加nuget包:IdentityModel
3、在Program.cs类中编写代码
using System;
using System.Net.Http;
using System.Threading.Tasks;

using IdentityModel.Client;

using Newtonsoft.Json.Linq;

namespace ClientCredentialsConsoleApp
{
    class Program
    {
        static async Task Main(string[] args)
        {
            //discovery endpoint - 发现终结点
            HttpClient client = new HttpClient();
            DiscoveryDocumentResponse disco =
                await client.GetDiscoveryDocumentAsync("http://localhost:5000");
            if (disco.IsError)
            {
                Console.WriteLine($"[DiscoveryDocumentResponse Error]: {disco.Error}");
                return;
            }

            //request access token - 请求访问令牌
            TokenResponse tokenResponse = await client.RequestClientCredentialsTokenAsync(
                new ClientCredentialsTokenRequest
                {
                    Address = disco.TokenEndpoint,
                    ClientId = "client",
                    ClientSecret = "secret",
                    Scope = "api1"
                });
            if (tokenResponse.IsError)
            {
                Console.WriteLine($"[TokenResponse Error]: {tokenResponse.Error}");
                return;
            }
            else
            {
                Console.WriteLine($"Access Token: {tokenResponse.AccessToken}");
            }

            //call API Resource - 访问API资源
            HttpClient apiClient = new HttpClient();
            apiClient.SetBearerToken(tokenResponse.AccessToken);
            HttpResponseMessage response = await apiClient.GetAsync("http://localhost:6000/weatherforecast");
            if (!response.IsSuccessStatusCode)
            {
                Console.WriteLine($"API Request Error, StatusCode is : {response.StatusCode}");
            }
            else
            {
                string content = await response.Content.ReadAsStringAsync();
                Console.WriteLine(JArray.Parse(content));
            }

            Console.ReadKey();
        }
    }
}
4、先将IdentityServer授权服务器、API项目运行起来,再运行控制台项目。
创建了两个批命令,用于快速启动项目


> IdentityServer
cd IdentityServer/bin/Debug/netcoreapp3.1
dotnet IdentityServer.dll --urls "http://*:5000"
> WebApplication1
cd WebApplication1/bin/Debug/netcoreapp3.1
dotnet WebApplication1.dll --urls "http://*:6000"
运行结果:

可以看到,成功获取到AccessToken,并使用AccessToken访问到受保护的API获取到结果。