长时间不用React,希望自己不要忘记了使用React的日子
1、创建脚手架: create-react-app 项目名
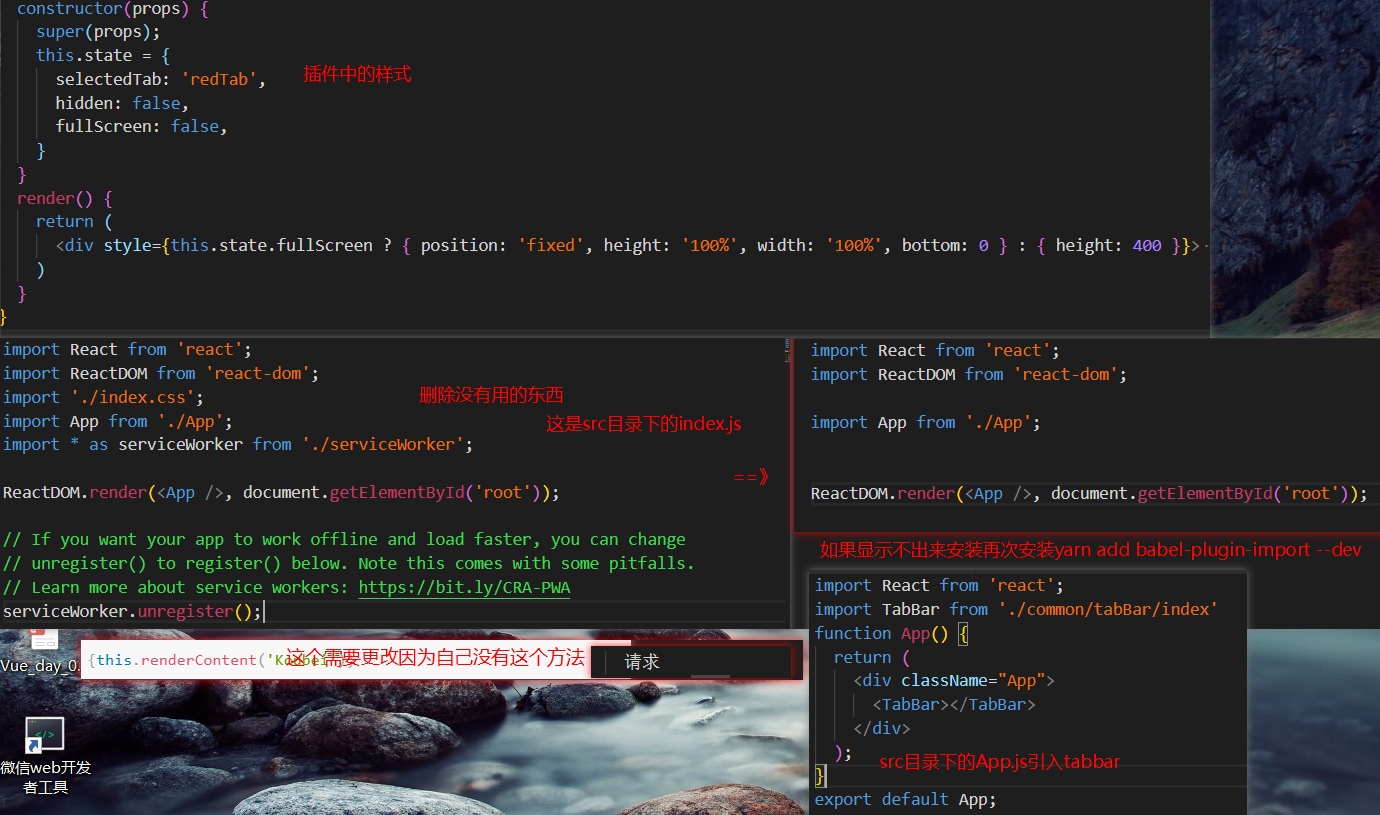
2、删除无用文件
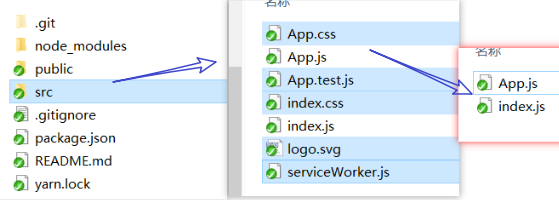
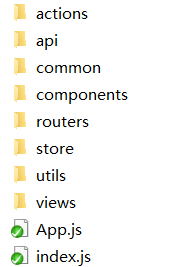
3、src目录下搭配文件
4、项目需要安装的技术站
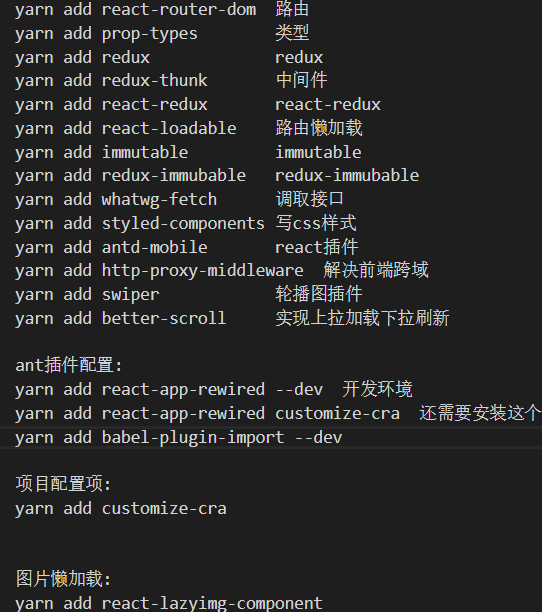
yarn add react-router-dom prop-types redux redux-thunk react-redux react-loadable immutable redux-immutable whatwg-fetch styled-components antd-mobile http-proxy-middleware swiper better-scroll customize-cra react-app-rewired --dev react-app-rewired customize-cra babel-plugin-import --dev
5、配置Ant插件
移动端: https://mobile.ant.design/index-cn
PC端:https://ant.design/index-cn yarn add antd
使用PC端时需要引入样式: import 'antd/dist/antd.css'

6、在根目录下创建一个config-overrides.js文件并配置

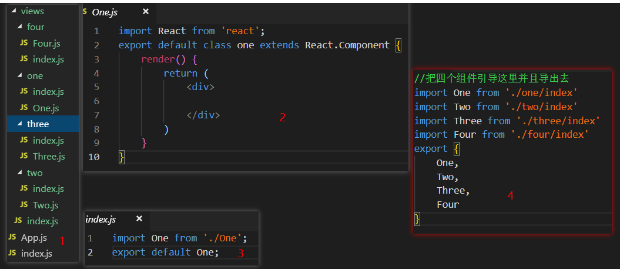
7、创建组件
8、引入tabBar
9、创建tabbar.js在App中引入
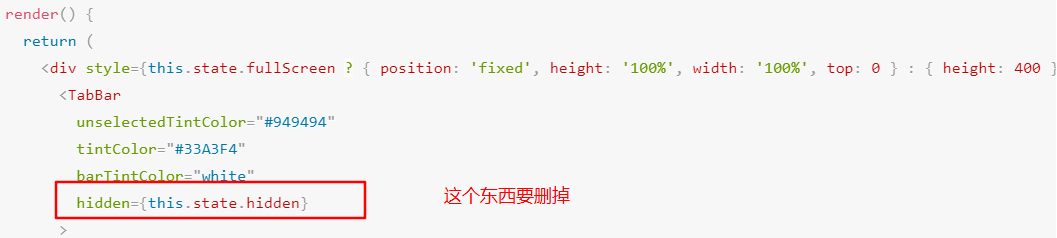
10、tabBar中的配置

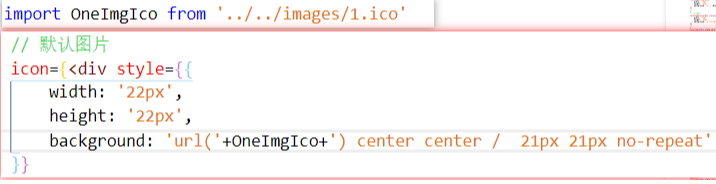
11、引入图片的操作
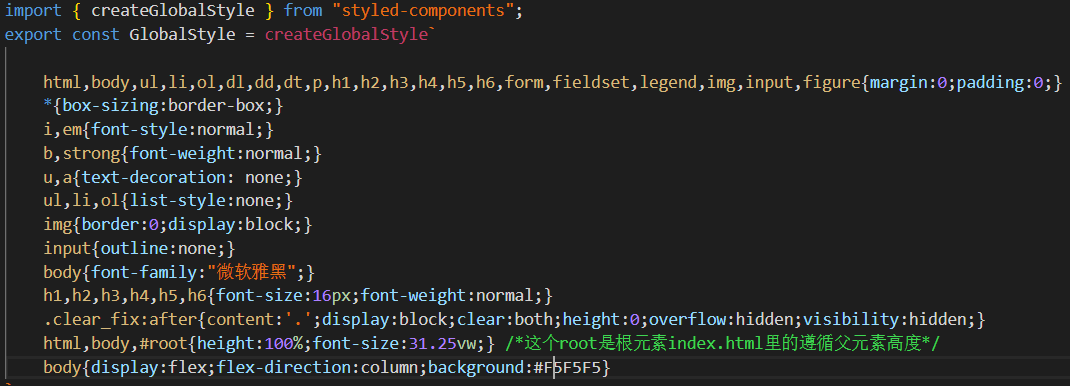
12、引入公共样式
在src目录下创建一个js文件使用style.components
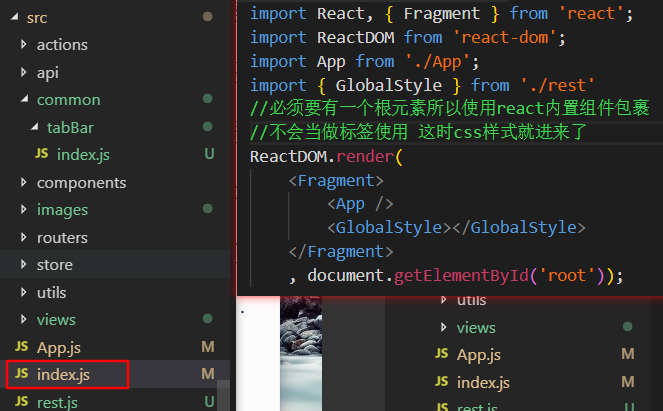
设置好后并导出去在入口文件index.js中使用也就是根组件操作App
并使用包裹这样全局的css样式就进来
安装:npm install --save style-components
必须要有一个根元素所以使用react内置组件包裹不会当做标签使用 这时css样式就进来了
但是不能使用Fragment应该使用react-redux 一旦用了react-redux就会有store还会有reducer
13、 开始配置路由
引入路由:react-router-dom
引入Switch: 渲染组件的时候只会渲染一个组件一般会配合exact进行使用
exact绝对路径
引入route:路由要被Router包裹
引入重定向:Redirect
引入所有组件

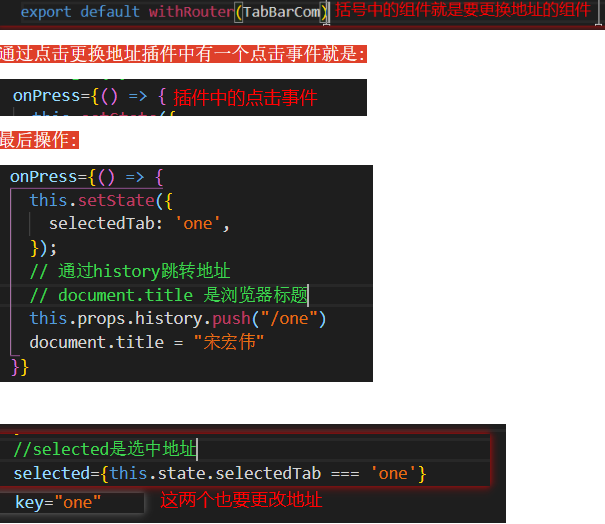
路由配置完成后有一个bug无论点击哪个都是默认的绝对地址使用高阶组件withRouter解决这个高阶组件是路由中的
被withRouter包裹的组件会有三个参数:history,location,match可以通过history跳转更换地址在tabbar组件中使用
14、使用withRouter解决更换地址问题
引入:import {withRouter} from 'react-router-dom';
使用:
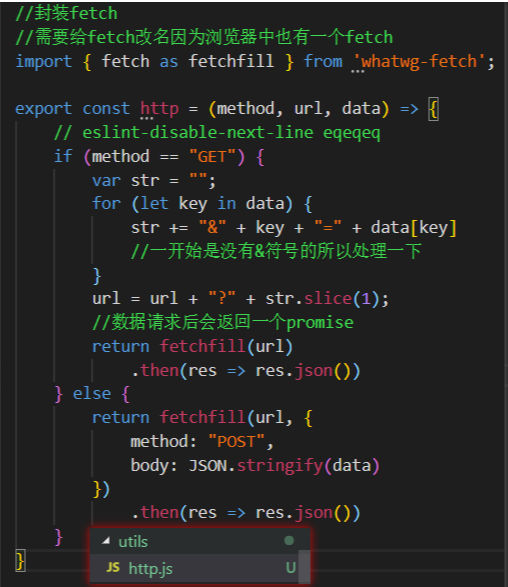
15、封装fetch:( 两种封装哪一种都可以 )
注意fetch要改名通过as因为浏览器中也有一个fetch
第一种引用qs
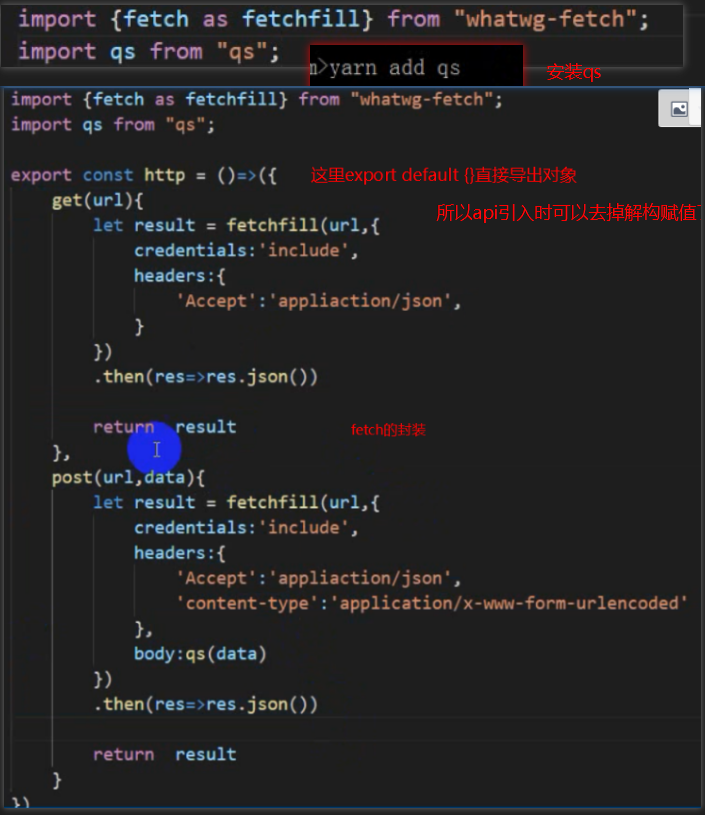
第二种直接封装